EasyManua.ls Logo

ATN PVS-14 - Page 61

ATN PVS-14
92 pages
Print Icon
To Next Page IconTo Next Page
To Previous Page IconTo Previous Page
Loading...
2-37
NOTE
-



         


the correct position.
NOTE




(1) Ensure that the battery are installed per paragraph 2.3.2.
(2) Don the helmet mount per instructions in paragraph 2.3.9.
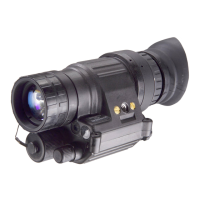
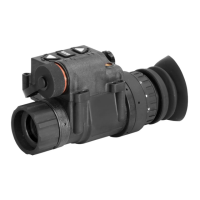
(3) Place the monocular in the socket of the helmet mount.
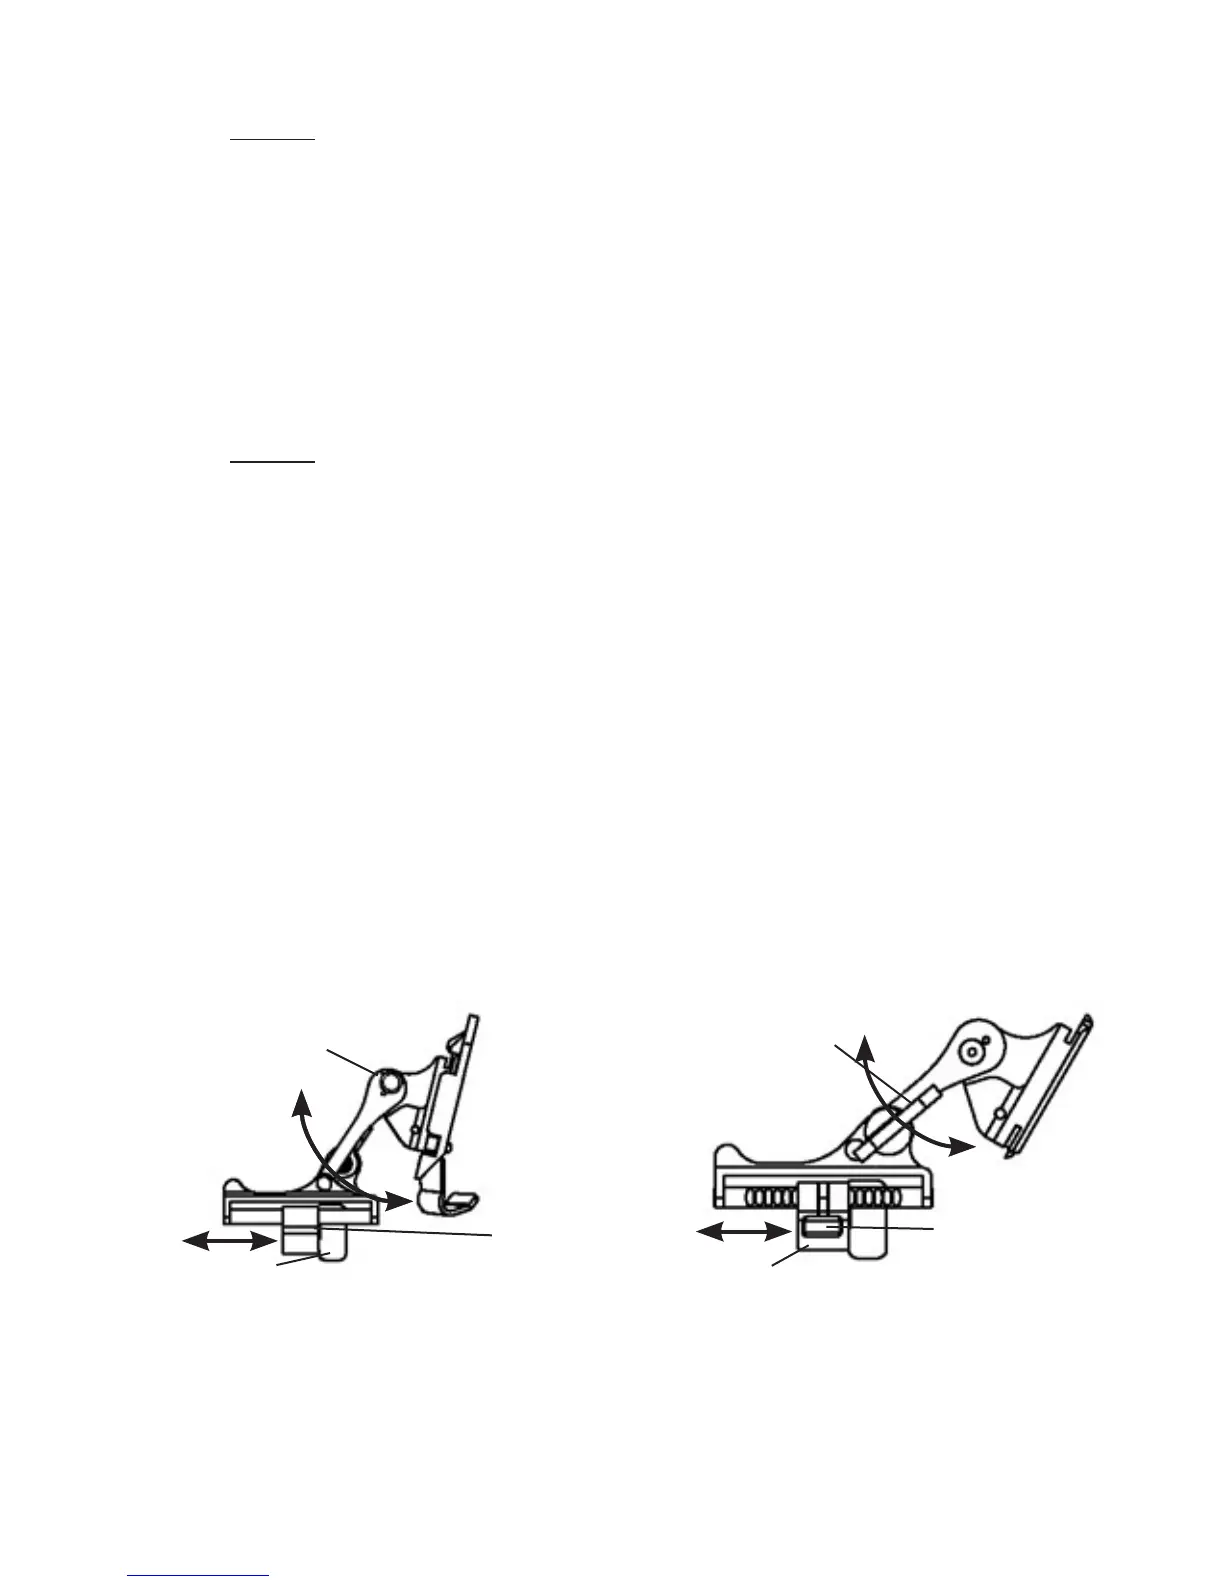
Set your eye relief by depressing the side buttons (or press down
on side lever on metal mount) (see Figure 2.21.) and carefully move
the monocular fore or aft until the eyecup comfortably seals around
the eye. Readjust the helmet straps as required for vertical adjust-
ment.

(4) Turn power switch to ON. Adjust the tilt by using the tilt ad-
justment lock knob (or tilt adjustment lever on metal mount)
(Figure 2.21.) until you obtain a comfortable viewing angle.
PLASTIC MOUNT
TILT ADJUSTMENT
LOCK KNOB
SOCKET
SIDE
BUTTONS (2 EA)
(FORE-AND-AFT
ADJUSTMENT)
METAL MOUNT
TILT ADJUSTMENT
LEVER
SOCKET
SIDE LEVER
(FORE-AND-AFT
ADJUSTMENT)

Table of Contents

Related product manuals