EasyManuals Logo
Home>ATN>Binoculars>PVS-14

ATN PVS-14 User Manual

ATN PVS-14
92 pages
To Next Page IconTo Next Page
To Previous Page IconTo Previous Page
Page #63 background imageLoading...
Page #63 background image
2-39
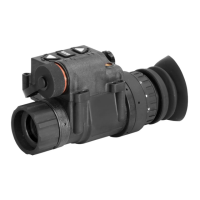
(3 ) Mount the monocular with adapter onto the M16 / M4 receiver rail
per paragraph 2.3.11., steps 3 and 4.
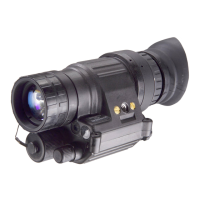
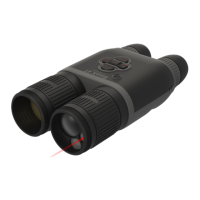
(4) Rotate the diopter adjustment for the clearest view of the image
intensifier screen.
(5) Adjust the objective lens focus (Figure 2.1.) while observing an
object until the sharpest image is obtained.

WARNING




NOTE

up to 3 meters when additional illumination is needed.
(1) Pull the power switch knob out and rotate clockwise to the IR

light appears in the eyepiece. This indicates that the IR source is
operating.
(2) For momentary IR, turn the power switch clockwise (without
pulling) past the ON position. Observe that a red light appears in
the eyepiece.

WARNING
         

CAUTION

any head or helmet mount with the magnet still installed. Only
-


Table of Contents

Questions and Answers:

Question and Answer IconNeed help?

Do you have a question about the ATN PVS-14 and is the answer not in the manual?

ATN PVS-14 Specifications

General IconGeneral
BrandATN
ModelPVS-14
CategoryBinoculars
LanguageEnglish

Related product manuals