2-38
NOTE
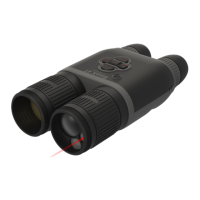
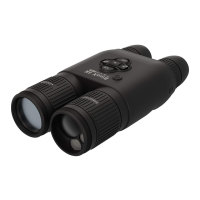
(5) Rotate the diopter adjustment for the clearest view of the image
intensifier screen.
NOTE
diopter.
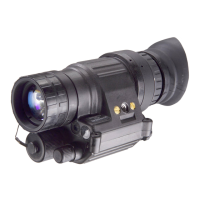
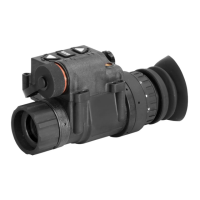
(6) Adjust the eye relief distance by depressing the side buttons
(Figure 2.21.) (or press down on side lever on metal mount) and
sliding monocular fore or aft to obtain a full field-of-view of the im-
age. Reset the diopter adjustment for best image.
(7) Adjust the objective lens focus (Figure 2.1.) while observing an
object until the sharpest image is obtained.
(8) To flip up, grasp the helmet tilt and flip-up assembly and rotate
upward and rearward until the latch is firmly engaged.
WARNING
switch.
(9) To flip down, grasp the helmet tilt and flip-up assembly and ro-
tate downward and forward until the latch is firmly engaged.
(10) Turn the power switch to the ON position to resume viewing.
NOTE
Perform the following procedures for weapon mounted operation:
(1) Ensure that the battery are installed per paragraph 2.3.2.
(2) Assemble the weapon mount to the monocular per paragraph
2.3.11., steps 1 and 2.
 Loading...