8
EN
Preparation for use
Setting tracking force
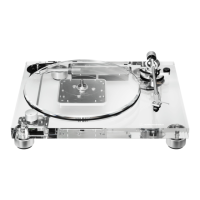
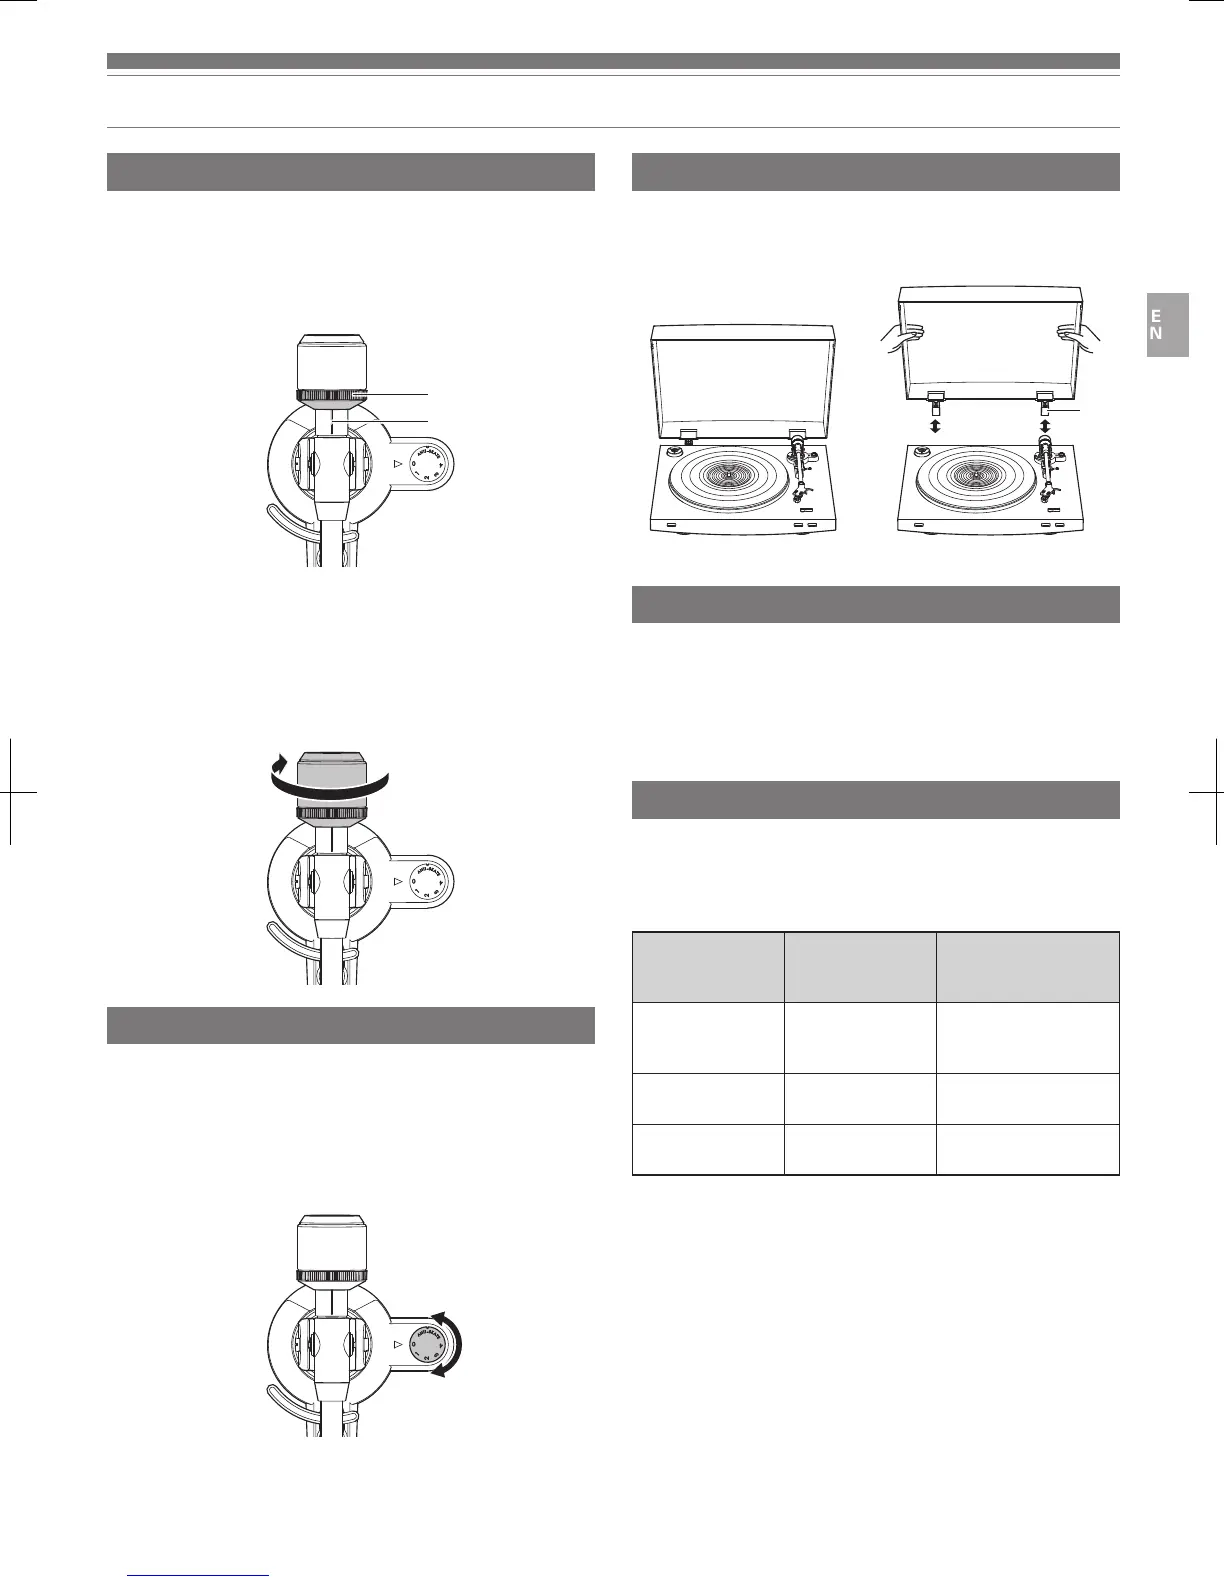
1. While supporting the counterweight so that it does not
move, turn the tracking force gauge ring so that its “0”
position lines up with the centerline on the back of the
tonearm (the tracking force is not adjusted simply by
turning the tracking force gauge ring).
2. Turn the counterweight and the tracking force gauge
ring together counterclockwise until the centerline value
matches the recommended tracking force value for the
cartridge you are using.
•
Refer to the cartridge maker’s specifications for the recommended tracking force
value.
•
The tracking force value for the cartridge provided with this product is 2.0 g.
Setting the anti-skate adjustment
While the record is playing, a force acts on the stylus tip to pull it inward. This
force can be counteracted by setting the same values for anti-skate and the
tracking force.
1. Adjust the anti-skate control dial to have the same value
as the tracking force value.
•
The tracking force value for the cartridge provided with this product is 2.0 g.
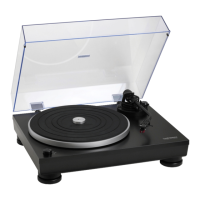
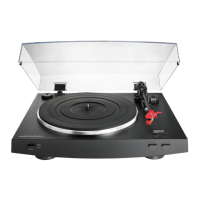
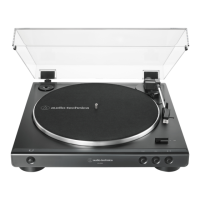
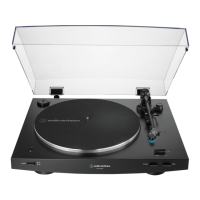
Installing/removing the dust cover
When attaching the dust cover, insert the hinges of the dust cover into the
two dust cover hinge holders on the back of the body. When removing the dust
cover, slowly pull the dust cover out from the dust cover hinge holders.
Setting MM (VM)/MC Cartridge Selector Switch
If using a moving magnet (MM or VM) cartridge, set this switch to the MM
position. If using a moving coil (MC) cartridge, set this switch to the MC
position.
•
This switch is set to the MM position at the time of purchase. This is the
correct setting for the AT91R VM stereo cartridge included with the product.
Setting pre-amplifier selector switch
This product has a built-in phono equalizer function. You can use the product,
even if you do not have a phono amplifier or connectable equipment with a
built-in phono amplifier.
Use the pre-amplifier selector switch to set the output, as shown below.
Connectable
equipment being
used
Position of
pre-amplifier
selector switch
Where to connect
RCA audio cable
Device with phono
input
PHONO Phono input jack and
ground (earth) terminal of
connectable equipment
Device without phono
input
LINE AUX or line input jack of
connectable equipment
PC sound card LINE PC sound card’s line input
jack
*1
*1
An audio adapter (sold separately) may be required to connect the RCA audio cable to
the line input jack of the PC sound card.
Centerline
Tracking force gauge ring
Hinge
AT-LP3_UM_V2_ATUS_book.indb 8 2016/11/29 11:17
 Loading...