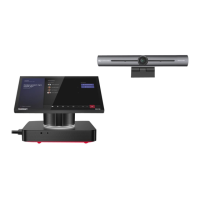
RXV81 MTR on Android Video Collaboration Bar
User's & Administrator's Manual 22 Document #: LTRT-18251
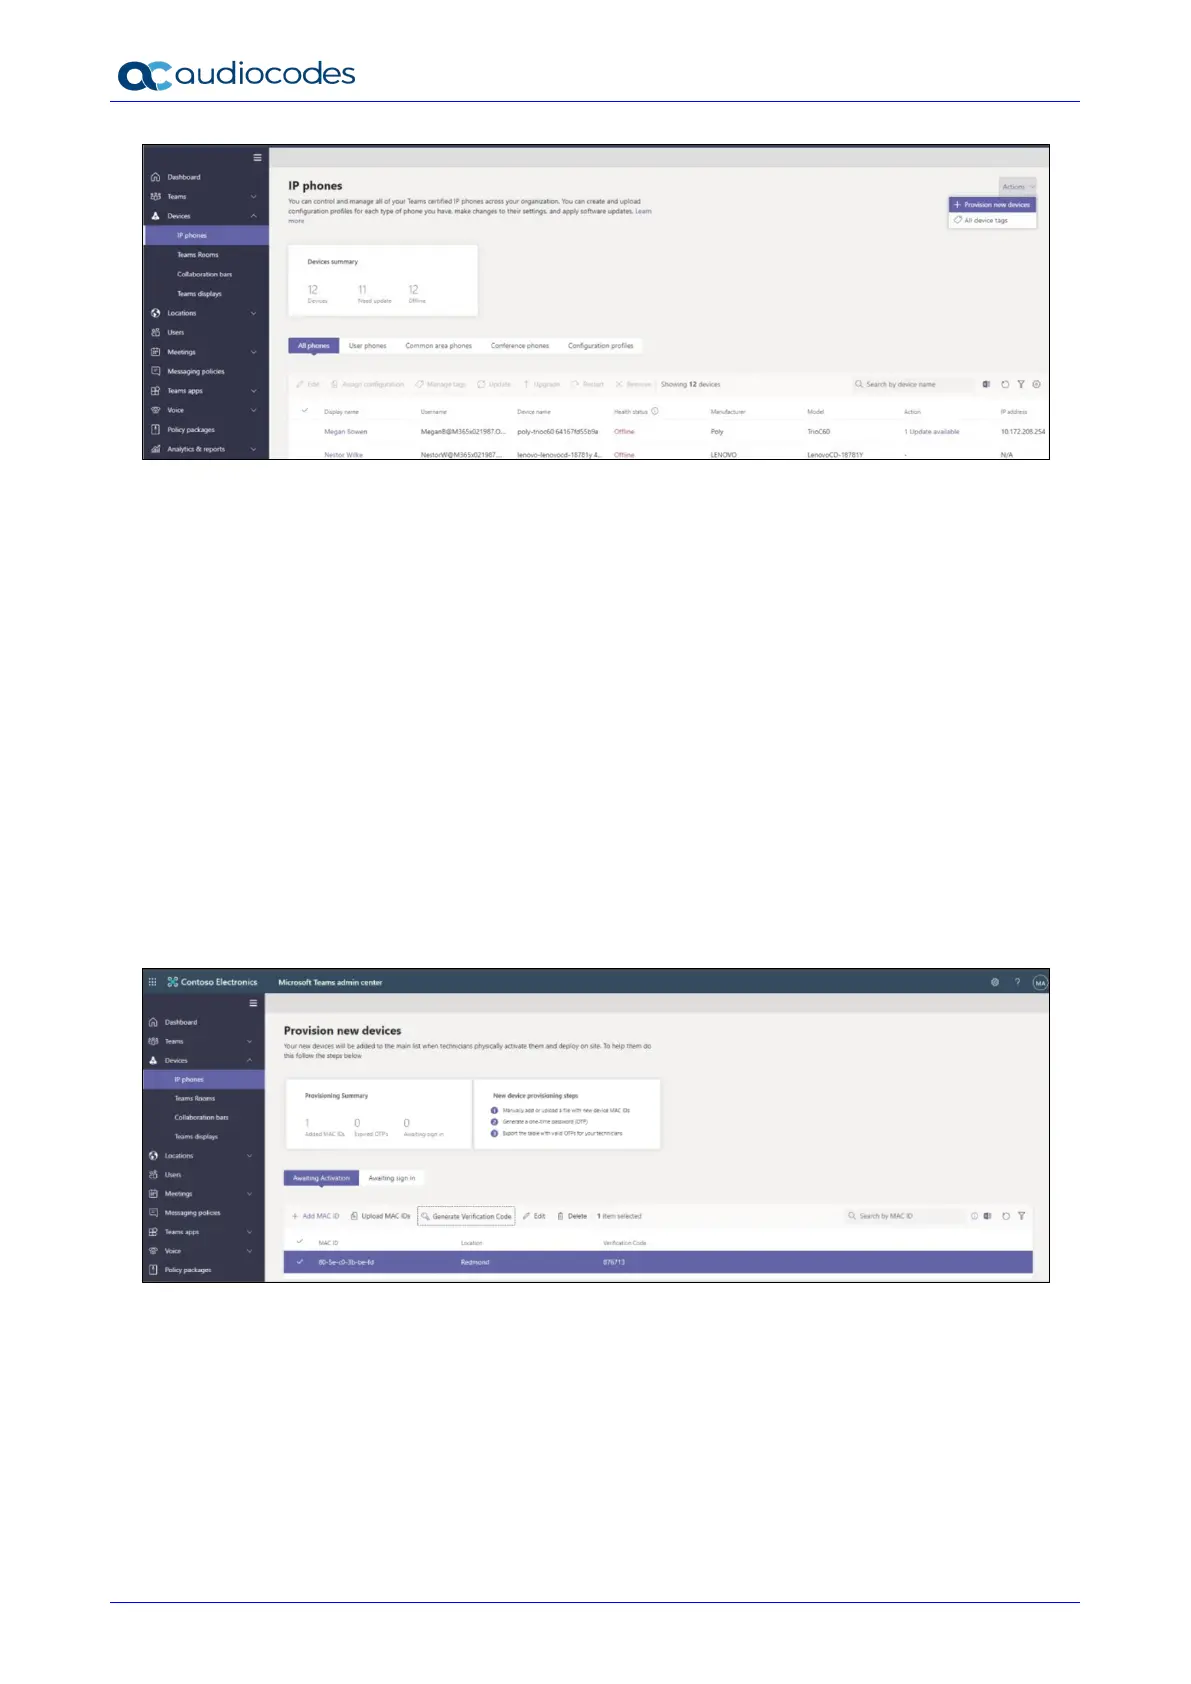
In the ‘Provision new devices’ window, you can either add the MAC address manually or upload a
file.
Manually add a device MAC address
1. From the Awaiting Activation tab, select Add MAC ID.
2. Enter the MAC ID.
3. Enter a location, which helps technicians identify where to install the devices.
4. Select Apply when finished.
Upload a file to add a device MAC address
1. From the Awaiting Activation tab, select Upload MAC IDs.
2. Download the file template.
3. Enter the MAC ID and location, and then save the file.
4. Select the file, and then select Upload.
Step 2: Generate a verification code
You need to generate a verification code for the devices. The verification code is generated in
bulk or at the device level and is valid for 24 hours.
From the Awaiting Activation tab, select an existing MAC ID. A password is created for the
MAC address and is shown in the Verification Code column.
You'll need to provide the list of MAC IDs and verification codes to the field technicians. You can
export the detail directly in a file and share the file with the technician who is doing the actual
installation work.
Step 3: Provisioning on the device
Once the device is powered up and connected to the network, the technician provisions the
device by choosing the ‘Settings’ gear on the top right of the new ‘Sign in’ page and selecting
Provision phone.

 Loading...