Verifit
®
User's Guide Version 3.12
November 2015
Local printer setup
Failure to follow operating instructions could place the user or operator at risk.
1. Connect an external printer to a USB port on the rear connector panel. Only PCL 3 (not PCL3GUI), PCL 5, !
PostScript compatible printers are supported, as well as, HP Laserjet Pro 1660, and Deskjet models 3050,
1000, D2680, D4160, 6940 and 460.
2. Press <Setup>, then highlight and <PICK> [Printing].
3. Highlight & <PICK> [USB].
4. Highlight & <PICK> [Printer details] (automatic if printer type is set to None).
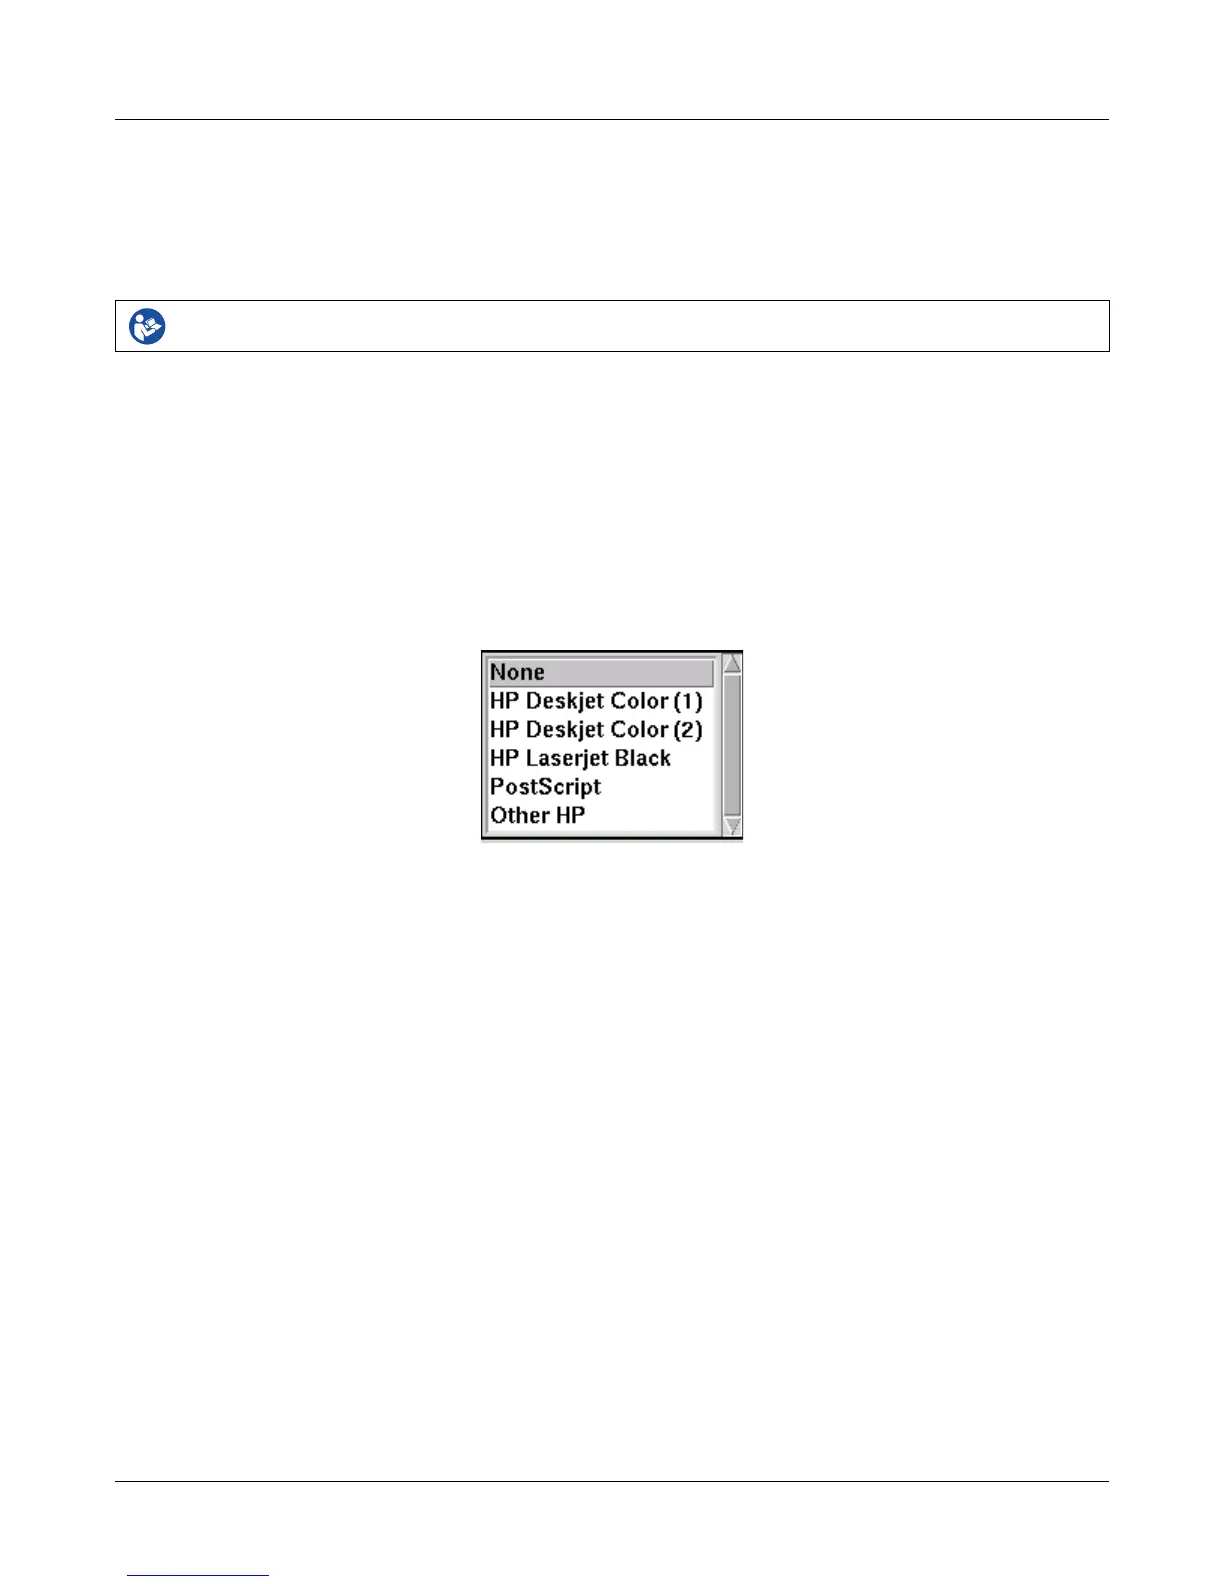
5. Highlight & <PICK> [Printer type].
6. Highlight & <PICK> your printer type. Select HP Deskjet Color(1) for a printer with a single ink cartridge;
HP Deskjet Color(2) for a printer with separate color and black ink cartridges; HP Laserjet Black. Check
[Black only] for black printouts on a color printer. Select Other HP for a list of supported specific printer
models and press <Continue>.
7. If Other HP was selected, pressing <Continue> summons the HP printer selection menu. Select a Printer
model from the drop-down list and press <Continue>.
8. Press <Continue> to exit Setup.
Printing to USB memory
1. Plug a USB memory stick into one of the USB ports on the rear connector panel. The Verifit may be either
on or off.
2. Press <Setup>, then highlight and <PICK> [Printing].
3. Highlight and <PICK> [Print to USB file].
4. Highlight and <PICK> [Printer details] to change the file type [Bitmap (bmp)] or [Internet GIF (gif)] and the
captured area [Full screen], [Main window] (full screen without the message line or [Active window]
(foreground image only).
5. Press <Continue> to save the settings and exit the setup menu.
6. To save a screen image to a file, press <Print>. Do not unplug the USB stick until the 'Accessing USB stick'
34