3
• Check the location of the terminal connections.
For SA 07.1 - SA 16.1 motor power is connected in center of socket carrier.
For SA 25.1 - SA 48.1 motor power is connected in separate conduit entry (Figure A).
For SA 07.1 - SA 48.1 control power is connected to sockets in socket carrier.
• Attach conduit to terminal compartment cover.
CAUTION: Appropriate conduit and sealing methods must be followed to ensure the type of
enclosure furnished.
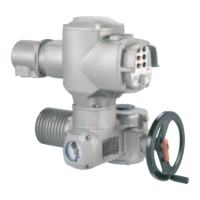
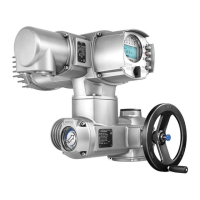
Wiring Connections - Refer to drawing inside terminal compartment cover
NOTE: The drawing contains the required information for correct actuator electrical connection.
Typical customer controls are also shown.
• Connect motor wires to the designated terminals. Connect ground to designated terminal.
• Connect control wires to designated terminals in accordance with drawing.
CAUTION: The following must be considered when wiring an AUMA
actuator:
♦ The time delay (i.e., from limit or torque switch tripping until the motor is switched off) should not
exceed 20 ms. We strongly recommend switching off the motor directly by installing the
corresponding switches in the control wiring to the contactor. This concern is especially important
when using PLC’s. Switch output to a PLC should be for indication only.
♦ Each switch has contacts which are not completely isolated and therefore are suitable only for the
same voltage potential. (See drawing for detailed information.)
♦ The valve manufacturer decides whether switching off in the end position should be by limit switch
(limit seating) or torque switch (torque seating).
♦ AUMA motors have 3 thermoswitches as standard equipment. These switches must be directly
wired into the control circuit to protect the motor. If these are not connected, the warranty for the
motor is not valid.
Completion of Electrical Connection
• Clean the sealing faces at plug or cover for terminal compartment, check to ensure that the O-ring
is not damaged.

 Loading...