Page 21 of 51
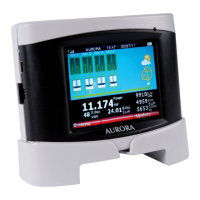
At this point it is possible to choose which inverter(s) to associate uniquely with the own PVI-DESKTOP so
that they cannot be “seen and recognised” by other PVI-DESKTOPs nearby. The selection is made by
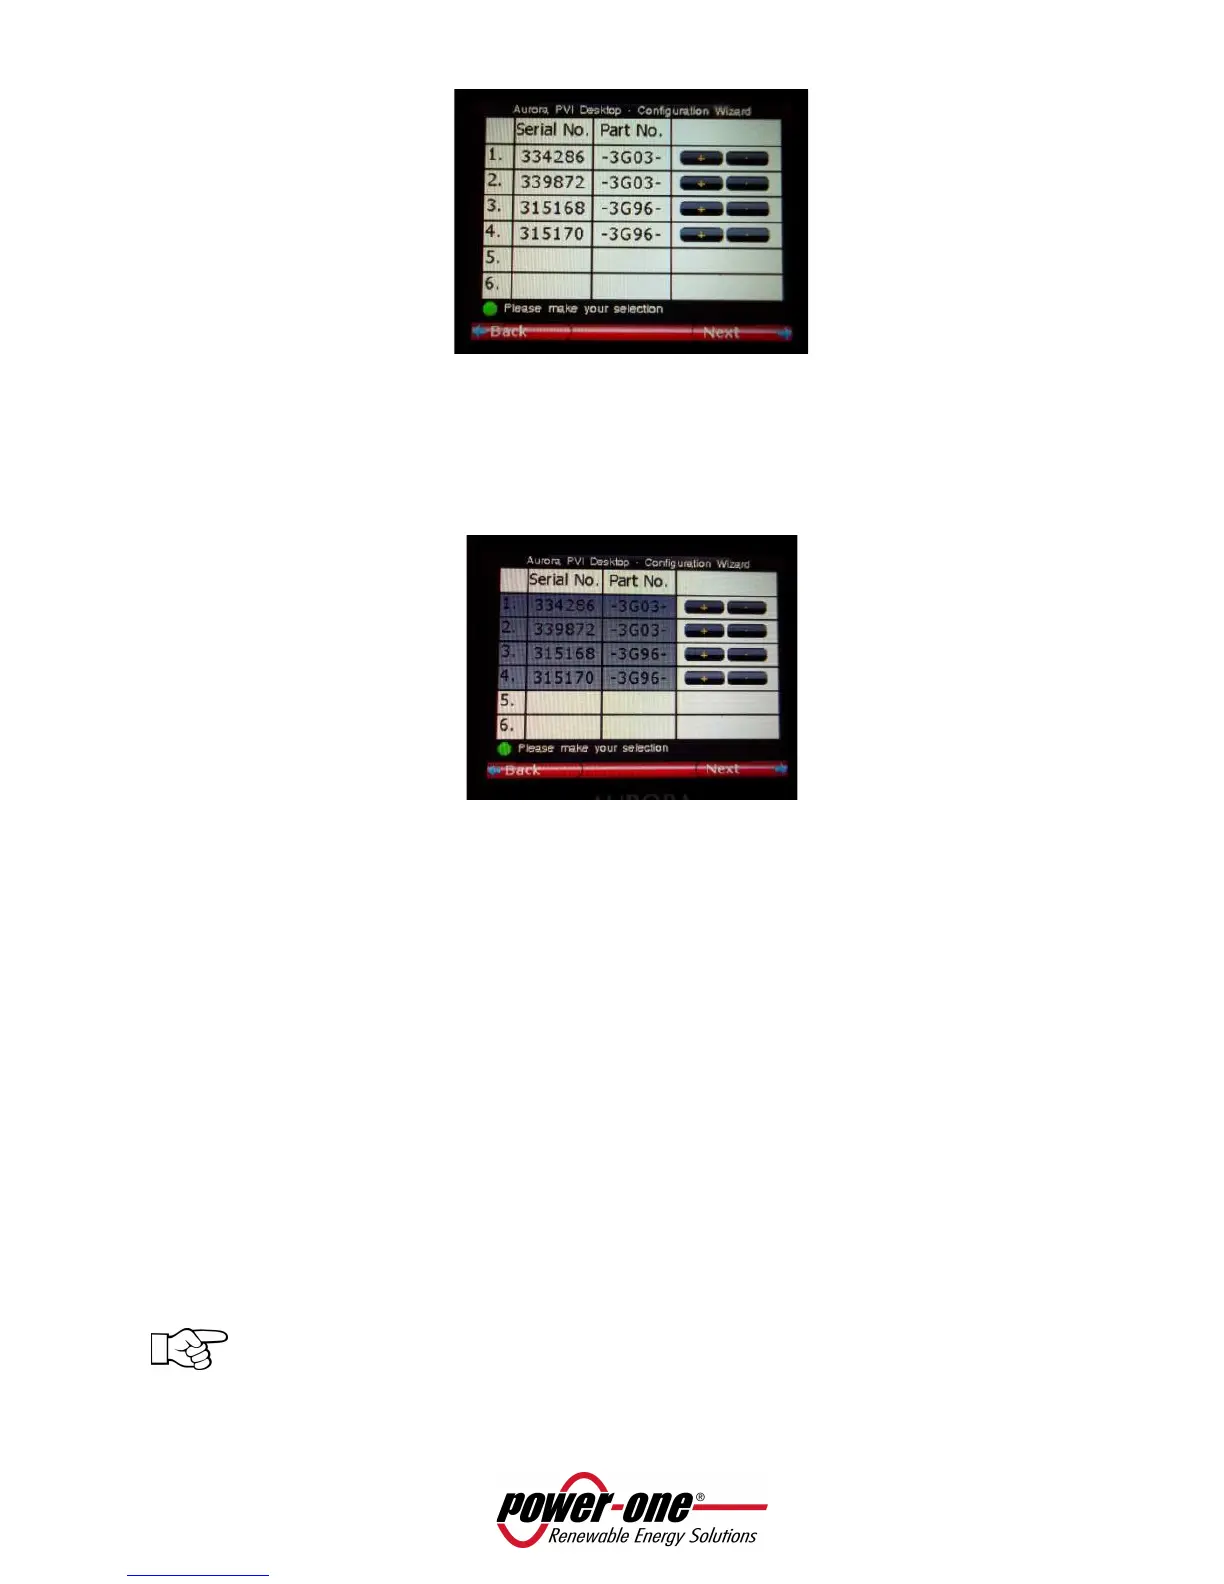
pressing the '+' key next to each inverter chosen. Pressing the '+' key changes the colour of the
corresponding row in the table and highlights the selection.
• It is advisable to check that the serial numbers of the inverters chosen match those of the inverters in
your system to avoid associating inverters from other systems nearby with the own PVI-DESKTOP.
• Once the selection has been made, the "next" key on the display must be pressed and the choice
confirmed.
• At this point the system is configured and:
o In case of radio communication, the LED on the PVI-RADIOMODULE corresponding to the
association state will cease to flash and will stay switched off. This state corresponds to
the PVI-RADIOMODULE association with the PVI-DESKTOP system (see paragraph 5.3.3).
o The PVI-DESKTOP system starts the synchronization procedure. Data synchronization
allows daily energy production data that the inverter has stored in its memory, to be
copied into the PVI-DESKTOP system and be ready for the user. The first synchronization
can also take a very long time because of the high amount of historical data that the
inverters will send to the PVI-DESKTOP.
o On the other hand, if the channel scan is unsuccessful, an error message and a request to
repeat the scan will be displayed. To determine the causes of non-recognition of the
inverters, consult the troubleshooting guide (paragraph 7) of this manual.
NOTE: inverters configuration must be carried out at the same time. Avoid associating other
inverters once the system has already been configured with one or more inverters. For other
inverters association please refer to paragraph 5.3.3.
 Loading...