12
Dominator EasyRoller Instruction Manual
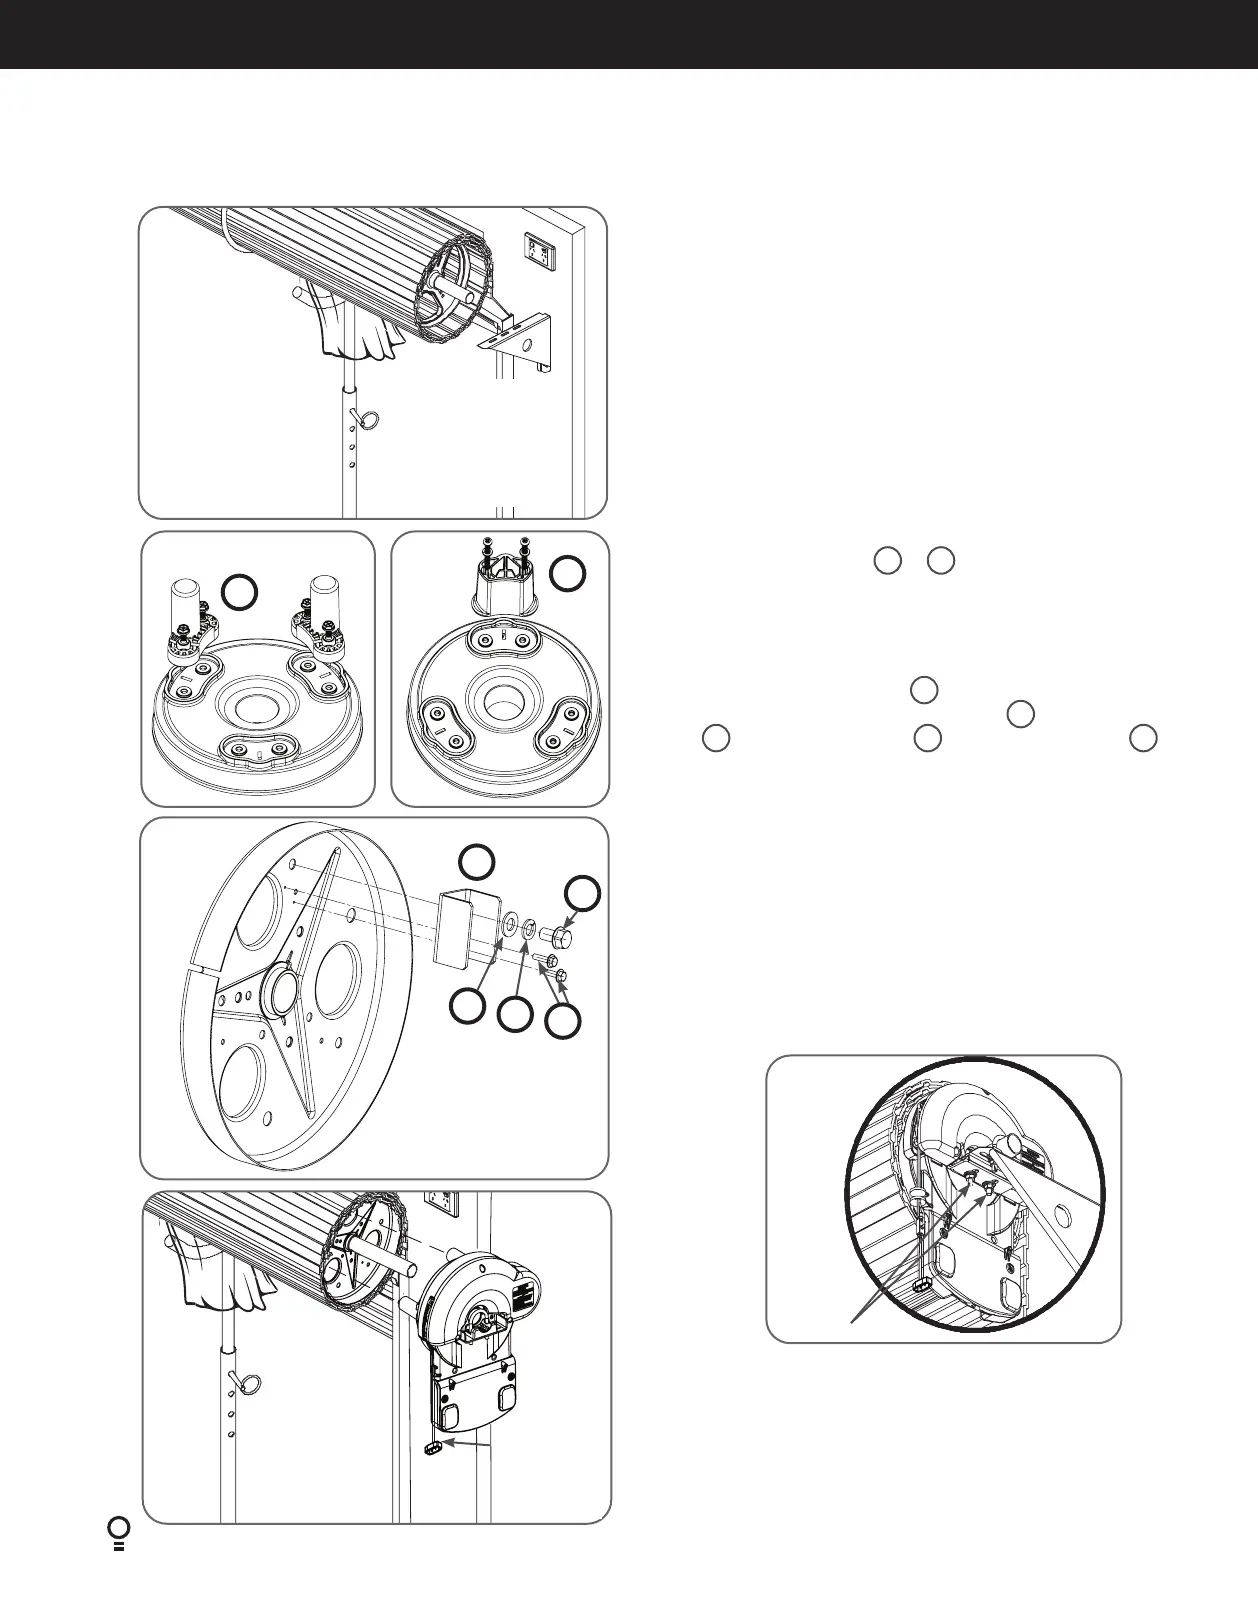
6.5. Mounting the Opener
6.5.1 Raising the Door:
a. When in position, remove the U-bolt (or bolts) and saddle from
the door bracket.
b. Lift the door up and away from the wall until clear of the door
bracket, before lowering the door to rest on the door stand or
prop. (Fig 6.5.1)
NOTE: If there is limited ceiling space to lift the door, the door
bracket may have to be removed. If this is required, when refitting the
door bracket , use the reference marks on the wall for correct position
and ensure that it is secure to the wall and will support the door.
NOTE: For tight sideroom installations the door may have to be taken
down.
Lift door
up, away
from wall
and down
onto prop
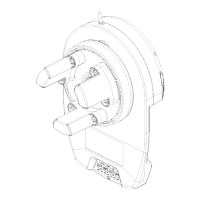
6.5.2 Install the Prongs OR the Drum Adaptor
Install the Prongs:
a. Remove the prong kit
(i)
or
(ii)
from the box.
b. Connect the prongs to the internal gear as shown in Fig 6.5.2
and secure it using fasteners supplied.
OR
Install the Drum Adaptor:
a. Remove the U Shape Adaptor from the box.
b. Place the U Shape Adaptor
1
on the drum wheel as shown in
Fig 6.5.2 and secure it using the spring
5
and flat washers
4
, 2 x self tapping screws
3
and the hex head screw
2
.
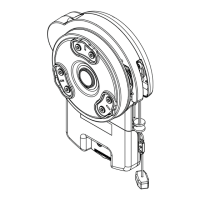
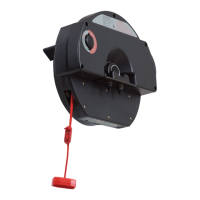
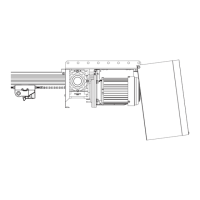
6.5.3 Mounting the Opener:
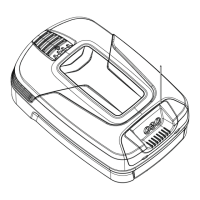
a. Remove the opener from the box.
b. Check the drive gear rotates freely, by pulling the string handle
down (there will be a click) to disengage opener. Then move
the forks from side to side by hand.
c. Slide the opener over the door axle and into the drum of the
door as shown in Fig 6.5.3.
d. Push the opener in as far as possible (without interfering with
the curtain) SO ONE OF THE DOOR DRUM’S WHEEL SPOKES
IS BETWEEN THE OPENER’S DRIVE FORKS.
e. Raise the door off the door stand or suitable prop.
f. Lift up and over the door bracket and use your reference marks
on the door bracket to position the door.
Fig. 6.5.2a
Fig. 6.5.1
Tighten
U-bolts
Pull string
down to
disengage
opener
Slide opener
over door
axle
Fig. 6.5.3
g. Refit the U-bolt and nuts and tighten (Fig 6.5.4).
h. Remove the safety rope and door stand or prop.
i. Connect the power cort to a suitable powerpoint, but DO NOT
SWITCH ON.
j. Secure the power cord away from any moving object (e.g the
door) with the cable clip supplied.
k. With the opener still disengaged, pull the door up and down to
make sure it runs freely.
NOTE: After Installation, ensure that parts do not extend over public
footpaths or roads.
Fig. 6.5.4
(ii)
(i)
Fig. 6.5.2b
2
1
4
5
3