2
Table of Contents
1. Installation Safety Warnings! 3
2. Before you Begin 4
Examine the conditions in the garage: 4
Test the following before commencing installation: 4
3. Tools Required 4
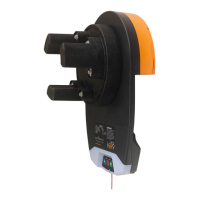
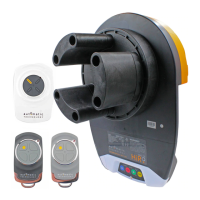
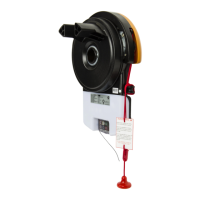
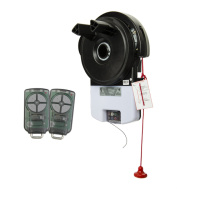
4. Kit Contents 5
5. Position 5
6. Fit the Opener 6
7. Bracket Position 6
Wall Bracket Position: 6
Mounting The Wall Bracket: 6
Attach The Rail To The Wall Bracket 6
8. Perforated Angle 7
Attach Perforated Angle or equivalent 7
Alternative Mounting Option 7
9. Mounting Brackets and Arms 8
Mounting The Door Bracket: 8
Attaching the Arms 8
10. Connect to Power 8
11. Setting Limits 9
Setting the Datum: 9
Set the Limit Positions: 9
Resetting the Door Limit Positions 9
Reset all Factory Defaults 9
Setting the PET Mode position 9
12. Safety Testing 10
Test the Close Cycle 10
Testing the Open Cycle 10
Test the Manual Door Operation 10
Adjusting Safety Obstruction Force 10
To Increase Force Pressure 10
To Decrease Force Pressure 10
To Recall Factory Set Force 10
To Recalculate Force Margins 10
13. Control Board & Accessories 11
Control Board Layout 11
Auxiliary Output 11
14. Coding a Transmitter 12
Storing the Transmitter Code 12
Coding a Transmitter to Enable Vacation Mode 12
Coding a Transmitter to enable AUX Output 12
Setting the Transmitter to Operate PET Mode 12
Coding a Transmitter to the Courtesy Light 12
Installation of the Wall Mounted Transmitter 13
Remotely Coding Transmitters 13
Erasing a Stored Transmitter Code 13
Erasing All Transmitter Codes 13
15. Home Owner Safety Warnings! 14
16. Opener Safety & Security 15
Your Door CAN NOT be used when: 15
Your Door CAN be used when: 15
To Disengage the Opener: 15
To Re-Engage the Opener: 15
17. Operating your Opener 15
18. User Operating Controls 16
19. Door Status Indicators 16
20. Specifications 17
21. Troubleshooting 18
22. Maintenance 20
23. Battery Replacement 20
24. Battery Disposal 20
25. Service Schedule 21
26. Warranty 22
27. Optional Accessories 23
Installation Instructions
Home Owner Instructions