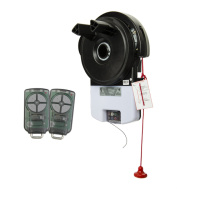
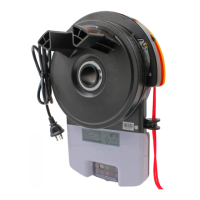
1. 1 x GDO-11 drive unit
2. 2 x Transmitters and batteries
3. 1 x Bent arm door attachment
4. 1 x Straight arm door attachment
5. 1 x Wall bracket TS01
6. 1 x Door bracket Locator
7. 1 x Door bracket
8. 3 x Pin Snap SSP 8 ZNU 31080
9. 2 x Hex Head screw M8x25
10. 1 x Pin 0890
11. 2 x Clevis Pin 0829
12. 2 x Hex Serration flange nut M8
13. 4 x Hex flange screw taptite ‘S’ M4 x 10
14. 1 x Visoclip
PLUS
15. 2 x Track Bracket
16. 1 x Pre-Assembled
Single Piece C-Rail
15
1
16
4
3
5
6
11
7
13
10
8
12
9
5. Position
Perforated
Angle
The Opener:
a. MUST BE installed in a dry position, protected from weather.
b. REQUIRES properly earthed 3 pin single phase power on the ceiling within an arms length of the opener.
c. Requires a MINIMUM HEADROOM of 57mm between the highest point of the door’s travel and the ceiling.
d. Use the diagram below as a reference when completing the installation.
118
8