11. Setting Limits
Set the Limit Positions:
The Limit Positions can vary due to site conditions, such as uneven
ground. When setting the Close limits, ensure the position is when
the door makes first contact with the ground. Alternatively for the
Open limits the position should be at the height of the garage
opening.
WARNING! In setting the close limit position, do not
force the door into the floor with excessive force, as
this can interfere with the ease of operation of the
manual release mechanism.
a. Press and hold MINUS (-) button until the door reaches your
desired close limit position. The rubber strip at the bottom of the
door should form a good seal with the ground.
b. Release the MINUS (-) button when the door is near the desired
closed position. Single presses of the MINUS (-) button will inch
the door closer to the ground.
c. If the door overshoots press the PLUS (+) button to move the
door in the open direction.
d. When the door is at the desired close position, press the LIMIT
SET button, the OPEN LIMIT LED will now flash.
e. Press and hold the PLUS (+) button until the door reaches your
desired open limit position. Single presses of the PLUS (+) button
will inch the door open.
f. If the door overshoots press the MINUS (-) button to move the
door in the close direction.
g. When the door is at the desired open position, press the LIMIT
SET button.
WARNING! The door will automatically close, open and
close again after the next step. Ensure that nothing is
in the door’s path.
h. The door will now automatically close and open to calculate the
safety obstruction settings.
Resetting the Door Limit Positions
Limit positions can be deleted by:
a. Press and hold MINUS (-) button for six (6) seconds until the
CLOSE LIMIT LED flashes quickly.
b. Release the MINUS (-) button.
NOTE: If no action is taken within 30 seconds, the opener will return
to normal operating mode and restore the original settings.
c. Follow steps a - f in Set the Limits Poisitions to set new limit
positions.
Reset all Factory Defaults
a. Turn power to the opener off.
b. Press and hold the SET Button.
c. Turn power on while holding the SET button.
Continue to hold until all LED’s are off.
d. This will not erase transmitter codes stored in
memory.
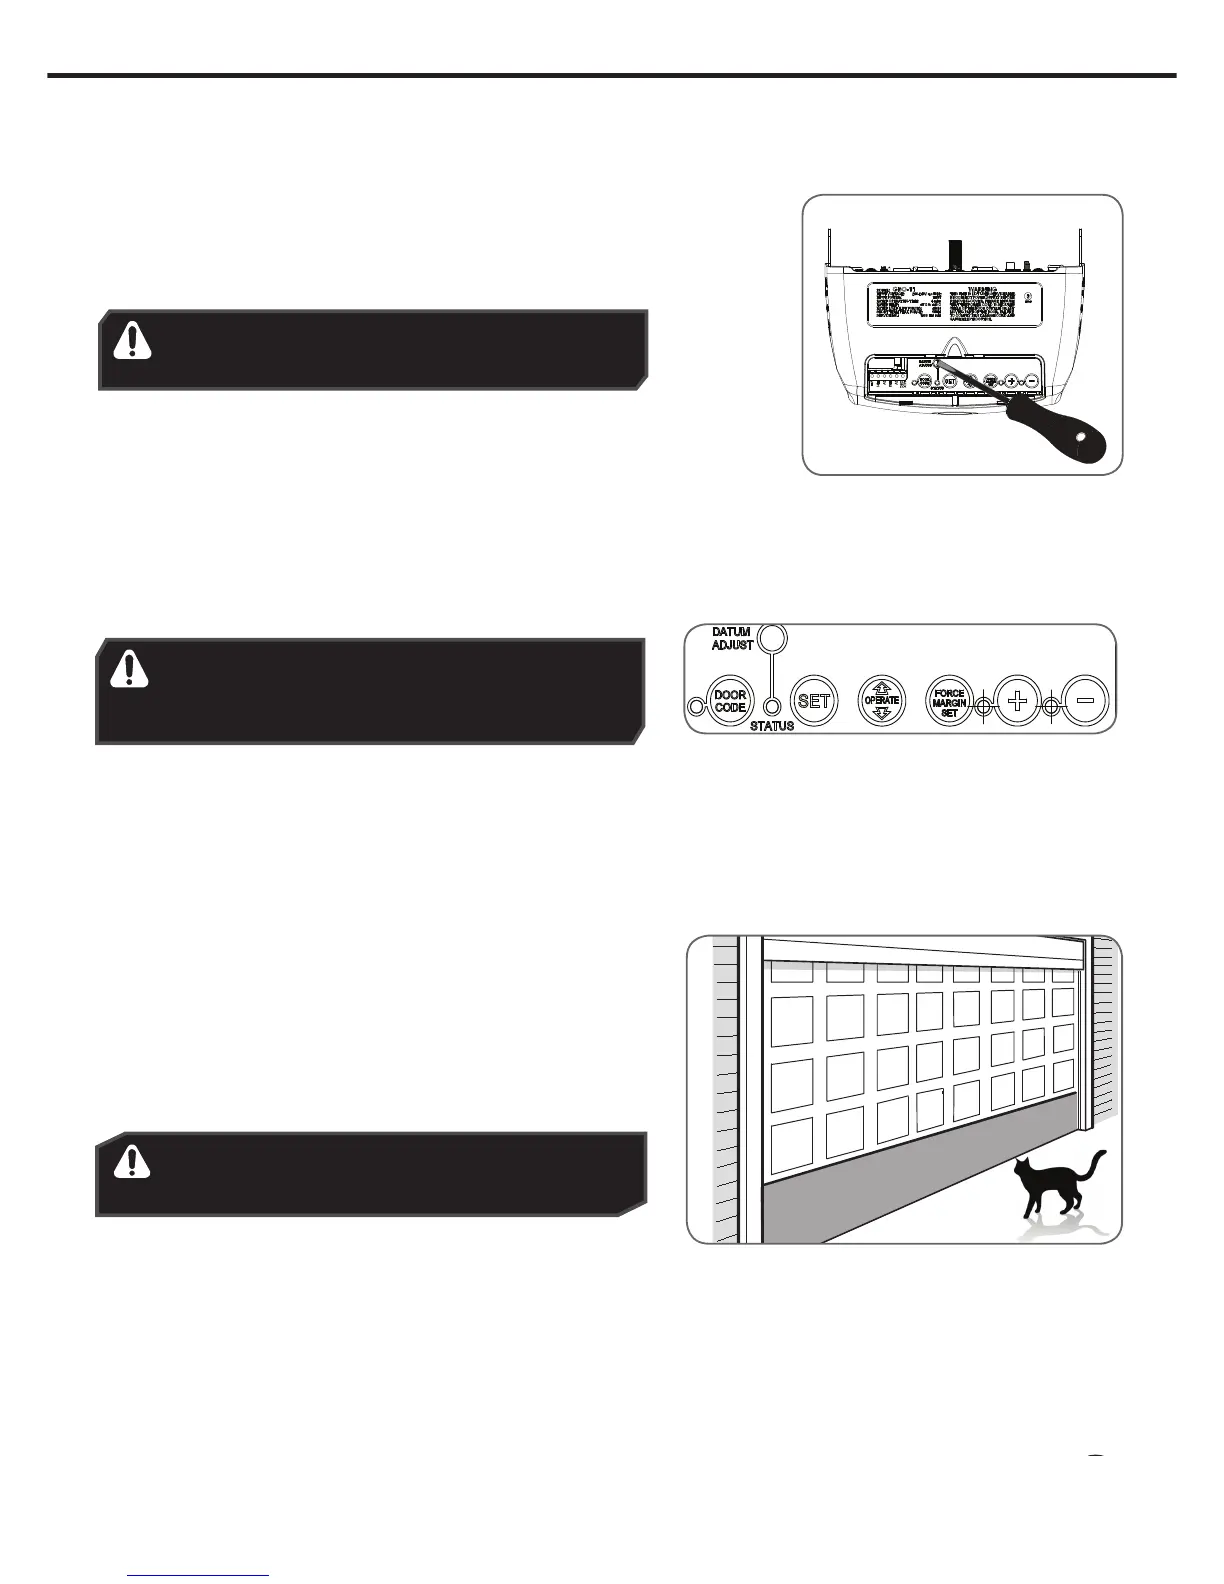
Setting the PET Mode position
When activated, PET mode drives the door to a preset
position from the close position, therefore allowing a
pet or parcel to go under the door.
a. Drive and stop the door at the deisred PET mode
open position by pressing the transmitter button
coded for Open/Stop/Close operation.
b. Press and hold the PLUS (+) button on the opener
for six (6) seconds until the OPEN and CLOSE LED’s
are lit to record the new PET position.
c. Release the PLUS (+) button.
Setting the Datum:
a. Press and hold the MINUS (-) or PLUS (+) buttons to move the door to the
halfway position. Ensure that the door, shuttle and chain index are engaged.
b. Using a small blade screw driver turn the datum adjust screw slowly until the
yellow status LED just illuminates.
c.
d.
e.
NOTE: If the status LED is already illuminated when power is connected then
turn the datum adjust screw until the LED goes off then turn back one notch to
illuminate again.
AUX
OSC
0V
EB2
0V
EB1
V+
WARNING! The safety obstruction detection system
is inoperable while MINUS (-) and PLUS (+) drive
buttons are being used and travels limits are not set.