Maintenance instructions
22
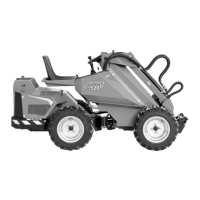
500 Series
1. CLEANING OF THE LOADER
Cleanliness of the loader is not only a question of
outer appearance. All surfaces, painted and others,
will stay in better condition when they are cleaned
regularly. A clean machine also lasts longer. A dirty
machine will run hotter and will collect dirt into the
air cleaner, which is likely to damage the engine. Pay
special attention to the cleanliness of the engine, the
oil tank cover, the engine compartment and the
hydraulic pump compartment. The loader can be
washed with a pressure washer.
ATTENTION! If the loader is equipped with a
hydraulic oil cooler (standard on models 520+, 523+,
528+ and 530+, optional on other models), which
is located under the drivers seat, make sure to clean
the oil cooler cell with compressed air every time you
are servicing the loader - and even more frequently
if the loader is being used in dusty conditions. Take
off the drivers seat and the seat base before cleaning
the oil cooler.
2. TYRE PRESSURE
Correct tyre pressure means that the tyres last much
longer. Wrong tyre pressure increases tyre wear and
can be a safety risk when working with the loader.
Recommended tyre pressures are:
- 5.00 - 10 tyre 2.8 bar (40.6 PSI)
- 23*8.50-12 tyre 2.5 bar (36.3 PSI)
- 23*10.50-12 tyre 2.0 bar (29.0 PSI)
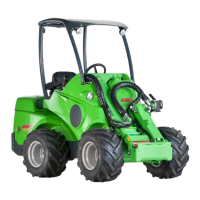
3. BATTERY CHECK
In order to secure the starting
and safe operation the battery
of the loader must be checked
regularly. Checking the elect-
rolyte level of the battery
happens by opening the filler
caps. ATTENTION! Clean the
battery before opening the caps
so that dirt cannot get in the
battery. Check also the contacts and clean if necessary.
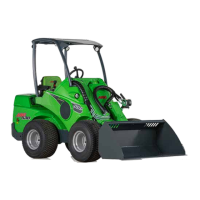
4. HYDRAULIC OIL LEVEL
Hydraulic oil level can be chec-
ked with the dipstick in the filler.
Oil level should be between the
two marks in the dipstick. Refill
when necessary. Clean the area
before checking hydraulic oil
level. Do not let any contami-
nents enter the hydraulic tank
during this procedure.
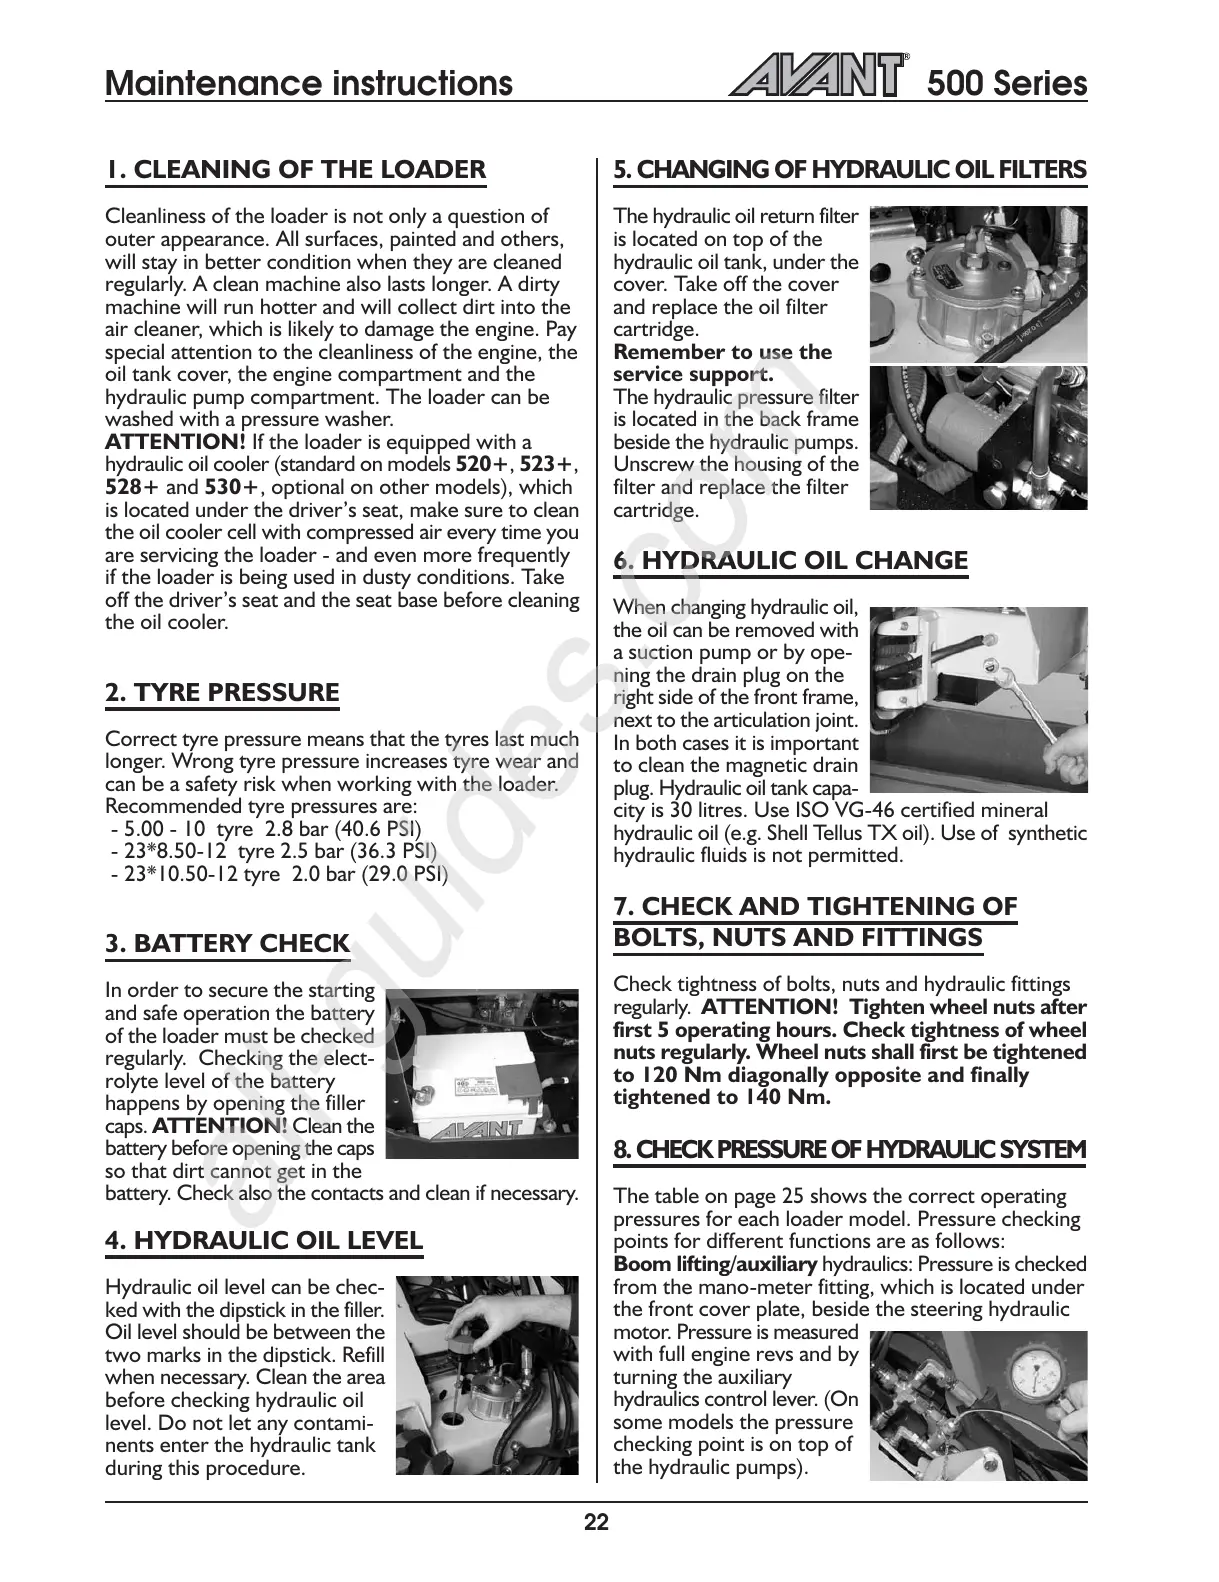
5. CHANGING OF HYDRAULIC OIL FILTERS
The hydraulic oil return filter
is located on top of the
hydraulic oil tank, under the
cover. Take off the cover
and replace the oil filter
cartridge.
Remember to use the
service support.
The hydraulic pressure filter
is located in the back frame
beside the hydraulic pumps.
Unscrew the housing of the
filter and replace the filter
cartridge.
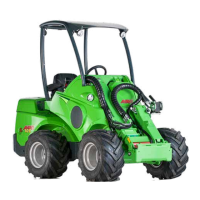
6. HYDRAULIC OIL CHANGE
When changing hydraulic oil,
the oil can be removed with
a suction pump or by ope-
ning the drain plug on the
right side of the front frame,
next to the articulation joint.
In both cases it is important
to clean the magnetic drain
plug. Hydraulic oil tank capa-
city is 30 litres. Use ISO VG-46 certified mineral
hydraulic oil (e.g. Shell Tellus TX oil). Use of synthetic
hydraulic fluids is not permitted.
7. CHECK AND TIGHTENING OF
BOLTS, NUTS AND FITTINGS
Check tightness of bolts, nuts and hydraulic fittings
regularly. ATTENTION! Tighten wheel nuts after
first 5 operating hours. Check tightness of wheel
nuts regularly. Wheel nuts shall first be tightened
to 120 Nm diagonally opposite and finally
tightened to 140 Nm.
8.
CHECK PRESSURE OF HYDRAULIC SYSTEM
The table on page 25 shows the correct operating
pressures for each loader model. Pressure checking
points for different functions are as follows:
Boom lifting/auxiliary hydraulics: Pressure is checked
from the mano-meter fitting, which is located under
the front cover plate, beside the steering hydraulic
motor. Pressure is measured
with full engine revs and by
turning the auxiliary
hydraulics control lever. (On
some models the pressure
checking point is on top of
the hydraulic pumps).