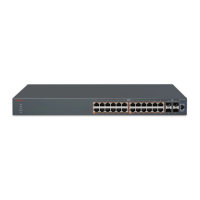
Installing the Avaya Virtual Services Platform 4000 in an
equipment rack
To install an Avaya VSP 4000 switch in an equipment rack, perform this procedure.
Prerequisites for installing the Avaya Virtual Services Platform 4000 in an equipment rack:
• Ensure that you have a space of 1.75 inches (4.45 centimeters) in height for each switch in an
EIA or IEC-standard 19-inch (48.2-centimeter) equipment rack.
• The rack is bolted to the floor and braced if necessary.
• The rack is grounded to the same grounding electrode used by the power service in the area.
The ground path must be permanent and must not exceed 1 Ohm of resistance from the rack
to the grounding electrode.
Caution:
When you mount the device in a rack, do not stack units directly on top of one another. You
must secure each unit to the rack with the appropriate mounting brackets. Mounting brackets
cannot support multiple units. For a translation of this statement, see
Translations of safety
messages on page 41.
1. Remove the screws that hold the USB cover but do not remove the USB cover.
Caution:
To ensure proper operation, the USB FLASH drive must remain inserted in all models of VSP
4850 (factory built and converted from ERS 4850), with the cover installed for additional
protection against removal. The USB FLASH drive on the VSP4850 switch is uniquely bound to
the system it was first used on and cannot be transferred to a different switch.
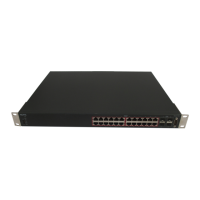
2. Attach the L-bracket to each side of the switch using a #2 Phillips screwdriver as illustrated
below.
Installing the Avaya VSP 4000 4850GTS Series
May 2016 Installing Avaya Virtual Services Platform 4850GTS Series 24
Comments on this document? infodev@avaya.com

 Loading...