E
Edward WallaceAug 18, 2025
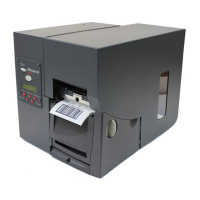
How to fix letters that are not in the correct case on Avery Dennison MONARCH 9416 XL?
- DDiana HobbsAug 18, 2025
If the letters are not printing correctly on your Avery Dennison Printer, verify that the caps lock is not enabled.