Getting Started 1-5
Establishing Communications
The printer can establish communications using the serial port, USB port, Ethernet port,
or wirelessly (if installed). Establishing communications is required for online mode.
Before the printer can accept print jobs from the host, you must:
♦ connect the communication cable between the printer and host or connect wirelessly.
♦ set the communication values on the printer to match those at the host (System
Administrator only).
Ask your System Administrator which communication method to use.
For Serial Communications:
Secure the serial cable with the connecting screws. Make sure the printer's
communication values match those at the host. The printer’s default values are 9600
Baud, 8 bit data frame, 1 stop bit, no parity, and DTR flow control.
For USB Communications:
The printer has two USB 2.0 ports.
Device port Connect to a PC and transfer data
Host port Connect external devices, such as a keyboard, scanner, or thumb drive
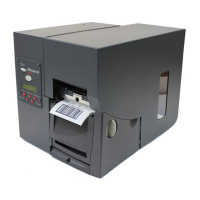
For Ethernet Communications:
The printer’s display shows the IP address when a connection is
established. The LEDs on the back of the printer indicate the
following:
Green LED Solid A connection is present.
Orange LED Blinking Network activity/receiving data.
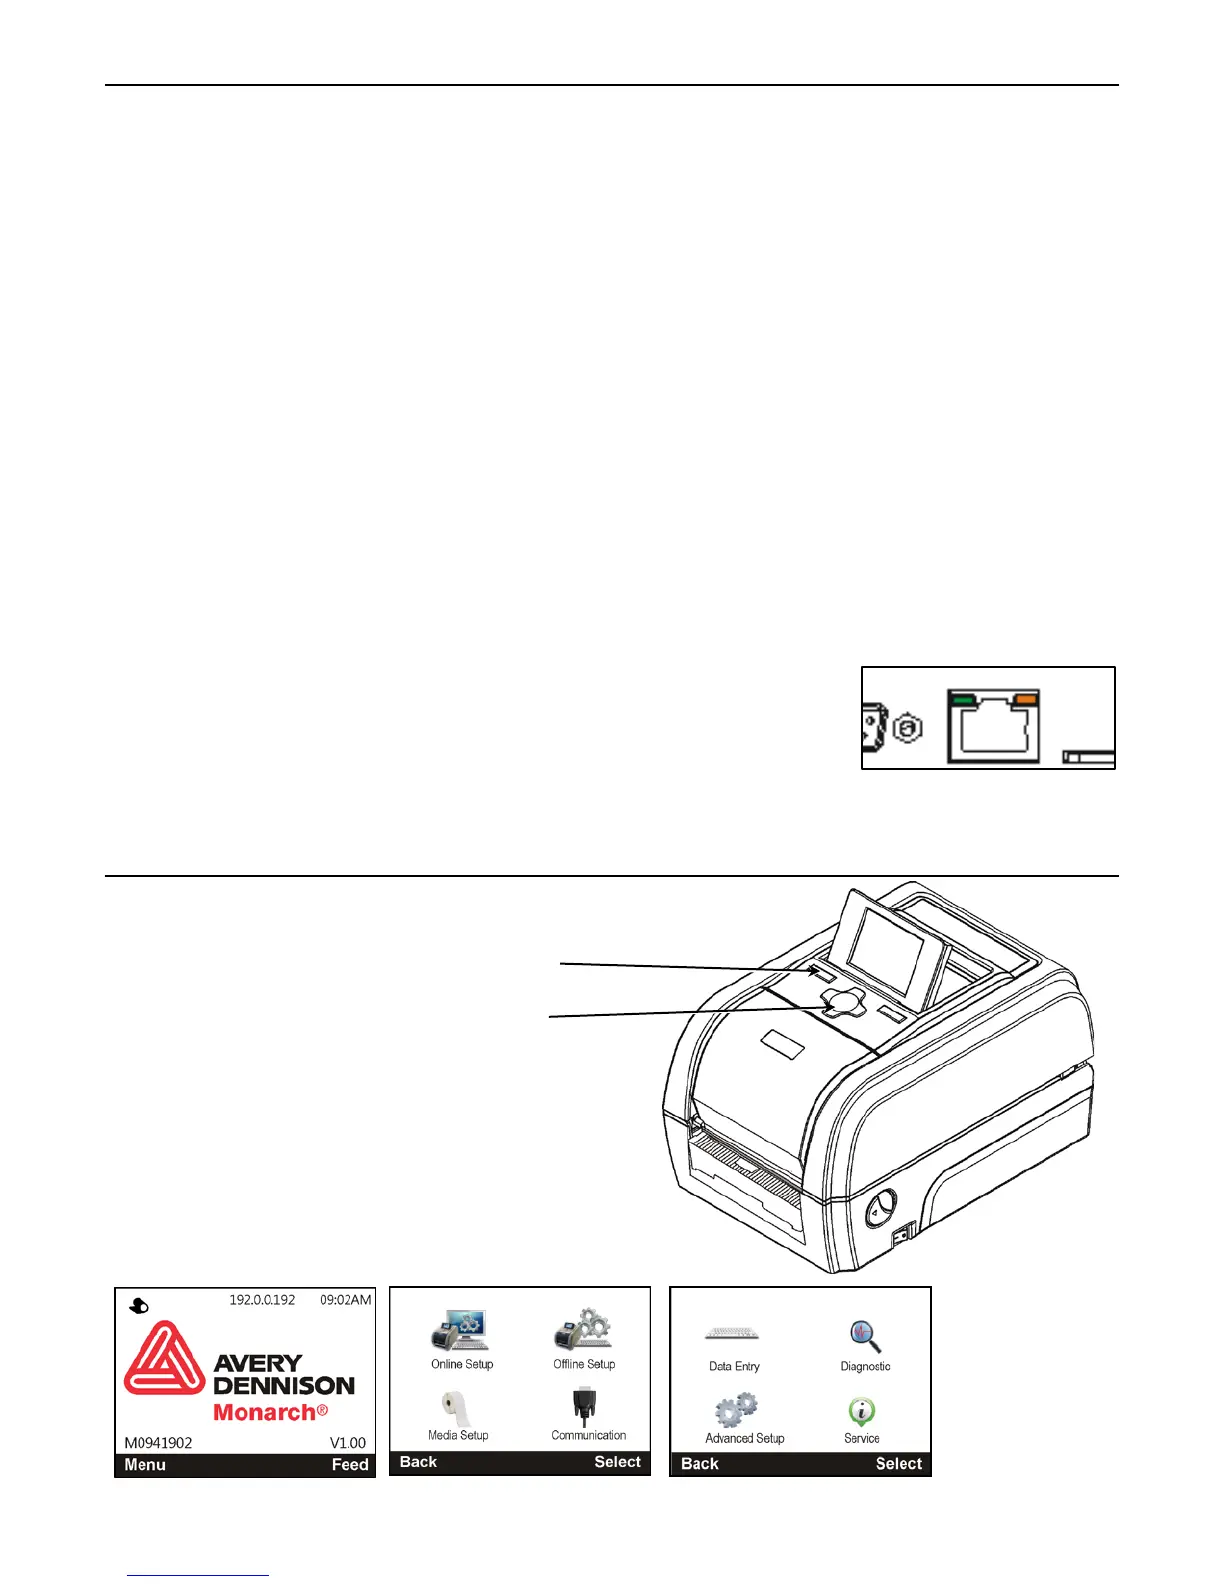
Using the Control Panel
The control panel has an LCD display with two
function buttons and a navigation button.