In some cases the autofocus will have some difficulties to focus. We strongly recommend to focus manually to
avoid autofocus issues. See also Troubleshooting/ Image in this manual.
Exposure
If you click in the field after the option ‘mode’, you will see that you have the following Exposure options: Auto,
Manual, SAE, AAE and Bright. These options are outlined below.
Auto Exposure Mode
In Automatic exposure mode, the camera determines the iris and shutter settings. See the settings below:
EV (Exposure Value): ON/OFF and Level
If the light conditions require this, you can create a quick adjustment to your current exposure settings without
actually changing the fundamental values like iris and shutter.
Take care to not ‘overdo’ the settings or the picture will become washed out bright or too dark.
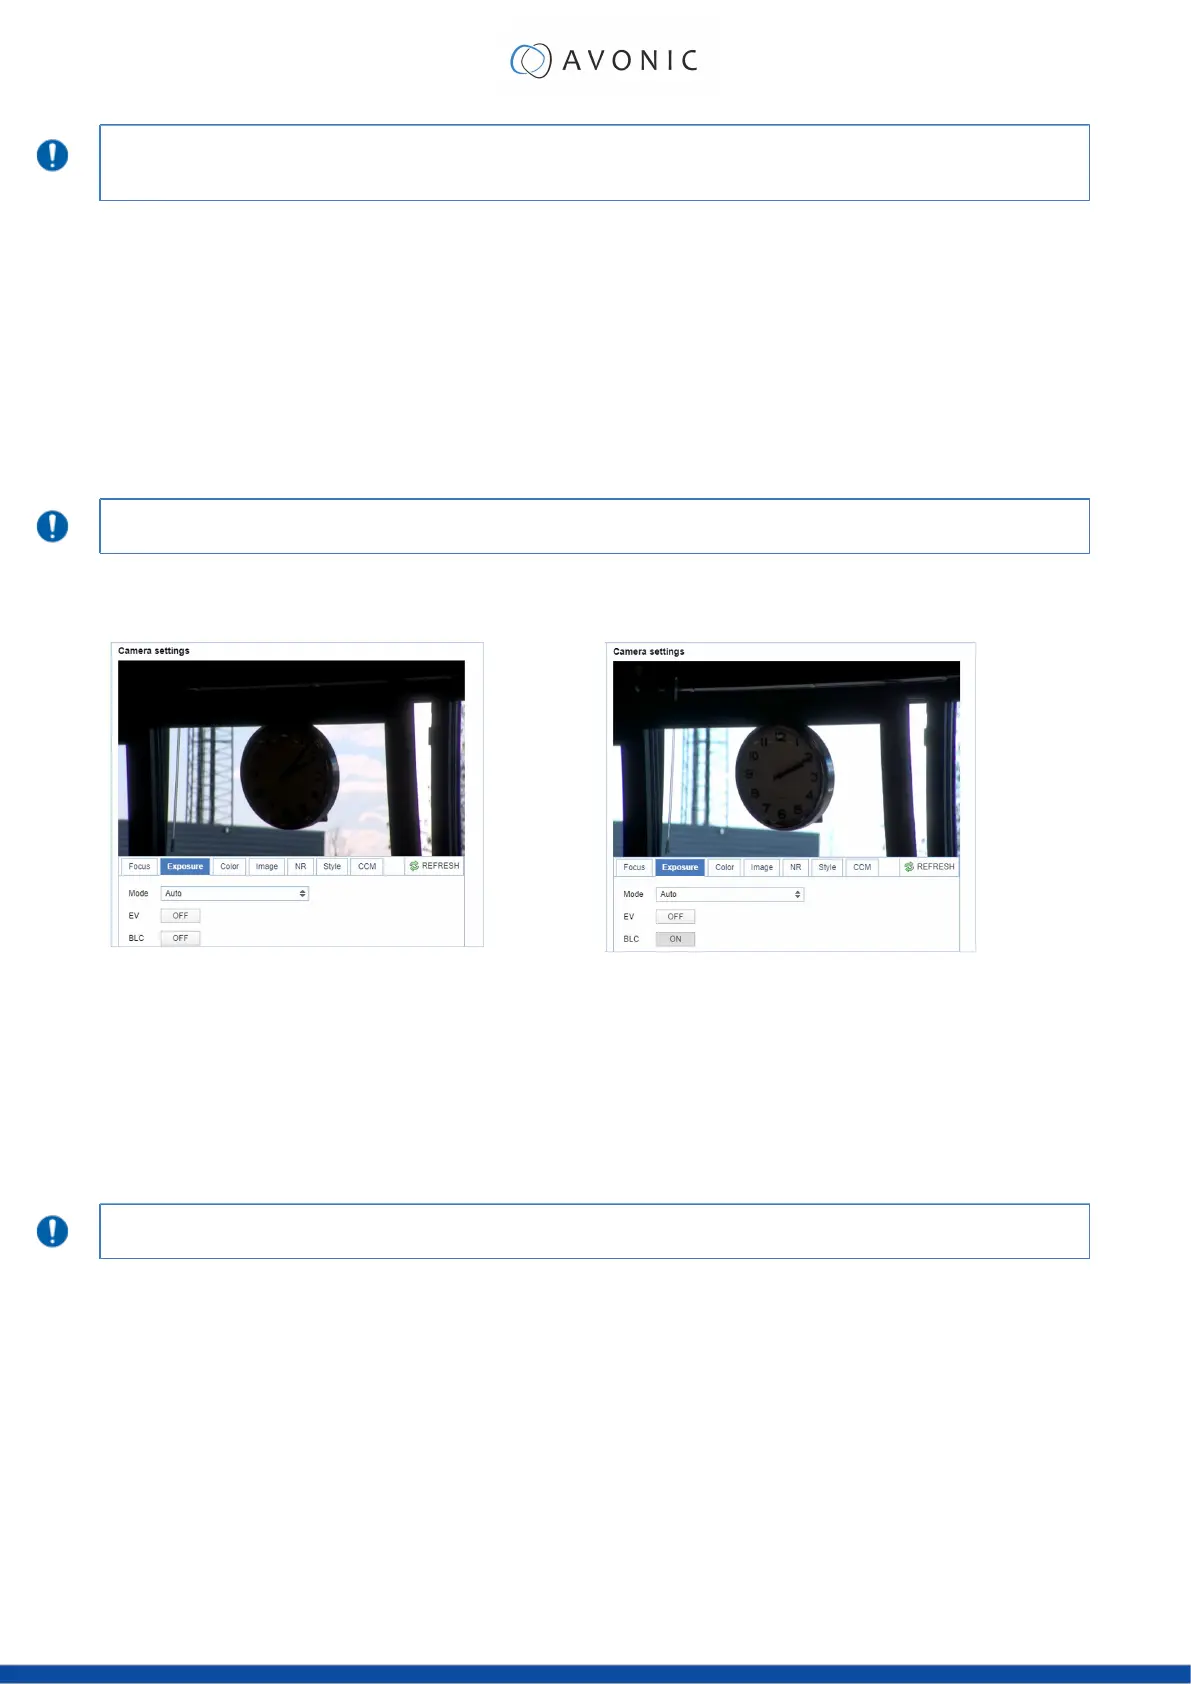
BLC (Back Light Compensation): ON/OFF
Compensation for having to film against bright light directly into the lens. See the pictures below:
Figure 24: Camera Settings > Auto Expo (BLC OFF)
Figure 25: Camera Settings > Auto Expo (BLC ON)
Flicker
This setting handles the flickering of artificial lighting in its operating space. Options are 50Hz, 60Hz and OFF. See for
more Antiflickering on the website.
G.Limit
Gain limit is the maximum level of artificial brightness and contrast that the camera can automatically add to the
image. This setting will make a significant difference to the overall picture.
This setting add noise to the picture in dark areas and produce a washed out, greyish picture.
DRC
Dynamic Range Compression has a similar effect on the picture as the above mentioned gain limit. The DRC
works by compressing the natural dynamic range of the image by taking out the darkest and lightest parts. This
can be a particular helpful setting when the light conditions are challenging. The differences should be clearly
visible in dark parts of the image, as they will become lighter/more grey as the level of DRC increases.
30
 Loading...