Execute the following steps to see a preview of the camera IP video output:
1. Use the options on the right to adjust the PTZ control, speed by zoom slider, focus and zoom
functionalities.
2. Click on the camera icon below the screen to switch the preview between main stream and sub
stream.
The Preview feature ONLY works if the main or sub stream is set to 'H264' (see VIDEO - Camera Settings).
AUDIO
Connect first an audio cable with XLR connectors to the 5 pins Phoenix connector and connect the cable
to the camera. See Balanced Audio Connection on page 16
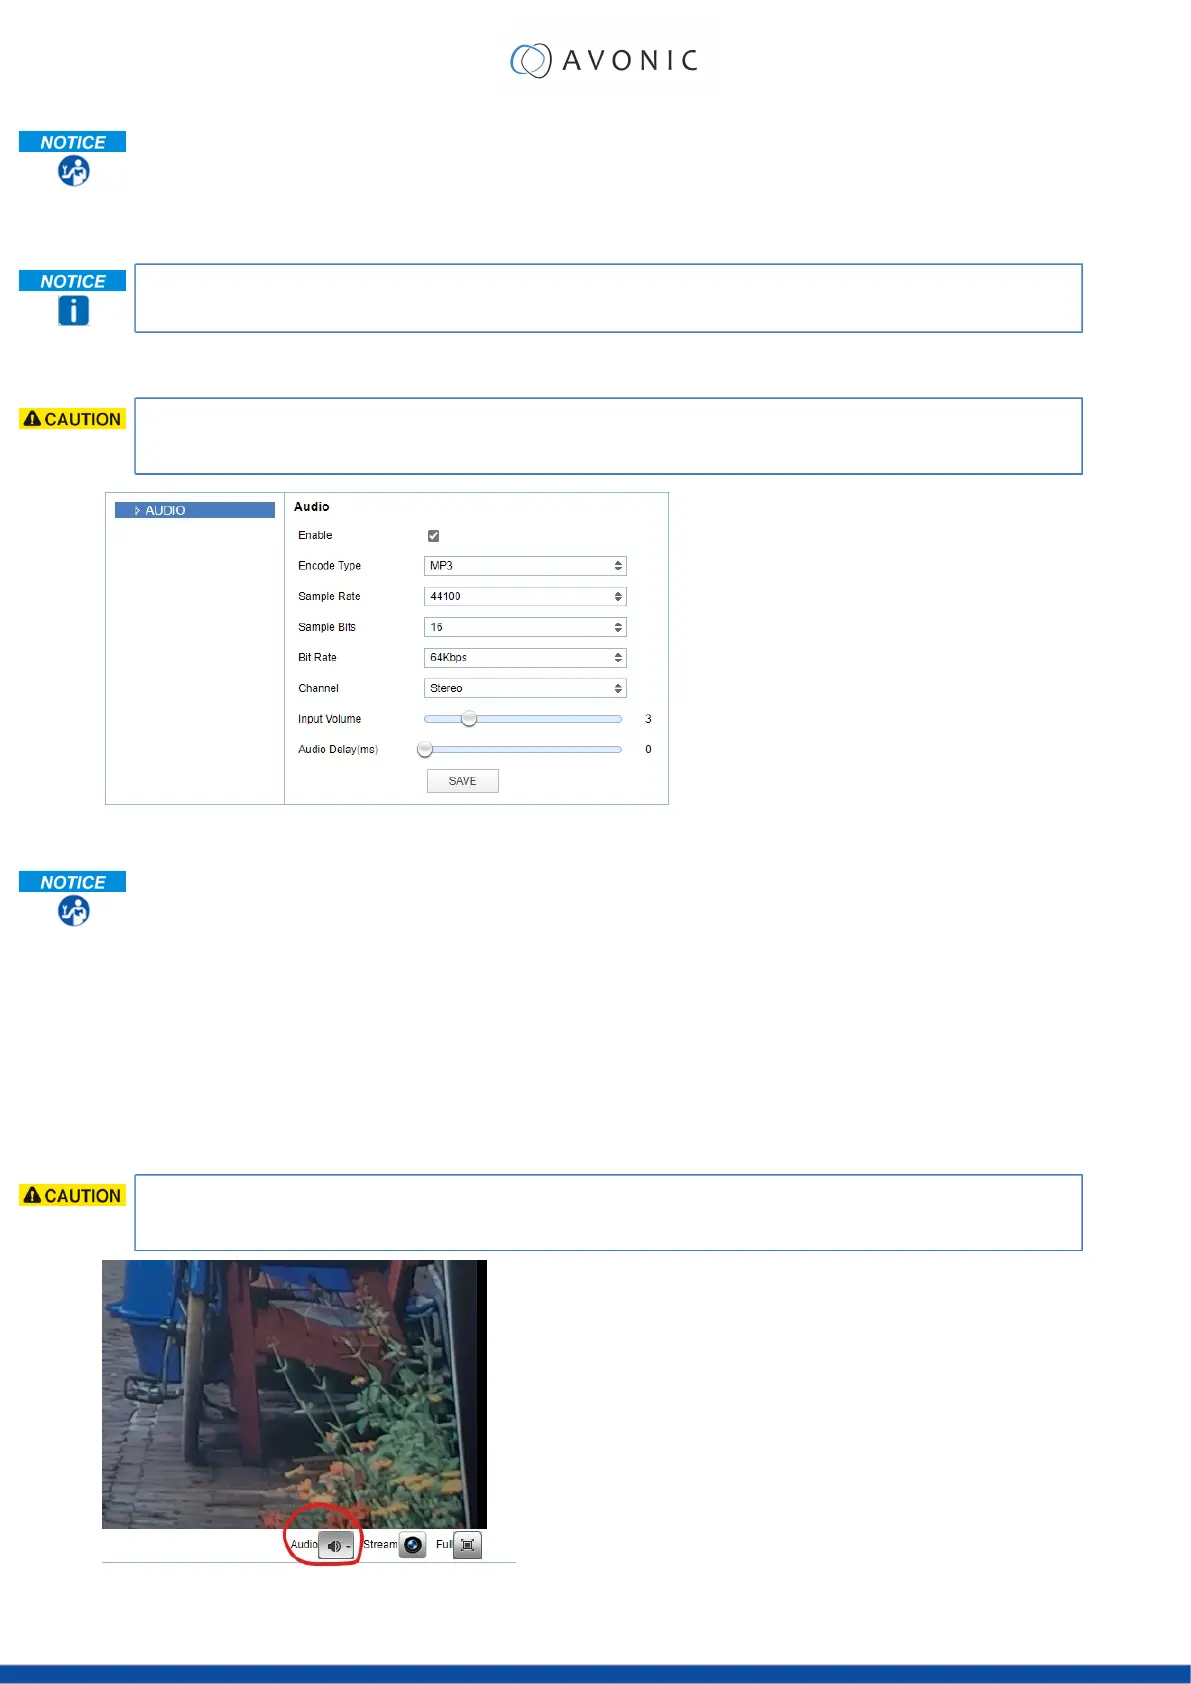
Figure 16: WebGUI > Audio
Make your settings as follows:
1. Enable (checked) or disable (blank) embedding of audio input (camera rear).
2. Select the encoding type: mp3, AAC or G.711A.
3. Select the sample rate: 16000, 32000, 44100 or 48000.
4. Set the sample bits always to 16.
5. Select the Bitrate: 32, 48. 64, 96 or 128 Kbps.
6. Select the Channel: Mono or Stereo.
7. Set the Input Volume: 1 ~ 10.
8. Set the Audio Delay (ms): 0 ~ 200.
9. Click SAVE to apply your settings. A small confirmation dialogue appears in the bottom right
corner.
Make sure to enable audio and to click at the audio button on the bottom of the "Preview page" of the
WebGUI.
21
 Loading...