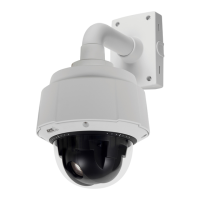
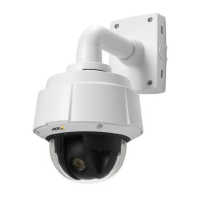
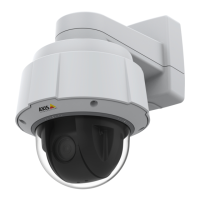
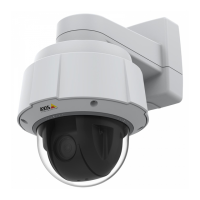
AXIS Q6034 PTZ Dome Network Camera
PTZ (Pan Tilt Zoom)
the most movement will be followed. Autotracking continues until the moving object stops or disappears from the monitored area.
Movement in areas blocked by privacy masks and in exclude areas does not trigger autotracking.
It is strongly recommended to enable the PTZ Control Queue if autotracking and guard tour are enabled simultaneously. In the PTZ
Control Queue, guard tour has lower priority than autotracking, so autotracking will not be abandoned to start a guard tour.
Configuration
Start/Stop Autotracking - Click Start to enable autotracking. To disable autotracking, click Stop.
Settings - The Movement trigger sensitivity level can be set to Low, Medium or High. Medium is usually a good choice, depending on
the size of the moving objects and the image contrast, a low or hig h sensitivity might be more suitable.
Exclude Areas
Exclude areas are areas where movement is to be ignored.
Note
Movement in an area blocked by a privacy mask is always ignored.
1. Click Add area to create an exclude area
2. Resize and move the area (the blue rectangle) to the desired position.
3. Enter a descriptive name and click Save.
To remove an area, click the name of the a rea and click Remove. To enable or disable an area, click the name of the area and
click Enable/Disable.
Max Limits
The pan and t ilt limits restrict the ar ea where autotracki n g is allowed. The area beyo
nd the set limits will be ignored. This may prove
useful, for example, to avoid tracking birds in the sky. Between the pan start and end limits, autotracking is allowed going clockwise.
The illustrations show the difference between setting a range from 135° to 45° (1) and a range from 45° to 135° (2).
1. Select Enable tilt limit and Enable pan limit respectively to enable the tilt and pan limits.
2. Enter the Tilt angle and Pan limit values, or click the links and move the blue horizontal and vertical bars in the preview
window until satisfied.
3. Click Save.
28