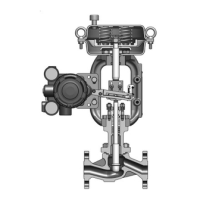
7-3-2. Disassembly of the Spring Unit
Disassembly procedure
This section describes the procedure for disassembling the spring unit.
Figure 7-6
Disassembly is not necessary when only the piston sealing parts (tape liner, O-ring) are
replaced.
(1) Removing the spring
Step Procedure
1 Loosen and remove the upper four hex nuts (No. 52).
2 Remove the stopper holder (No. 53).
3 Loosen the lower four hex nuts (No. 52) evenly until the compression of the large spring
(No. 54) and small spring (No. 55) is reduced to zero, and remove the nuts.
CAUTION
For disassembly of the spring unit, follow the procedure when
removing bolts, nuts, etc. Otherwise, the springs may jump out,
causing injury.
4 Remove the spring flange (No. 59).
5 Remove the large and small springs (Nos. 54-55).
(2) Removing the piston
Step Procedure
1 Loosen and remove the stopper (No. 60).
2 Loosen and remove the setnut (No. 61),
utilizing the flat surfaces of the rod (No. 58).
3 Remove the spring washer (No. 62) and O-ring (No. 63).
Be careful not to damage the O-ring with the threaded part of the rod.
4 Separate the rod (No. 58) from the piston (No. 57).
7-9

 Loading...