10-4
Step 2:
Being careful not to damage the surface of the stem, install the spacer first.
Step 3:
Next, install one piece of the gland packing. Be sure to note how to open indicated in Fig.10-3.
Insert it tightly with a pipe or the like. Finally, press it lightly.
Insert the second and subsequent pieces, with the gap position shifted by 180 degrees.
Opening manner of packing
Fig. 10-3. How to handle gland packing
Step 4:
Next, check the direction of the packing follower. (See Fig. 10-1.) The outside O-ring side is
the packing side.) Install it while being careful not to damage the surface of the stem.
Step 5:
With reference to Fig. 10-1, install the Belleville springs while being careful not to damage the
surface of the stem.
Step 6:
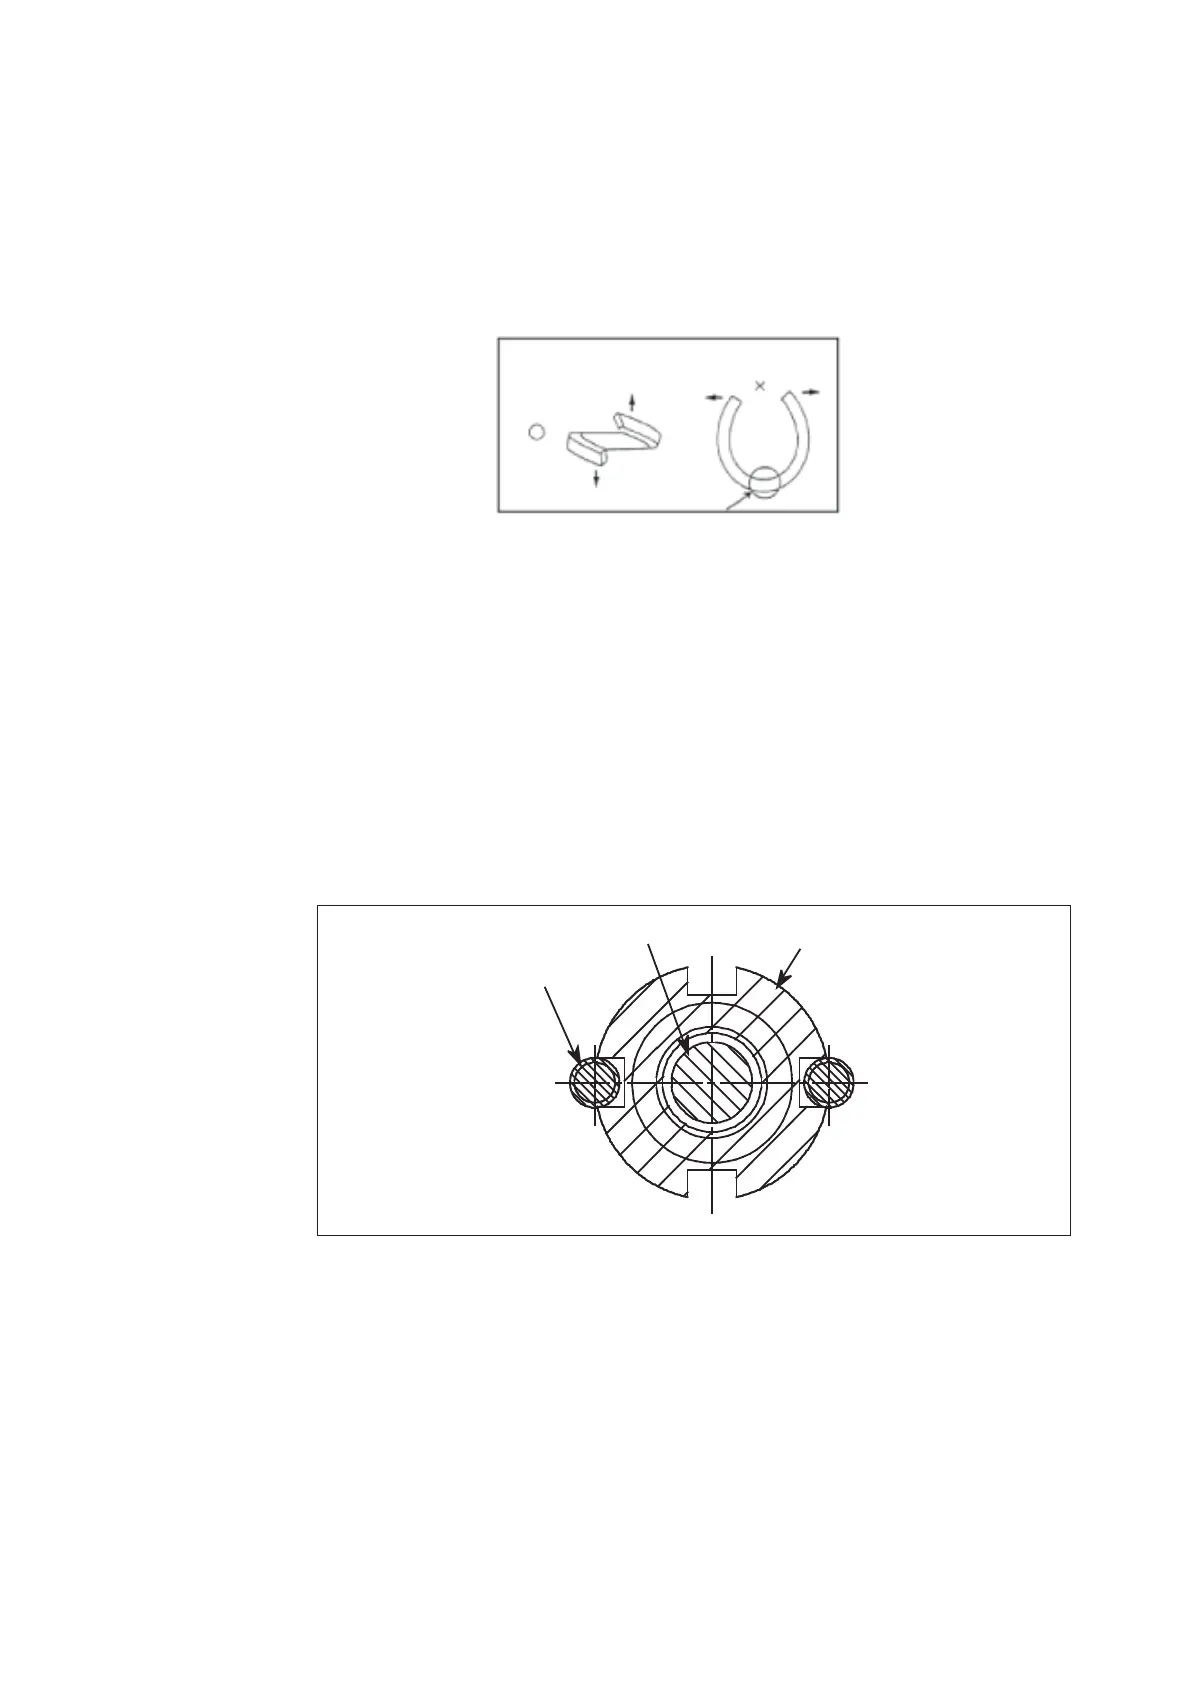
With reference to Fig. 10-4, install the spring case in such a manner that two opposed side
grooves are guided with the gland studs. (Two pairs of opposed side grooves are the same in
dimension.) At the time of the installation, be careful not to damage the surface of the stem.
Incidentally, when the Belleville springs are set in the spring case, they do not come into
contact with the stem.
Stud bolt
Stem
Spring case
Fig. 10-4. Installation of the spring case Top view
 Loading...


