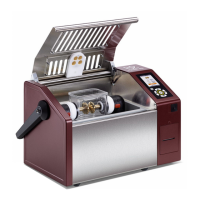
8 Instrument Care
44 DHV0017 b2 EN © b2 electronic GmbH
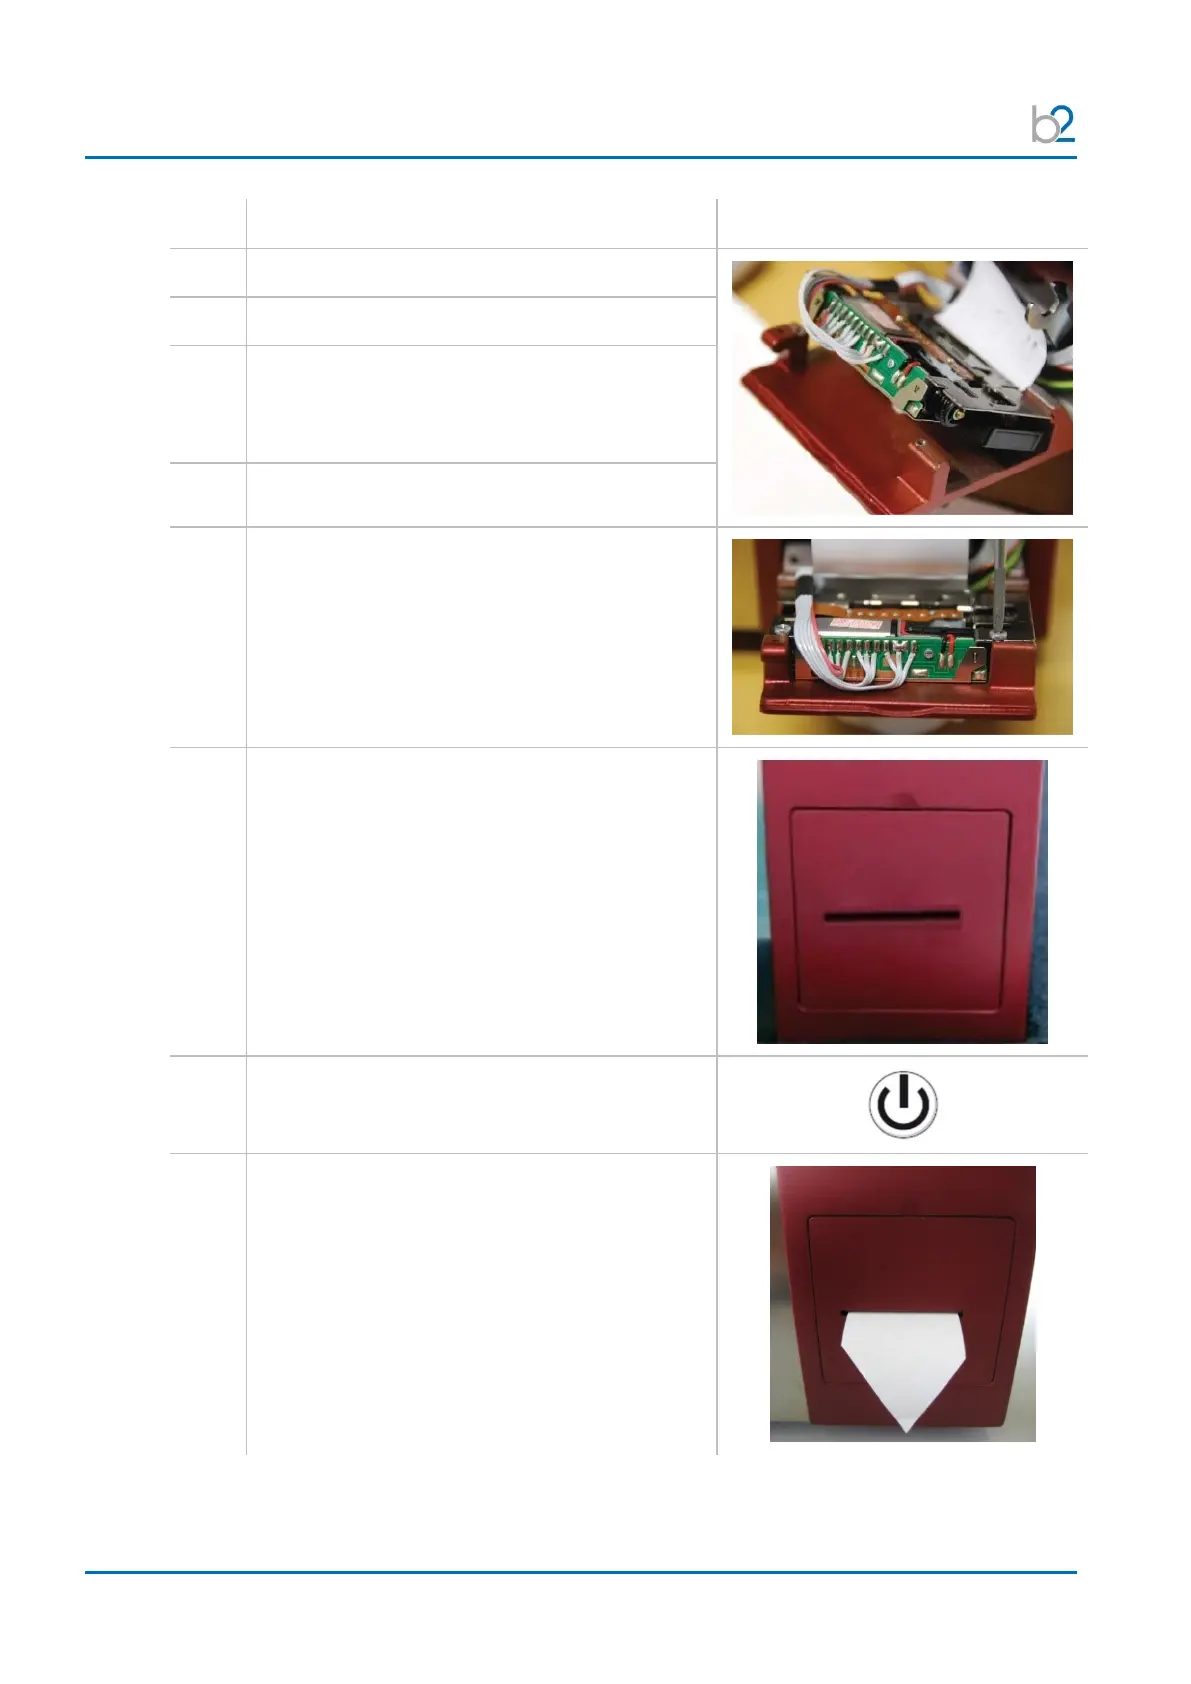
Procedure (Ink Ribbon Replacement)
Carefully insert the new ribbon.
Flip over the printer mechanism.
Verify that the cables run over the top of
the printer.
Do not pull or twist the cables that attach
the ribbon to the printer mechanism!
Verify that the paper feeds through the paper slot.
Screw in the two fastening screws.
Push in the hinged plate of the printer mechanism
carefully, making sure not to jam the paper.
A magnet will lock the printer in place.
The printer will automatically line feed and
should push the paper through the outside
paper slot of the printer housing. If this does
not occur, select “Paper Feed” from the
“Instrument Settings” menu.