ESM-UM-02782-EN-12
ACCURACY TEST
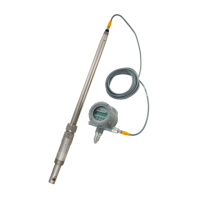
The E-Series Ultrasonic meters are accuracy tested at the factory before shipment. However, the meters can be tested for
accuracy in the field using appropriate connections by running output flow through the NPT test port, if so equipped. Refer
to the Portable Large Meter Tester Application Data Sheet (TST-AS-01297-EN), available at badgermeter.com, for accuracy testing
instructions using a test meter.
When sealing the test plug, hand tighten plus 7/8 to 1-1/2 turns. If further sealing is needed, tighten incrementally, but use
caution to avoid over-tightening which may result in damage to the test port.
WARNING
IF THE TEST PORT IS TO BE USED, SHUT OFF FLUID SUPPLY AND RELEASE PRESSURE BEFORE SERVICING OR MAKING
A PLUMBING CONNECTION. FAILURE TO DO SO CAN LEAD TO PLUG BEING EJECTED FROM HOUSING, CAUSING
PERSONAL INJURY AND/OR PROPERTY DAMAGE.
OPERATIONS
Display
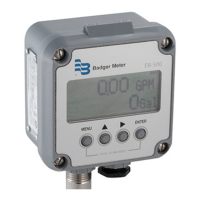
E-Series Ultrasonic meters use a 9-digit Liquid Crystal Display (LCD) that toggles to show consumption, rate of flow,
temperature, pressure, alarm and operating mode, and firmware version. When configured for dual outputs, the scaled output
and 4-20 mA screens are also available. Indicator and alarm icons appear in the display as symbols that illuminate when the
condition is active. See "Meter Alarms" on page 14 for alarm duration.
Lines Indicate Black/White Number Wheels
Indicators/Alarms
Unit of
Measure
Flow Rate
Figure 5: E-Series Ultrasonic Meter LCD
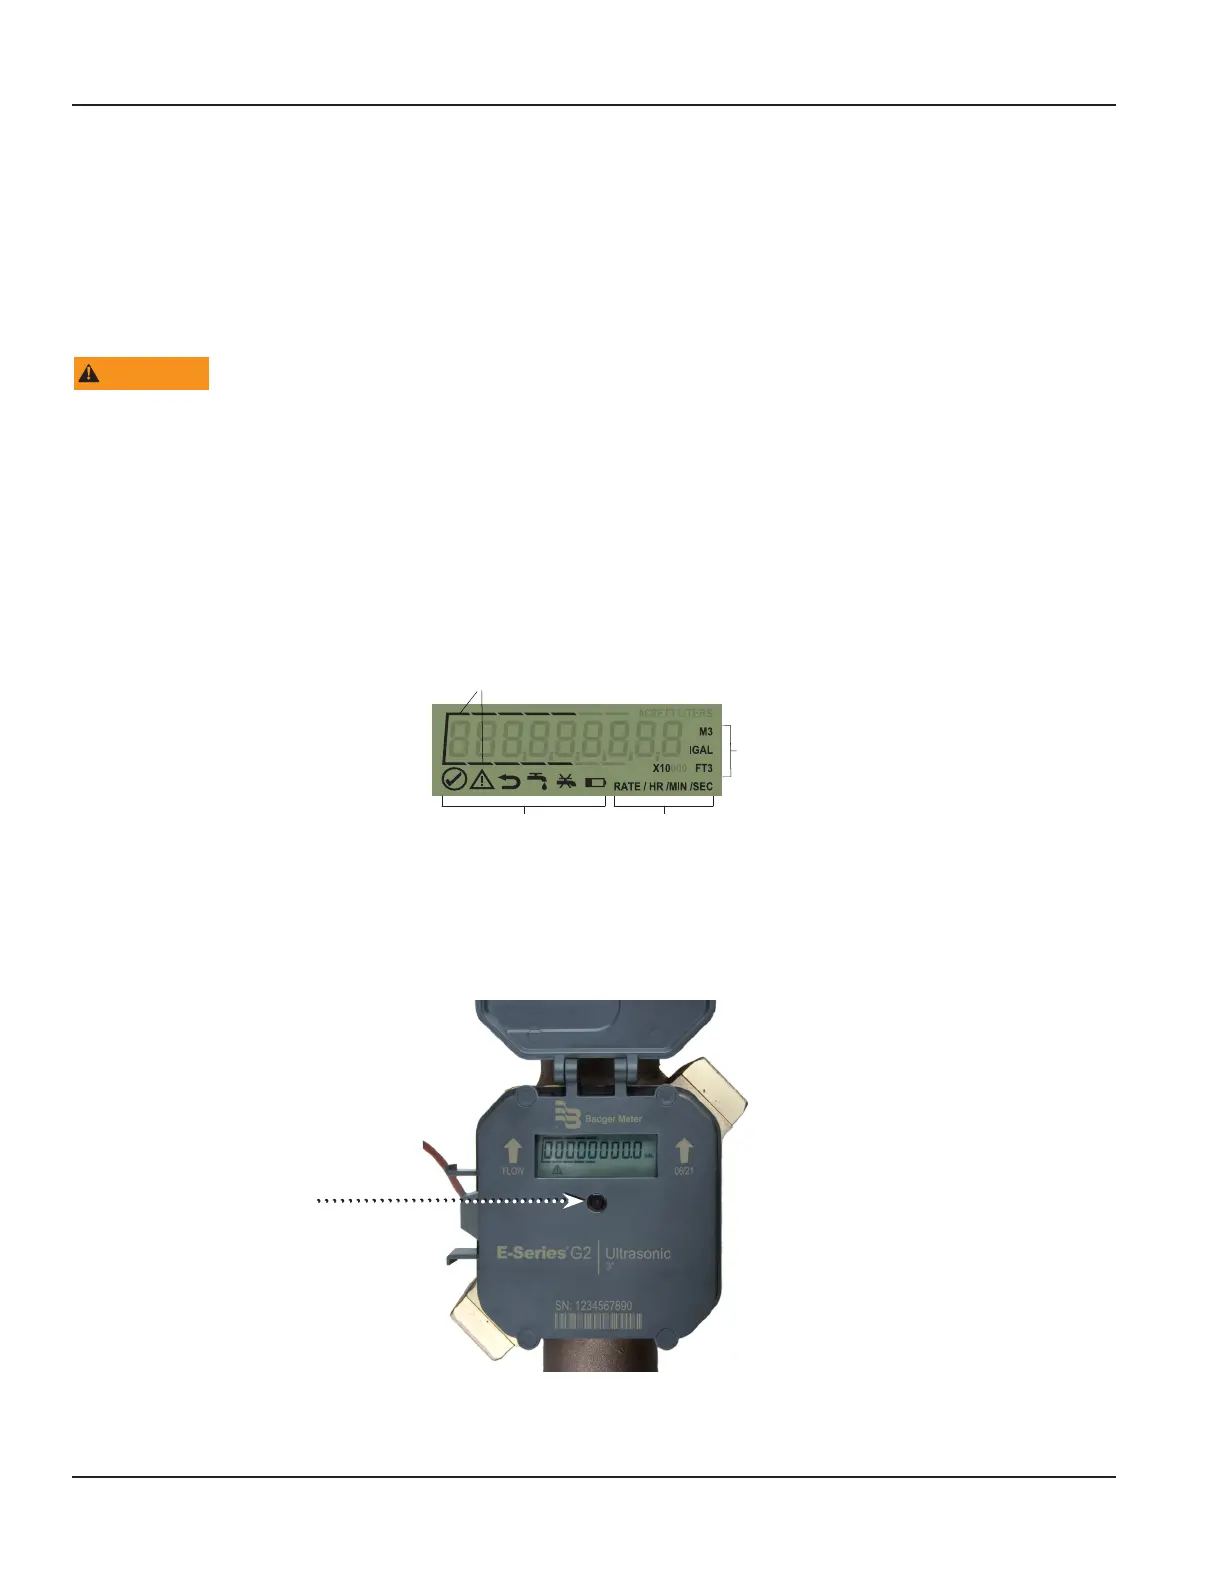
Activating the Display
The display illuminates when the register cover is opened. You can change the display screen by touching the optical
communication port in the center of the register face (Figure 6) or by closing and opening the meter lid. The display reverts to
sleep mode after a period of inactivity.
See "Display Screens" on page 9 for Information about each screen.
Figure 6: Meter, lid open, showing optical communication port
Flow Direction
The direction of water flow is noted on the face of the electronics housing and cast into the meter housing.
Optical communication port
Accuracy Test
Page 8 December 2021

 Loading...