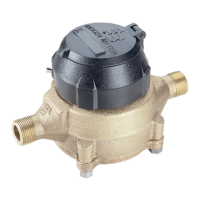
Calibration
The meter's calibration ring is preset and sealed at the factory. In normal service, it should not have to be reset. If a retest is
required in which a calibrated test stand reveals that the meter needs recalibration, proceed as follows (see Figure 2):
The total range of the calibration adjustment is about 10%. Tested and calibrated at the factory, the calibration mechanism
will allow for a ± 5% adjustment in the field. Due to the floating rotor design principle, the calibration mechanism contains
some clearance for proper part fit resulting in some hysteresis or "deadband" when changing directions with calibration shaft.
Adjustments should be made in small increments in one direction to avoid need for counter rotation. If desired setting is
exceeded, counter rotations in small increments should be made, even though first reverse setting may result in no apparent
change. This is normal, and subsequent changes will cause reverse accuracy curve shift.
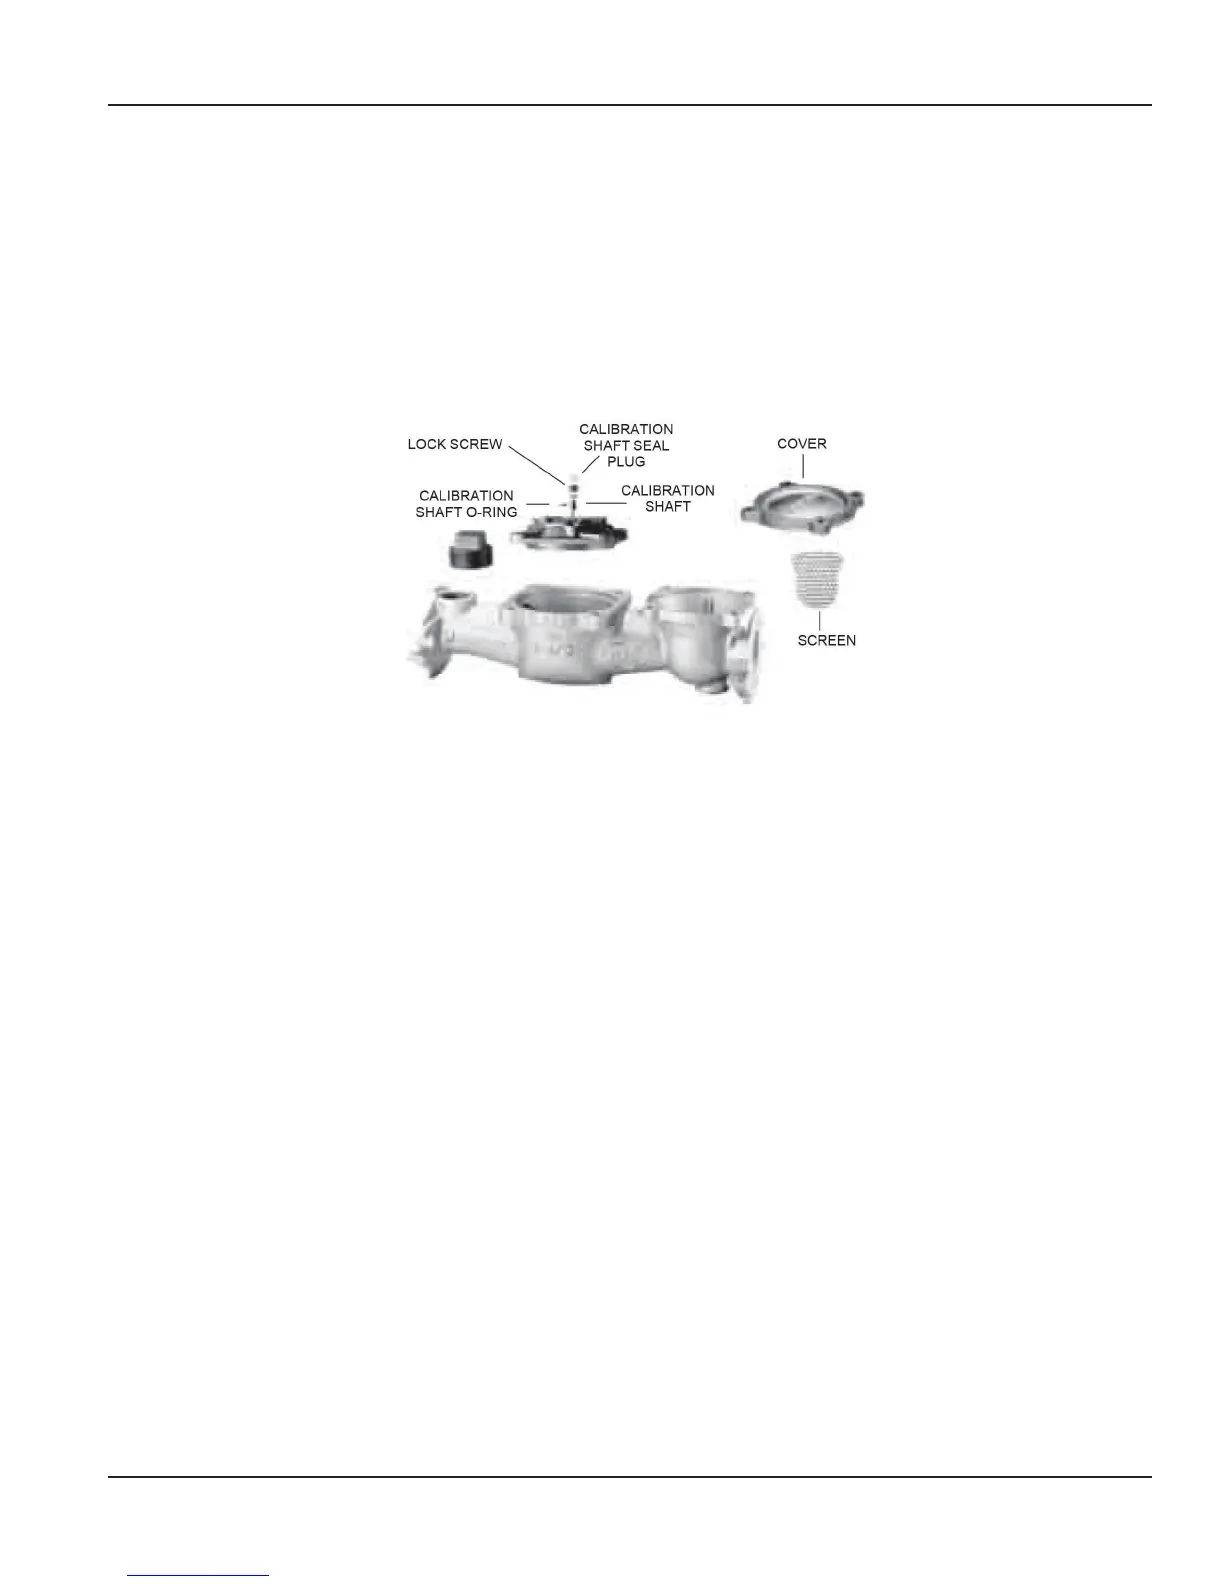
Figure 2: Calibrating turbo meter, shown with optional test plug
1. Remove the calibration shaft seal plug by puncturing the plug in the slot provided and twisting or prying the plug
from the hole.
2. Loosen the calibration shaft lock screw.
3. Adjust the calibration ring with a screwdriver as follows:
• To increase the registration, turn the calibration shaft clockwise. This speeds up the rotor, increasing registration.
• To decrease the registration, turn the calibration shaft counterclockwise. This slows down the rotor,
decreasing registration.
4. With the calibration shaft turned to the desired setting, tighten the lock screw while maintaining the calibration
shaft position.
5. Retest the meter to conrm the accuracy of the calibration setting. If the meter is still out of calibration, repeat
the procedure.
6. Replace the calibration shaft seal plug with a new one.
Maintenance
RTS-UM-00380-EN-09 Page 11 January 2015
 Loading...