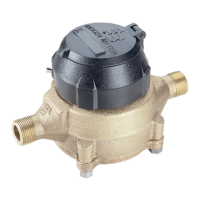
Reinstalling the Turbo Meter Head Assembly
• Use a new O-ring after each teardown and reassembly.
• To provide a tight seal, make sure the surfaces of the housing and meter head are clean and free of any old O-ring material.
• Be careful not to force the measuring element insert into the meter housing. If you experience any binding, do not force
the element into the housing. Remove the element from the housing and properly reinsert the unit.
OTE:N Head bolts should be tightened similar to that on car tire. First insert the bolts and snug-fit each. Then, using a
crisscross pattern, tighten the bolts down. Following this pattern, the meter head will not turn and the rotor will
remain perpendicular to the flow, eliminating any potential flow distortion. Tighten the head bolts to 10…11 ft-lb for
the 1-1/2" and 2" sizes, and 35…40 ft-lb for the 3", 4" and 6" sizes.
• Reinstall the local register or encoder to the meter.
Placing the Meter Back in Service
1. Close the ushing system drain valve.
2. Open the upstream valve partially, then open the downstream valve slightly to purge air from the service line.
3. Open both valves completely.
Servicing Parts and Assemblies
RTS-UM-00380-EN-09 Page 17 January 2015

 Loading...