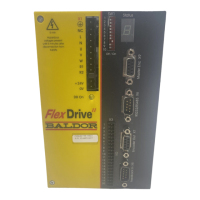
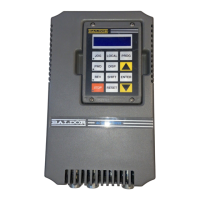
Upgrade Kit A-3MN1917
A.3 Building the new unit
A.3.1 Inserting the cables
The upgrade kit is supplied with three cables, described in Table 4. A cable’s number is marked on a label attached
to the cable.
Cable
Purpose Flex+Drive
II
connector Control panel connector
LD5177A12 Main I/O cable 20-pin Phoenix plug 25-pin female D-type
LD5177A09 Master encoder cable 9-pin male D-type 9-pin female D -type
Motor connector
LD5177A10 Motor resolver c able 9-pin female D -type 12-pin Contact connector
Table 4 - Upgrade kit cables
1. From the upgrade kit, take the three cables labelled LD5177A12 and LD5177A09.
2. From the front of the unit, pass the two D-type control panel connectors (see Table 4) through the blanking plate
aperture, down the inside of the demonstration unit and out through the control panel aperture.
3. From the upgrade kit, take the new control panel. Connect the two D-type control panel connectors to the PCB
on the rear of the control panel.
4. Reconnect the black/red twisted pair power cable plug to the two pin header on the edge of the PCB.
5. Mount the control panel on the front of the demonstration unit, gently pulling spare cable back up through the
blanking plate aperture.
6. Using the four corner bolts, attach the control panel to the demonstration unit.
A.3.2 Reattaching the blankin g plate
1. Attach the rubber grommet around the two cables and the brown/blue/earth power cable group.
2. Slide the rubber grommet into the slot on the blanking plate and reattach the blanking plate using the four corner
bolts.
A.3.3 Attaching the new resolver cable
1. From the upgrade kit, take the remaining cable labelled LD5177A10.
2. Screw the Contact connector to the motor’s resolver socket, taking care to align the pins correctly.
Tighten until finger tight only - do not use tools to tighten this connector.
3. Loop the cable over the back of the motor, and out along the left side of the motor so that the D-type connector is
available at the front of the demonstration unit.