7.EtherNet/IP Connection Procedure
7. EtherNet/IP Connection Procedure
This section describes the procedures for connecting the Network Module and the Controller
via EtherNet/IP. The explanation of the procedure for setting up the Controller given in this
guide is based on the factory default settings.
For the initialization, refer to Section 8. Initialization Method.
7.1. Work Flow
Take the following steps to connect the Network Module and the Controller via EtherNet/IP
and to perform tag data links.
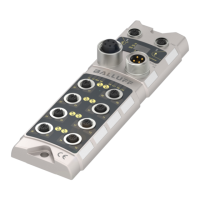
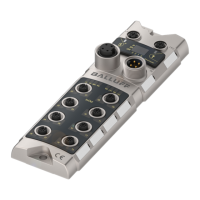
7.2. Balluff Network Module Setup
Set up the Balluff Network Module.
↓
7.2.1. Hardware Settings
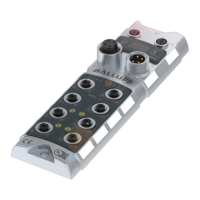
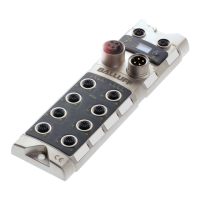
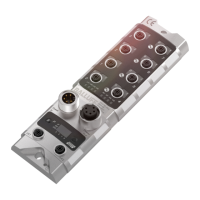
Connect the cables and the Proximity Sensor to the
Network Module.
↓
7.2.2. Parameter Settings
Set the IP address of the Network Module.
↓
Set up the Controller.
↓
7.3.1. IP Address Settings
Start Sysmac Studio and set the IP address of the
Controller.
↓
7.3.2. Setting Global Variables
Set global variables to use for tag data links, and
create and export a CSV file in order to use the
variables as tags with Network Configurator.
↓
7.3.3. Transferring the Project Data
Go online with Sysmac Studio and transfer the
project data to the Controller.
↓
Set EtherNet/IP tag data links.
↓
7.4.1. Starting Network Configurator
and Installing the EDS File
Start Network Configurator and install the EDS file.
↓
7.4.2. Uploading the Network
Configuration
Go online with Network Configurator and upload the
network configuration.
↓
7.4.3. Tag Registration
Import the created CSV file for use with Network
Configurator, and register tags and tag sets.
↓
7.4.4. Setting Connections
Set connections to associate the tag sets of the
target device with the tag sets of the originator
 Loading...