27
5.6 Connection and cables
Before setting up, switch off all equipment and disconnect the power cord. In order to
prevent damage to the projector caused by overvoltages (e.g. lightning), connect to a
line (mains) circuit which has overvoltage protection when installing.
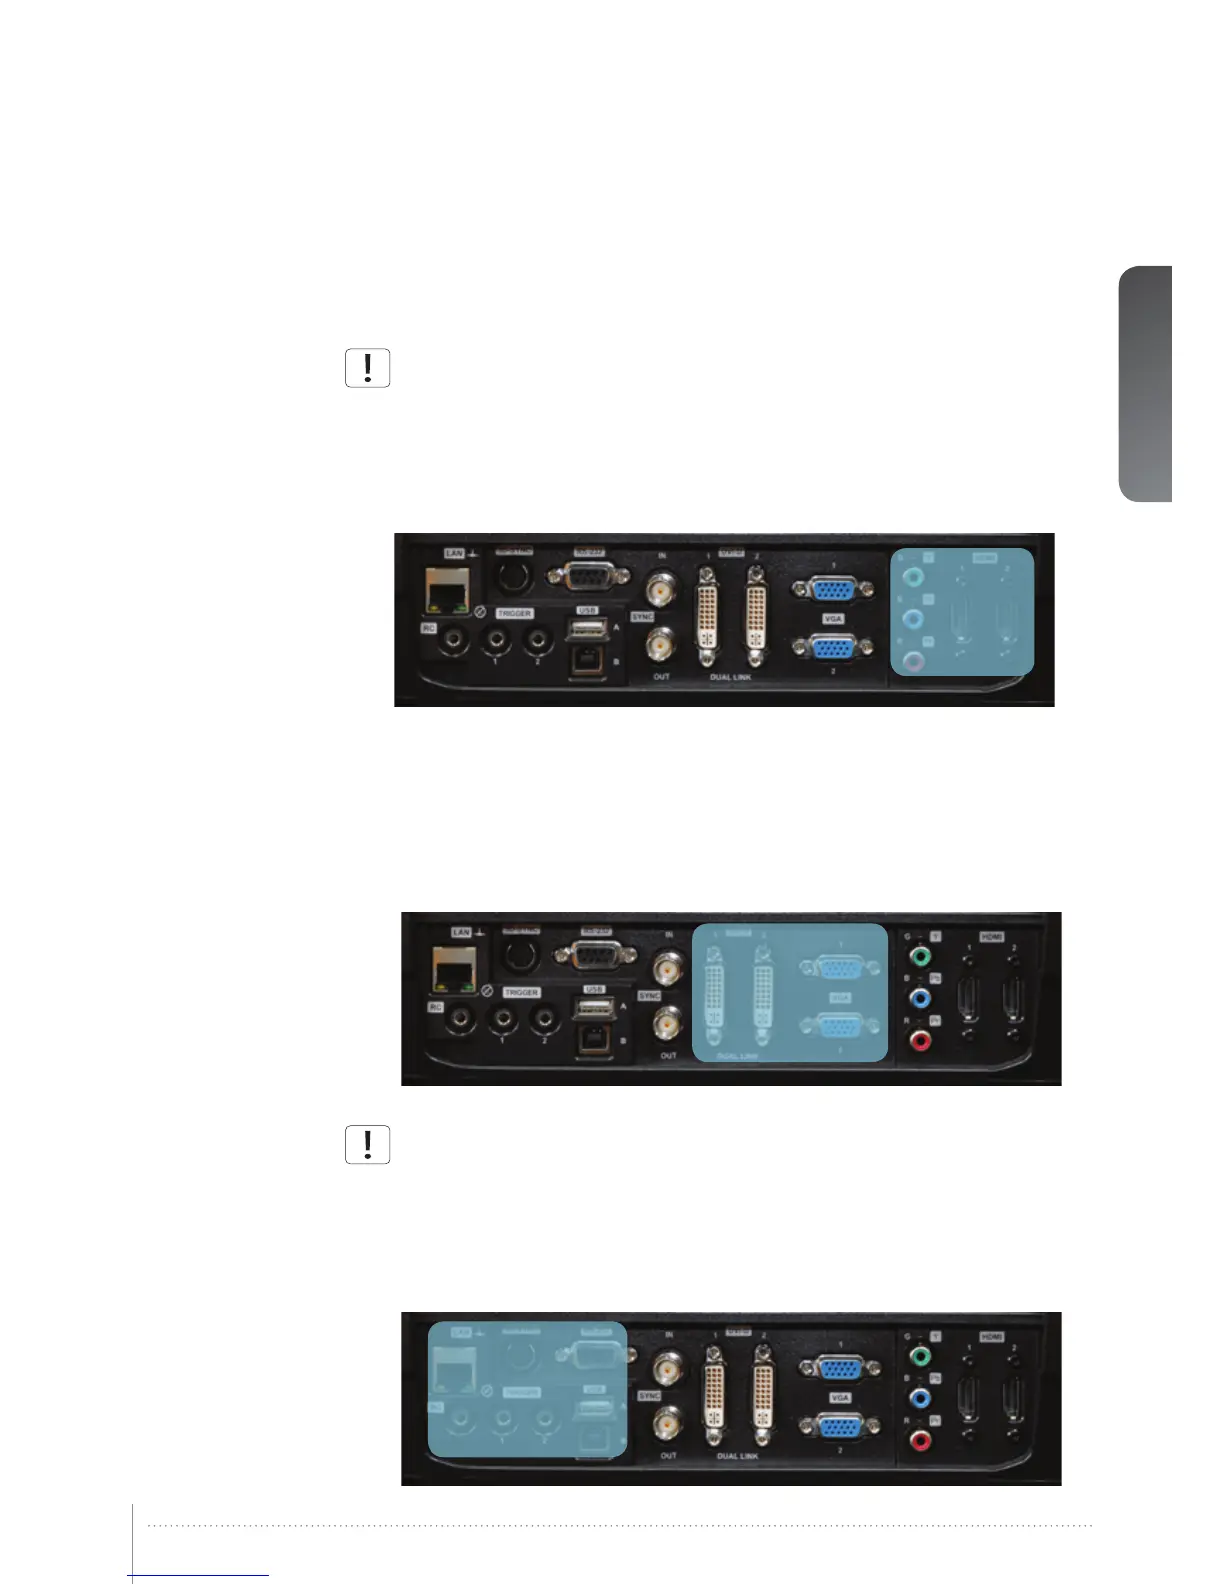
5.6.1 Setting up a video source
For best quality video, connect a digital video source using the HDMI 1.3a interface (O) Con-
necting a video source in Figure 5-4. The HDMI input is HDCP copy protection compliant.
Depending on cable quality, the projector is supporting the use of cables with lengths up 20
meters (65 feet).
Figure 5-4. Connecting a video source
5.6.2 Setting up a computer source
The projector may be connected to up to six computer sources simultaneously, using the
HDMI (O), DVI-D (J) or VGA (K) interfaces, shown in Figure 5-4/Figure 5-5. The digital inter-
faces (DVI/HDMI) will yield a projected image with very low noise.
Both DVI and HDMI are HDCP compliant with sources up to 1920x1200@60Hz (single link
source up to 165 Mhz). Additional functionality may be acchieved using additional X-PORT
connectors like 3G-SDI, DisplayPort 1.1a and HDMI 3D (se separate sections).
Figure 5-5. Connecting a computer source
HDCP is not supported on higher resolution sources like 2560x1600@60Hz (WQXGA).
Connect the power cord after the other cables have been inserted properly.
5.6.3 Connecting command and control interfaces
The projector is supporting RS-232 and LAN command and control interfaces. Use the ASCII
based protocol to communicate with the projector. A detailed description of the ASCII proto-
col is available for download at www.projectiondesign.com.Connect the power cord after the
command and control cables are inserted properly.
Figure 5-6. Connecting command interfaces
 Loading...