3. Physical installation
Necessary parts
• Two cable ties.
•Certified AC p ower supply cord 4.0 mm², 10AWG, min. 300V.
How to connect the main AC power with the DP2K C-series projector projector?
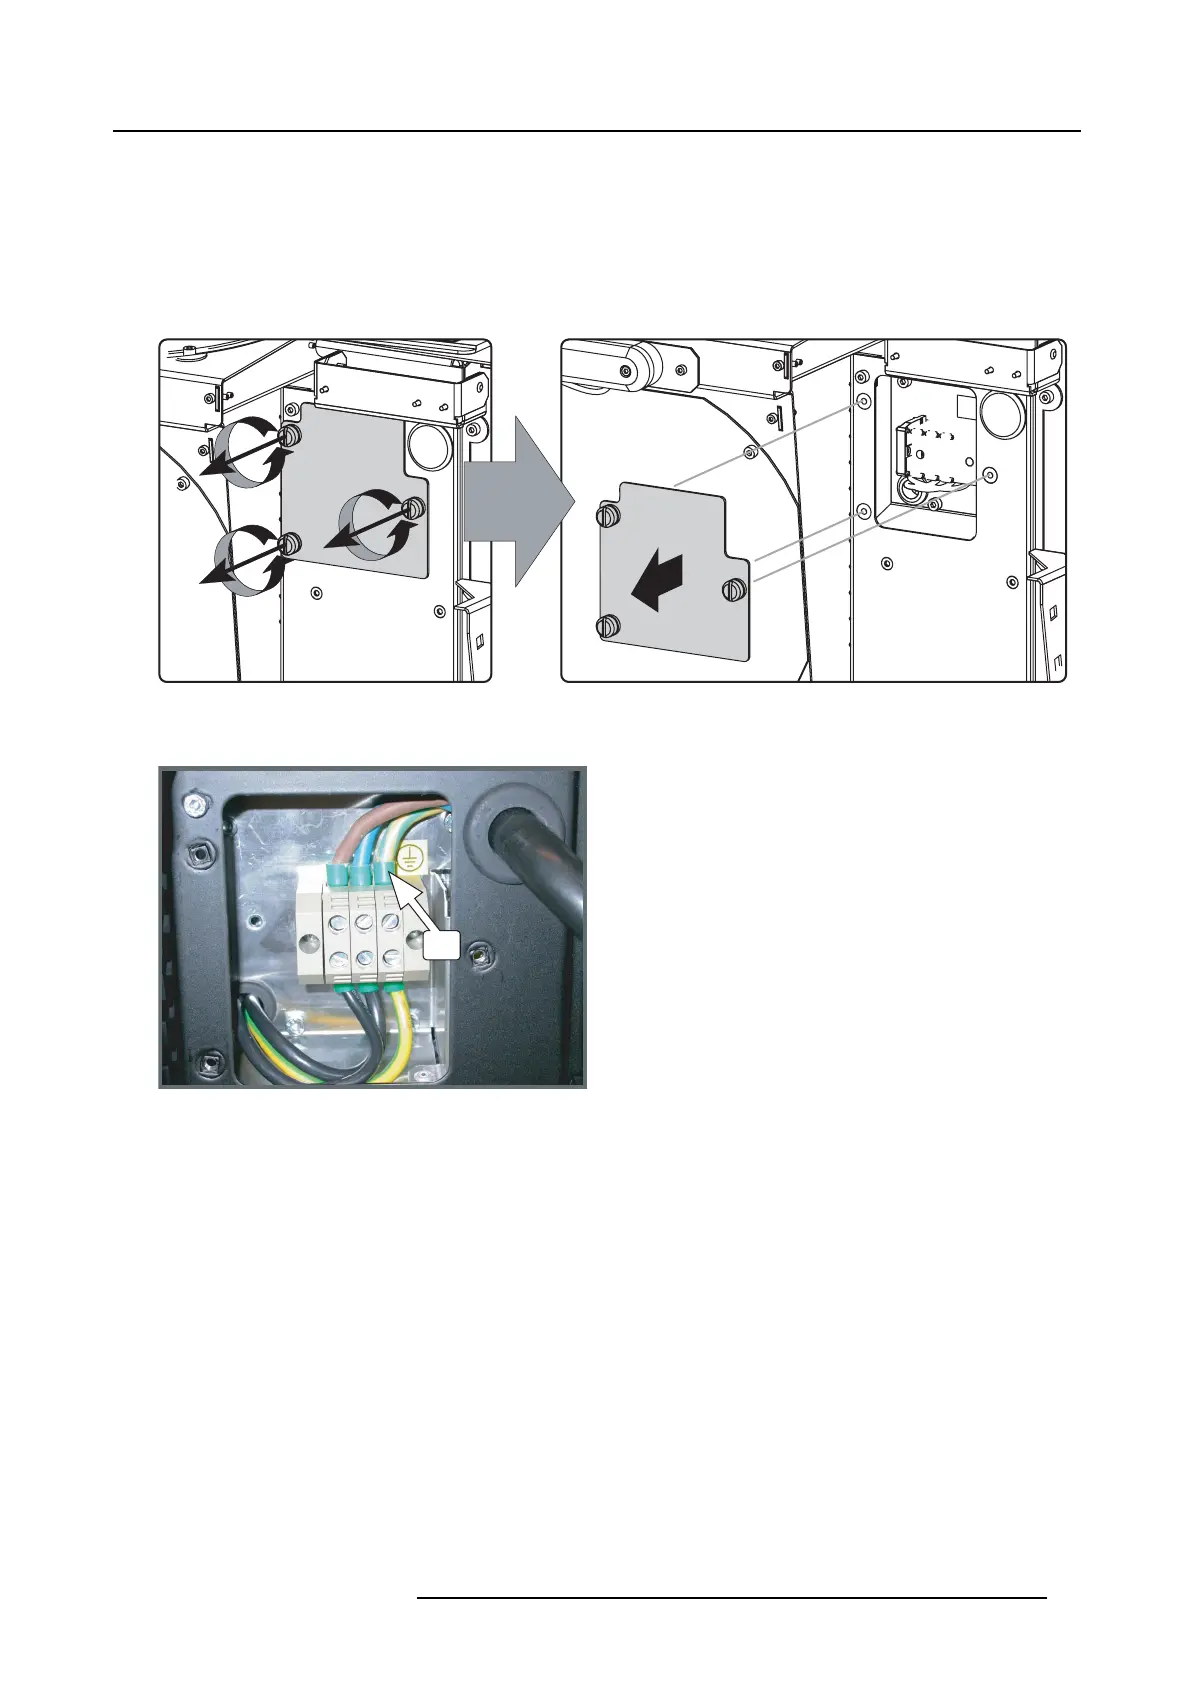
1. Remove the rear cover and lamp c over of the projector.
2. Remove the cover of the main AC com partment by releasing the three captive thumb screws.
Image 3-6
3. Guide the A C power cord through the cable gland and connect the wires to the 3-terminal strip as illustrated.
Warning: Always connect first the PE wire .
PE
Image 3-7
4. Secure the power cord with the chassis of the projector by using two cable ties (A) and by fastening the cable gland (B) as
illustrated.
Use the appropriate screws, depending on the diameter o f the cable (two sets of screws are delivered with the projector in a
separate b ag). Turn in both screws s o that the end of the screws are far enough in the plastic part an d that the feet of that part
grip in the chassis. Check the fixa tion by pulling on the gland.
R5905050 DP2K C-SERIES 10/07/2012
17
 Loading...


