4. Lamp & Lamp House
Image 4-7
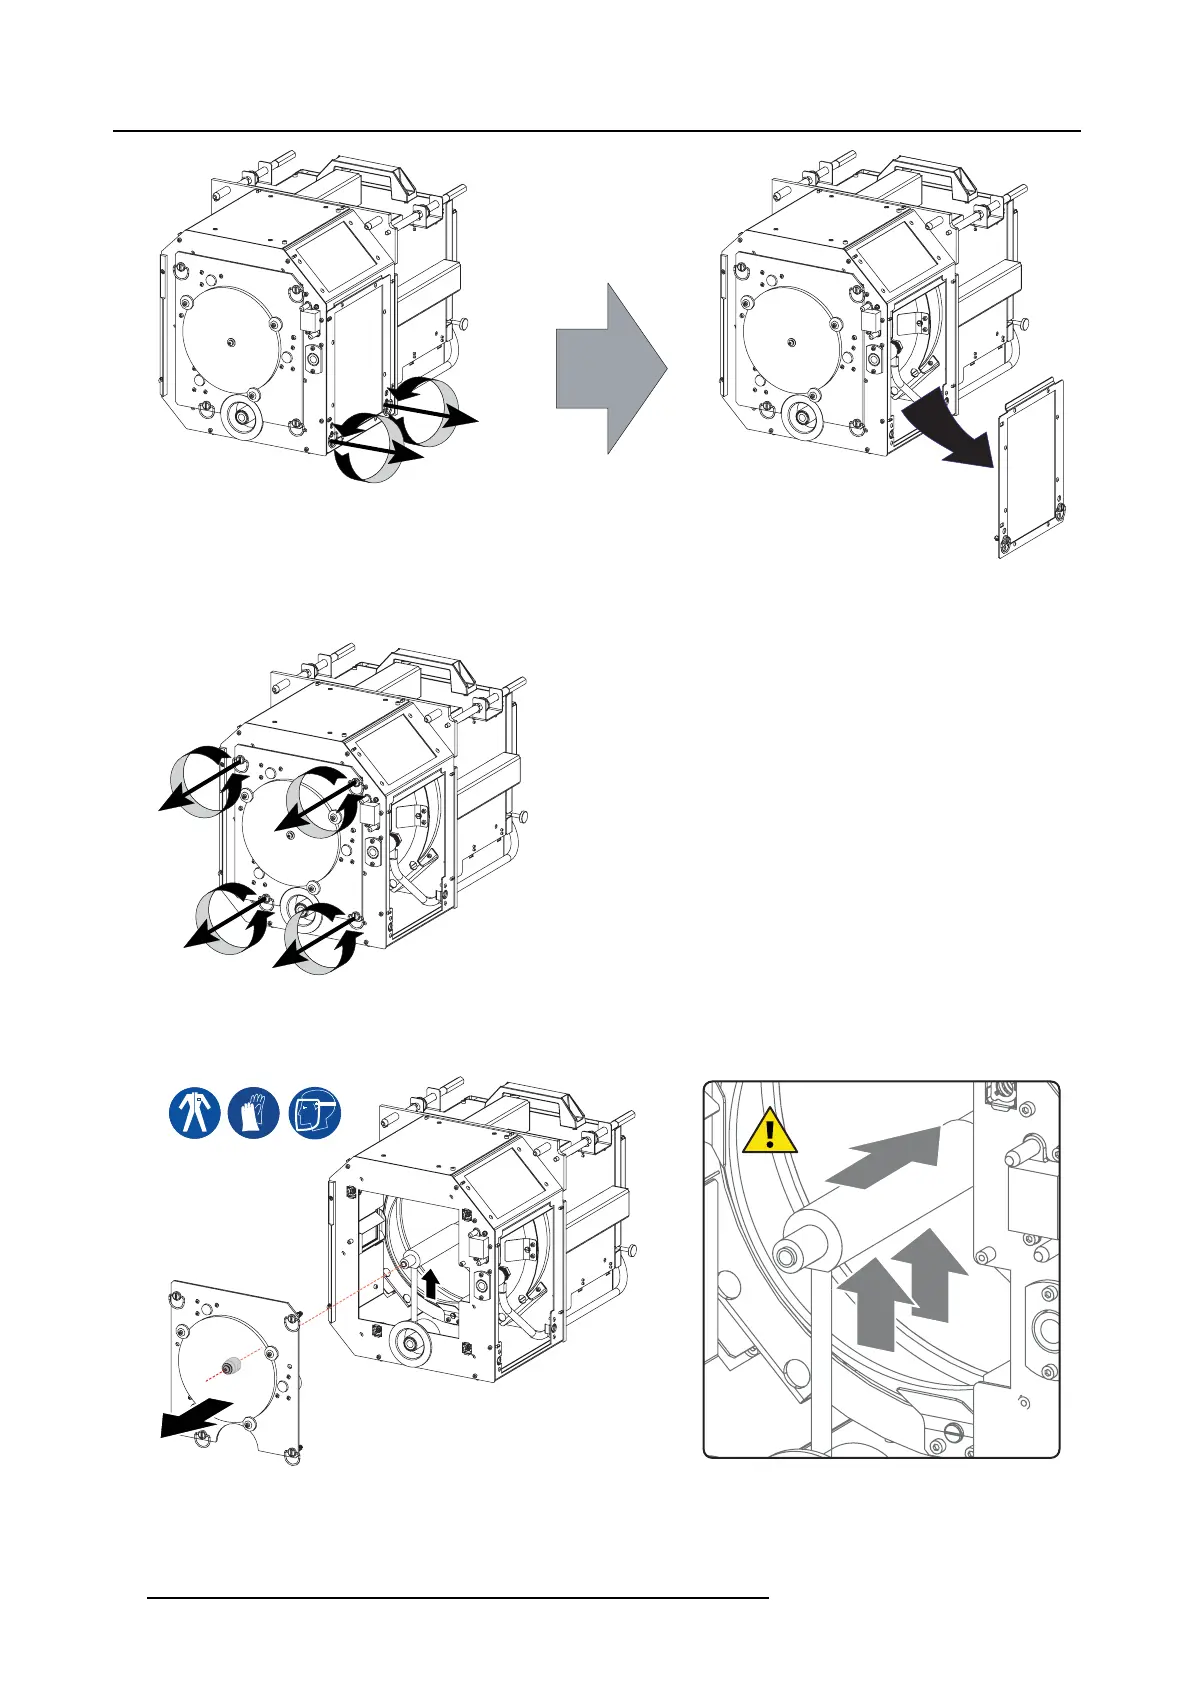
3. Release the four retaining thumbscrew s of the UV blocker assembly as illustrated. M
ake s ure that the UV blocker as sembly
remains in its position while releasing t he screws.
Image 4-8
4. Support the xenon lamp ins ide the Lamp House with one hand while rem oving the U V blocker assem bly from the Lamp House.
Note that some xenon lamps are installed with an anode adaptation bushing.
Caution: Ensure that you wear protective clothing, a full face shield and protective gloves.
Image 4-9
5. Slide the white anode socket, which is connected v ia a thick wire with the xenon lamp, up wards away from its position and then
remove the xenon lamp with anode socket from the Lamp House.
26
R5905050 DP2K C-SERIES 10/07/2012
 Loading...


