5. Lenses & lens holder
Image 5-20
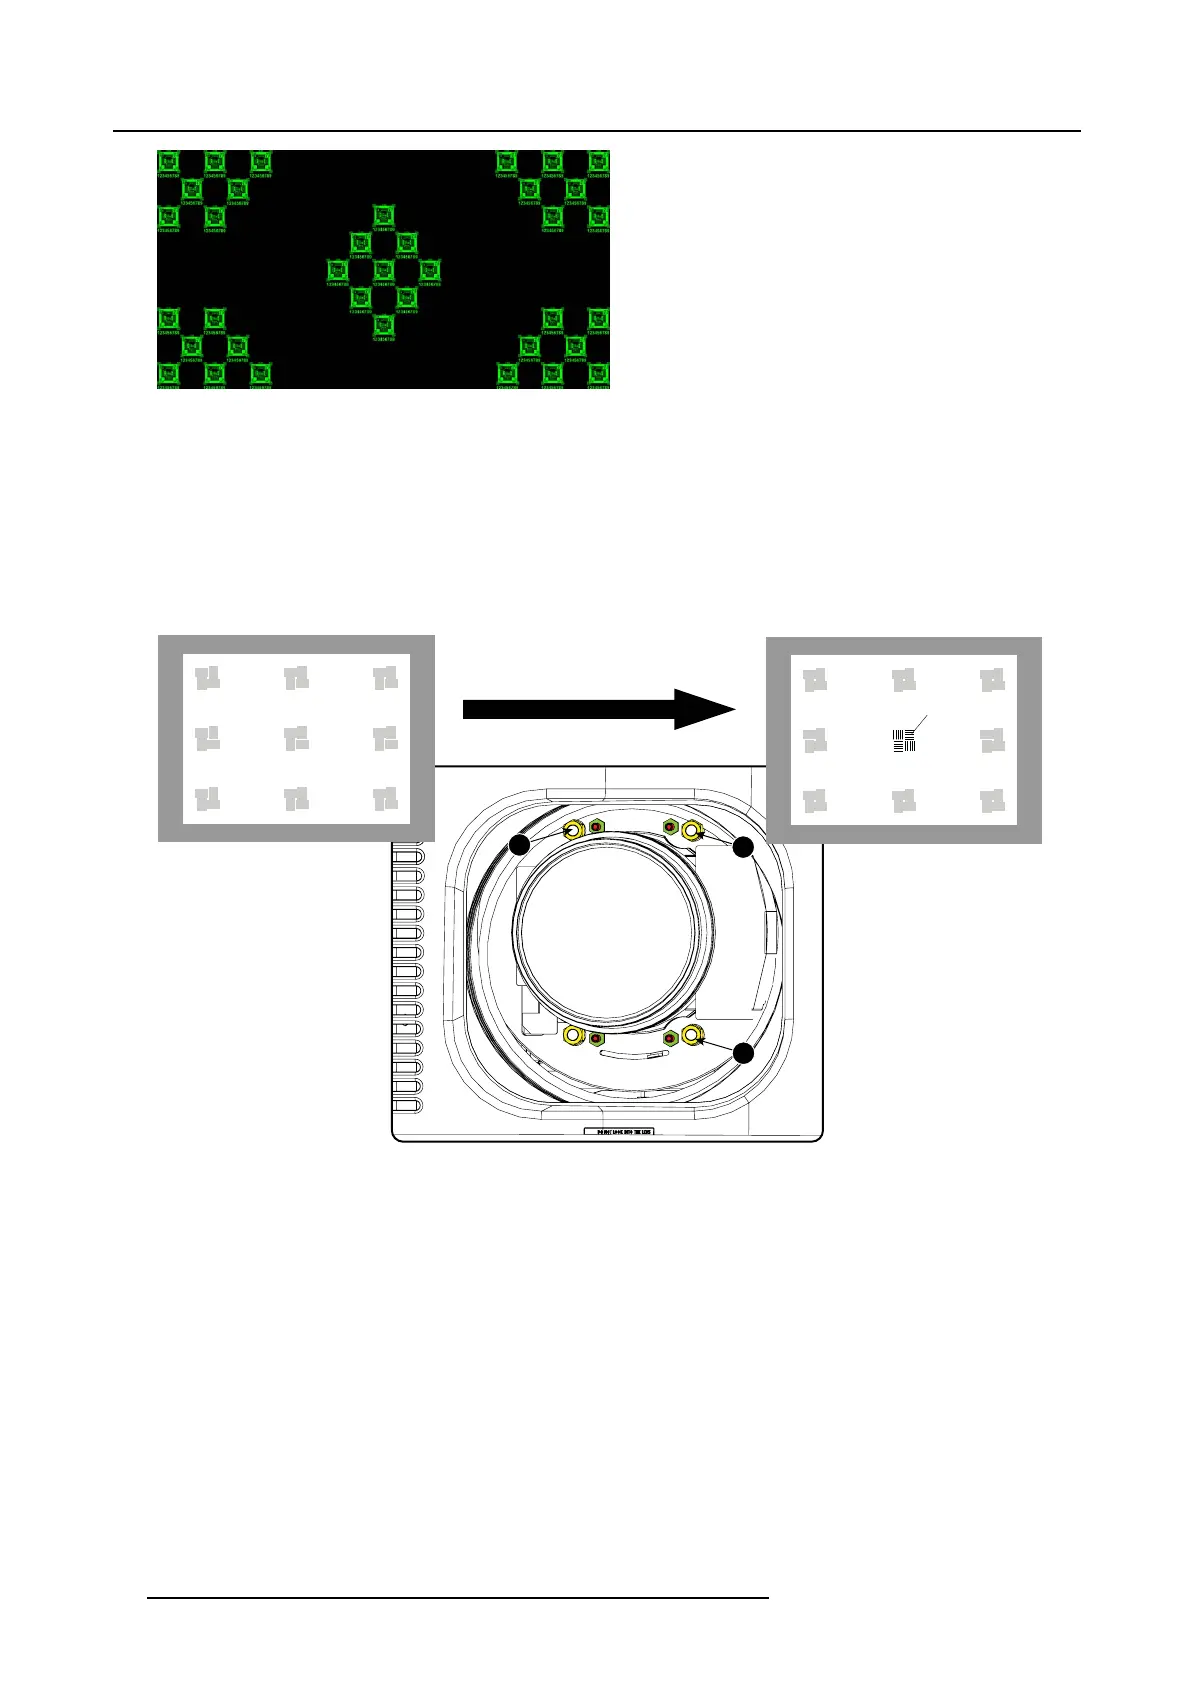
2. Loosen the lock nuts (a, b, c and d). See image 5-19.
3. Loosen the 4 set screws (A, B, C and D) by 1 cm. S ee image 5-19.
4. Fully loosen lock nut 4. S ee image 5-19.
5. Optimize the focus of the projected im age as follows:
a) Place the zoom lens in TELE position (smallest projected image) an d ad just the focus u sing the lens focus barrel or motorized
focus control.
b) Place the zoom lens in WIDE position (largest projected image) and adjust the focus by turning e qually on nut 1, 2 and 3.
c) Repeat steps “ a” and “b” until the pr ojected image is as sharp as possible.
1
2
3
F
Image 5-21
Center focusing
6. Sharpen b ottom left corner of the screen by adjusting nut 1.
44
R5905050 DP2K C-SERIES 10/07/2012
 Loading...


