MX87QD User’s Manual
28 MX87QD User’s Manual
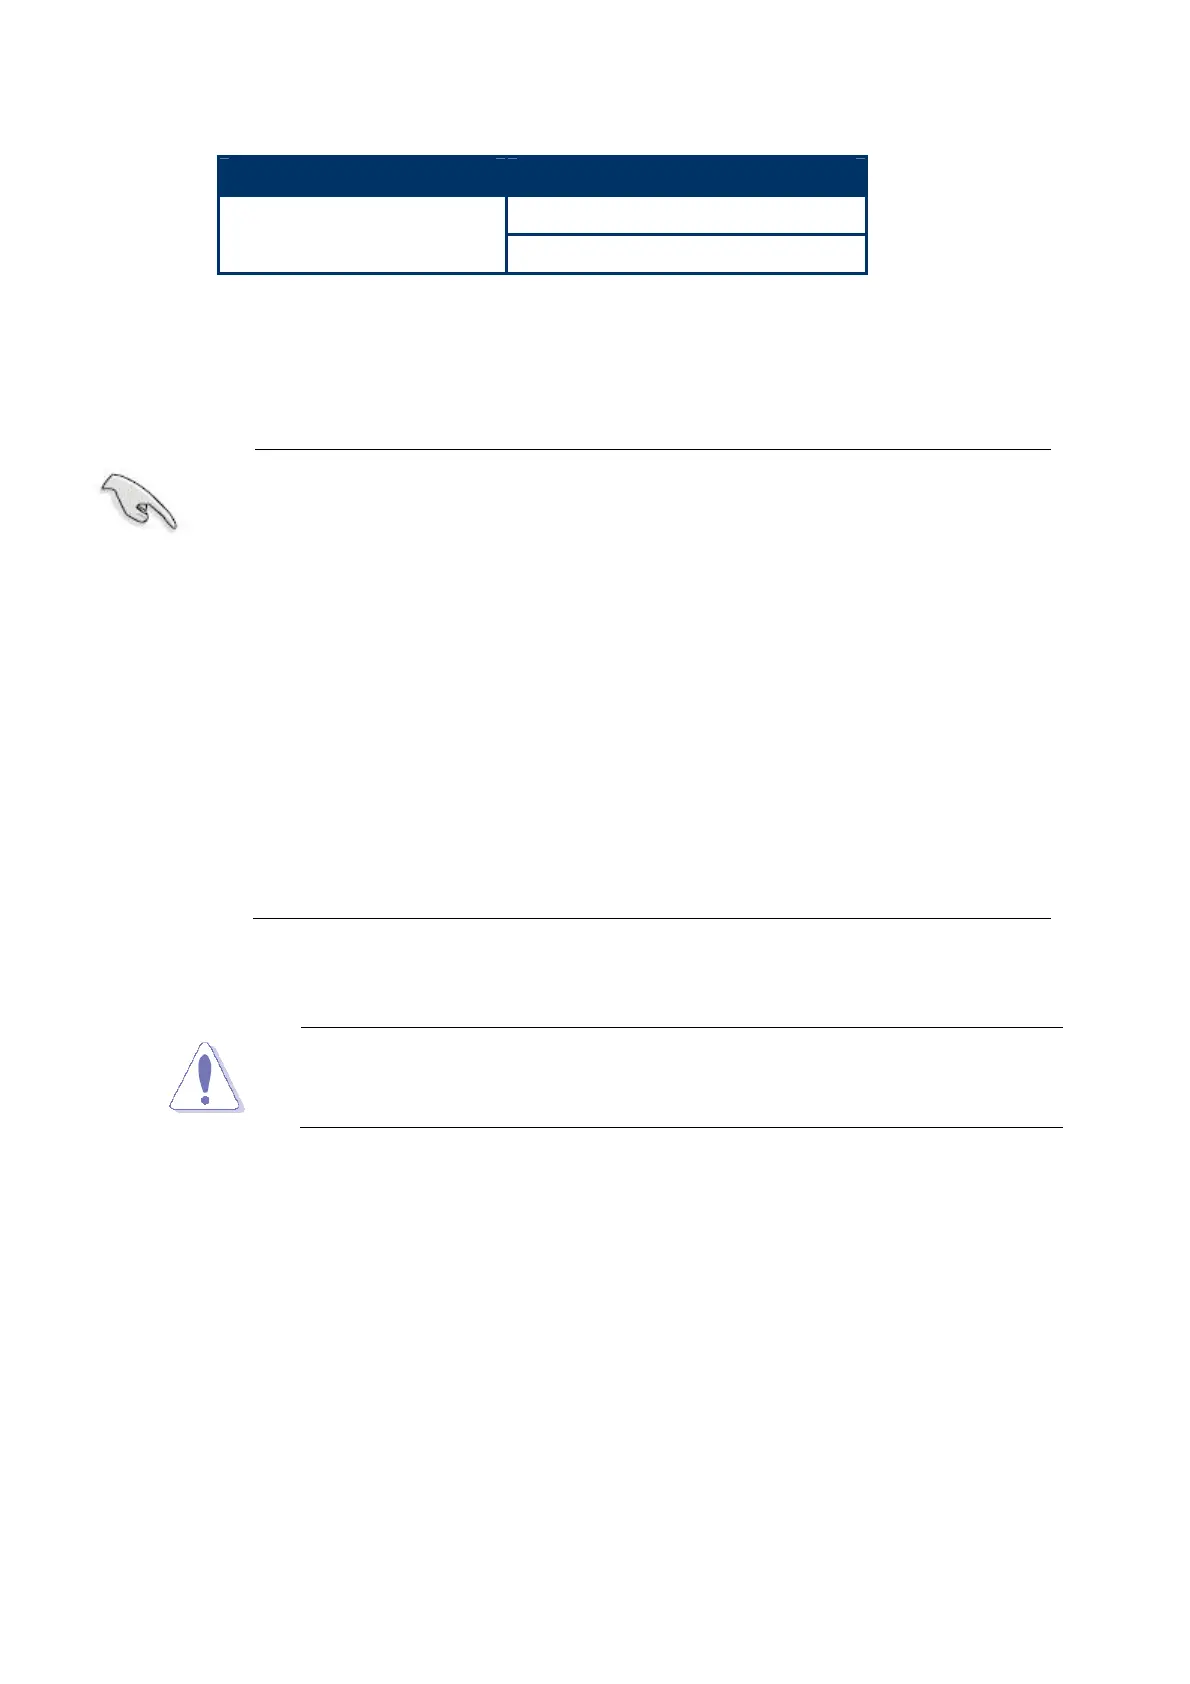
Channel Socket
Channel A
Channel B
DIMMA1
DIMMB1
1.5.2 Memory Configurations
You may install 2 GB, 4 GB, and 8 GB unbuffered non-ECC DDR3 SODIMMs into the
SODIMM sockets using the memory configurations in this section.
IF you installed two 2GB memory modules, the system may detect
less than 4GB of total memory because of address space allocation
for other critical functions. This limitation applies to Windows XP
32-bit version operating system since it does not support PAE
(Physical Address Extension) mode.
For dual-channel configuration, the total size of memory module(s)
installed per channel must be the same for better performance
(DIMMA1 = DIMMB1).
When using one DDR3 SODIMM module, install into DIMMB1 slot
only.
Always install SODIMMs with the same CAS latency. For optimum
compatibility, it is recommended that you obtain memory modules
from the same vendor.
1.5.3 Installing a DDR3 SODIMM
Make sure to unplug the power supply before adding or removing
DIMMs or other system components. Failure to do so may cause
severe damage to both the motherboard and the components.
1. Locate the SODIMM socket on the board.
2. Hold two edges of the SODIMM module carefully, and keep away of touching its
connectors.
3. Align the notch key on the module with the rib on the slot.
4. Firmly press the modules into the socket which will automatically snap into the mounting
notch. Do not force the SODIMM module in with extra force as the DIMM module only fits
in one direction.