Page 2 of 4 75.5957.01 EAGLE FAMILY 20180508
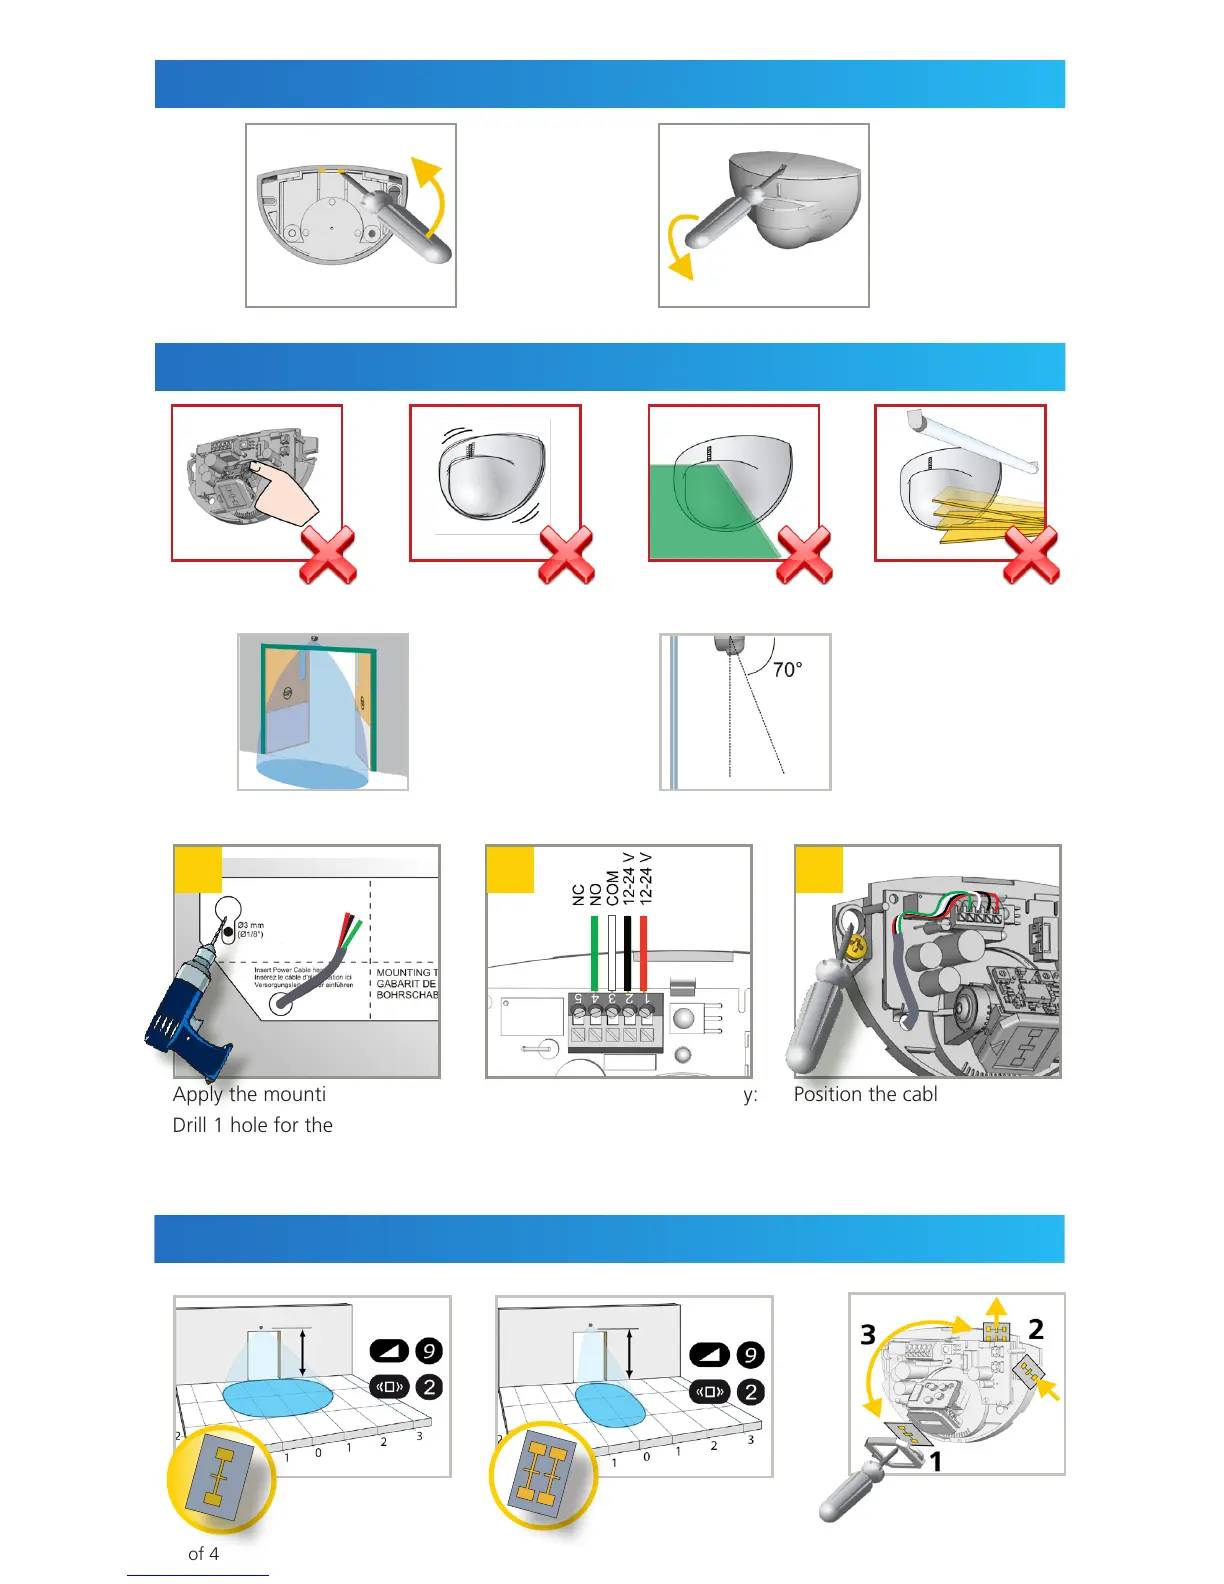
Apply the mounting template.
Drill 1 hole for the cable and
pull it through.
Drill 2 holes for the screws.
Position the cable as
indicated.
Mount the sensor firmly.
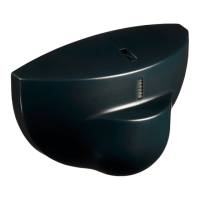
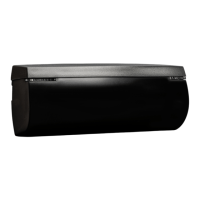
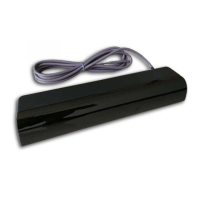
APPLICATIONS
Connect the wires accordingly:
1 - RED - POWER SUPPLY +
2 - BLACK - POWER SUPPLY -
3 - WHITE - COM
4 - GREEN - NO
5 - GREEN - NC
or
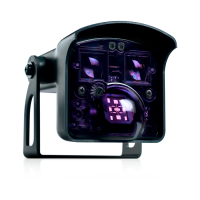
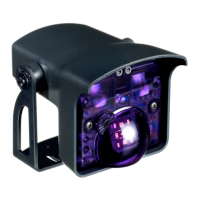
OPENING THE SENSOR
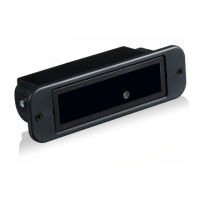
BEFORE
MOUNTING
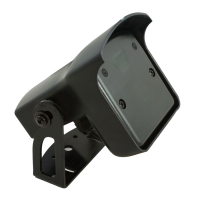
AFTER
MOUNTING
MOUNTING & WIRING
1 2 3
Do not touch electrical
parts.
Header mounting above
sliding, revolving, or swing
door
Ceiling mounting in front
of door (sliding, revolving, or
swing doors)
Avoid vibrations. Do not cover the sensor. Avoid proximity to neon
lamps or moving objects.
13’ × 6’ 6" (wide) 6’ 6" × 8’ (narrow)
WIDTH (standard Eagle only)
7 ft 7 ft
MECHANICAL ADJUSTMENTS