Page 2 of 4 75.5957.02 EAGLE FAMILY 20181130
1
4
2 3
7 ft
7 ft
INSTALLATION TIPS
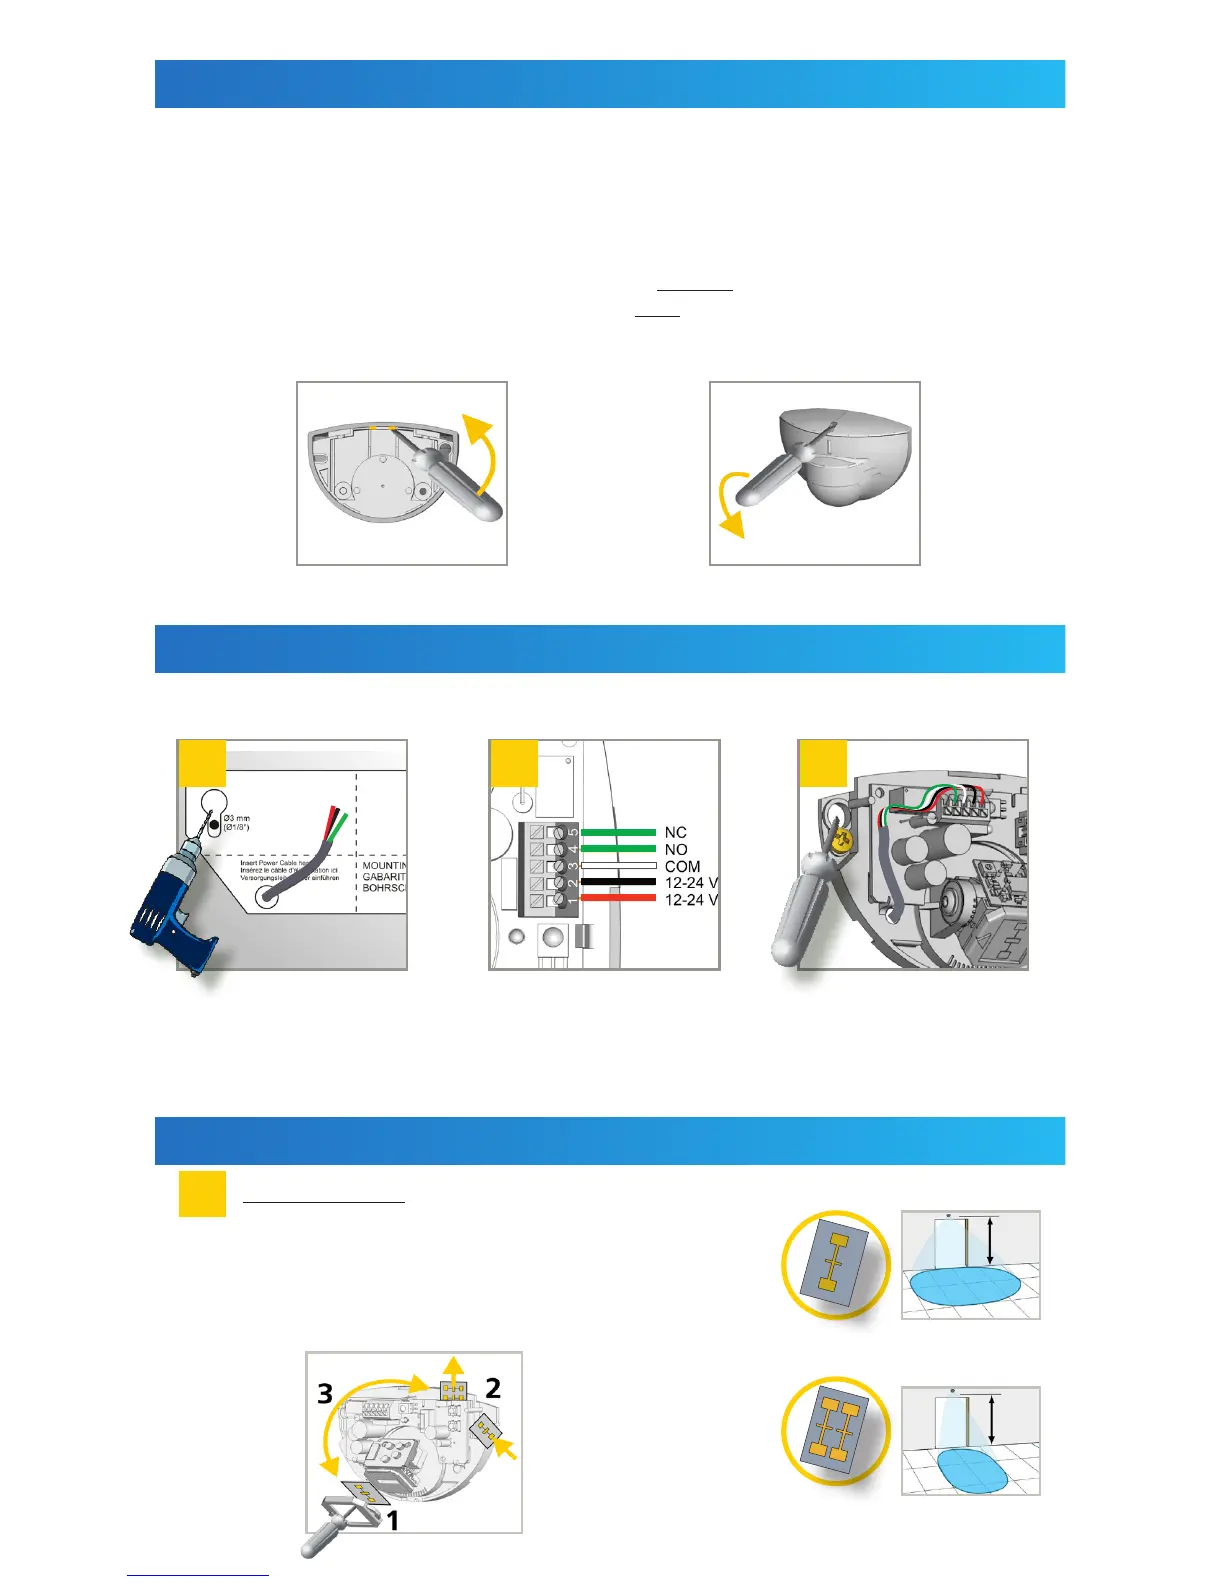
MOUNTING & WIRING
MECHANICAL ADJUSTMENTS
BEFORE MOUNTING AFTER MOUNTING
If using EAGLE SPACER or EAGLE SPACER V, please refer to User’s Guide 75.5981 before beginning.
• Do not touch electrical parts.
• Avoid vibrations.
• Do not cover the sensor.
• Avoid proximity to neon lamps or moving objects.
• The sensor may be mounted horizontally or vertically (e.g. on a ceiling or on a wall, respectively).
◊ If mounting horizontally, the sensor must be mounted in front of the door.
◊ If mounting vertically, the sensor must be mounted above the door.
Apply the mounting template.
Drill 1 hole for the cable and
pull it through.
Drill 2 holes for the screws.
Standard EAGLE only: Choose the appropriate antenna
(narrow or wide) for the correct detection zone width.
Narrow: 6’ 6" × 8’
Wide: 13’ × 6’ 6"
EAGLE HM only offers narrow antenna.
See diagram below for how to change antennas.
Position the cable as indicated.
Mount the sensor firmly.
Connect the wires accordingly:
1: RED - POWER SUPPLY +
2: BLACK - POWER SUPPLY -
3: WHITE - COM
4: GREEN - NO OR 5: GREEN - NC
WIDE
NARROW
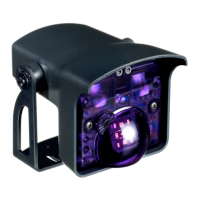
How to Open the Sensor: