10
Emergency Reserve Manifold
2005715.05
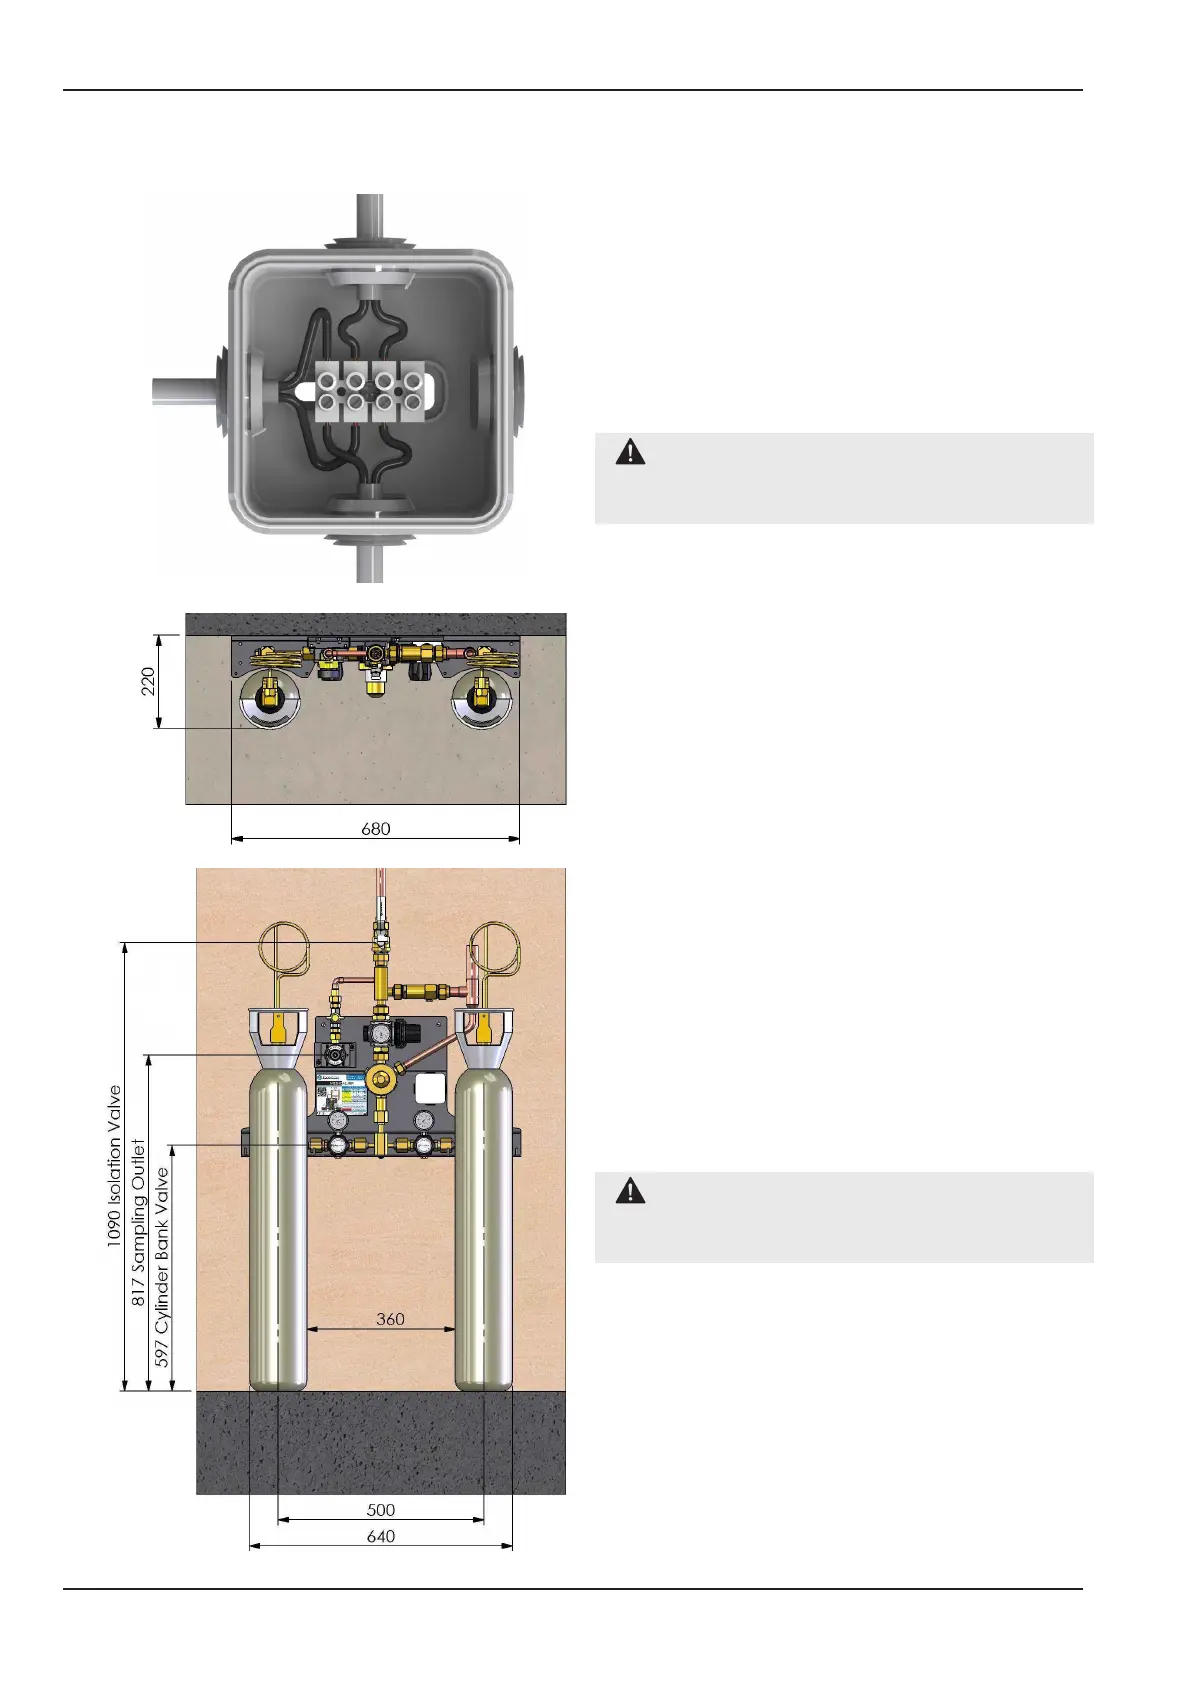
Figure 5 - Reserve Low Alarm Wiring
Left bank
contact gauge
(pre-wired)
1
2
2
1
3 4
3 4
Right bank
contact gauge
(pre-wired)
5 6
5 6
To primary supplies
“Reserve Low” alarm input
(Wired on sight)
2.2 “Reserve Low” alarm wiring.
2.2.1 Use a at bladed screw driver to pop the
terminal cover at the corners.
2.2.2 Wire the reserve low alarm as shown in
gure 5. (Left and right bank contact gauges are
pre-wired)
2.3 Installation procedure for
Modular Manifold Header.
CAUTION: Ensure that all the header rails
supplied are the correct gas type. The gas ID is
stampedontotheatsectionoftheNRVcaps.
2.3.1 Cylinder Header Extension Kits (upgrade
to 2x2 manifold). See gure 6 and 7.
2.3.1.1 Remove the 3/8” BSP blanking plug and
bonded seal from the end of the header block and
t 3/8” x 5/8” BSP tting (supplied with kit) com-
plete with O-ring seals for connection of the exten-
sion header.
2.3.1.2 Oer cylinder support rack up to the
header rail and secure using the M6 x 16 hex head
set screws and ange nut supplied with the exten-
sion kit.
2.3.1.3 Secure the previously tted 5/8” connector
to the extension header.
2.2.1.4 If no more header extensions are to be
tted, blank o the end of the header with the 3/8”
BSP plug and bonded seal that was removed in
step 2.3.1.1.
2.3.1.5 Mark and drill the optional extension
bracket wall mount if required. Fit the wall plug
and secure with the No. 10 pan head supplied with
the kit.
CAUTION:Suppliedxingsareforuse
with solid masonry type walls only. Typical
extensionbracketis1.5kgperside.