30
Bentone B40 MF/B45-2 MF
For installers
H
H
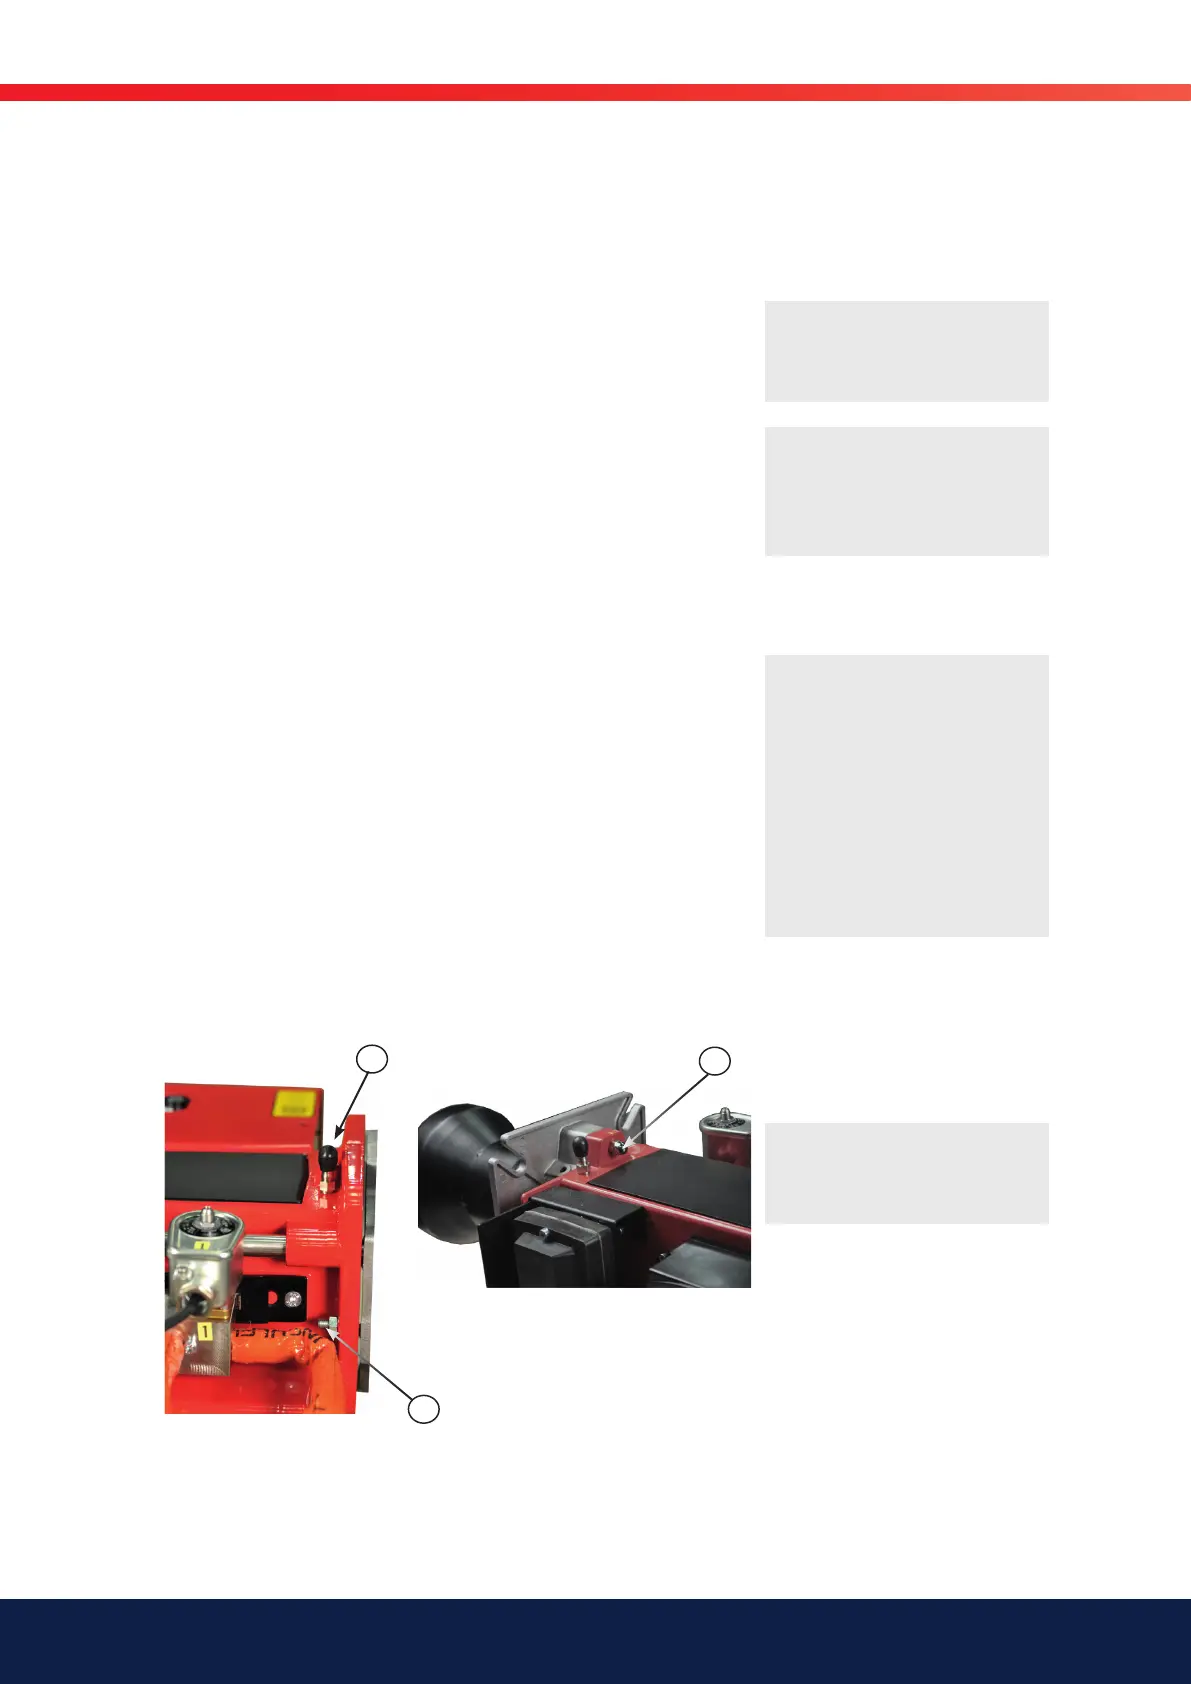
G
5. BURNER SERVICING
5.1 Servicing the combustion
assembly
Removal and installation
1. Break the main current and disconnect the Euro plugs from the burner.
2. • Loosen the nut (G) and remove the burner from the burner fl ange,
B40 MF.
• Loosen the nuts (H) and pull the burner backwards, B45-2 MF
3. Remove the brake plate from the oil pipe and clean the brake plate.
4. Unscrew the nozzle/nozzles.
5. Install new nozzle/nozzles. If nozzles have fi lters, these must be
removed before the nozzle can be installed.
6. Install the brake plate (See Brake plate setting). (see technical data)
7. Check the ignition electrodes (See Setting the ignition electrodes). (see
technical data)
8. If necessary, replace the ignition electrodes.
9. • Fit the burner and the burner body and lock using the nut (G)
B40 MF.
• Press the burner together and lock using the nuts (H) B45-2 MF.
10. Open the boiler/hinged fl ange to access the burner tube..
11. Remove and clean the burner tube.
12. Install the burner; make sure you install the drainage hole in the burner
tube so that any spilled oil can drain out.
13. Close the boiler/hinged fl ange.
14. Fit the Euro plugs and turn on the main current.
15. Check combustion *.
!
The burner should be
serviced at least 4 times
a year
!
Use caution when
operating the burner,
surfaces may be hot.
!
NB: When soiled, always
replace nozzles with new
nozzles. Do not clean.
!
Because the burner tube
must be installed from
the inside the boiler,
it must be possible to
open the boiler or have
a spectacle fl ange that is
designed so that it can
be reconnected with the
burner tube installed.
Note:
* When servicing/replacing components that affect combustion, an
analysis and soot test shall be carried out on the installation.