Buttonholes
37
Buttonholes
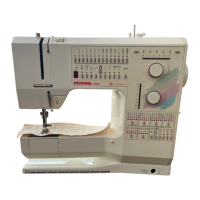
Corded Buttonhole
Cording
⦁
use cording to reinforce buttonholes and enhance their appearance
⦁
the loop of the cord should be at the end of the buttonhole that is most
subject to wear = where button is sewn on
⦁
position the work accordingly
Ideal cords
⦁
Perle cotton no. 8
⦁
strong hand-sewing thread
⦁
fine crochet yarn
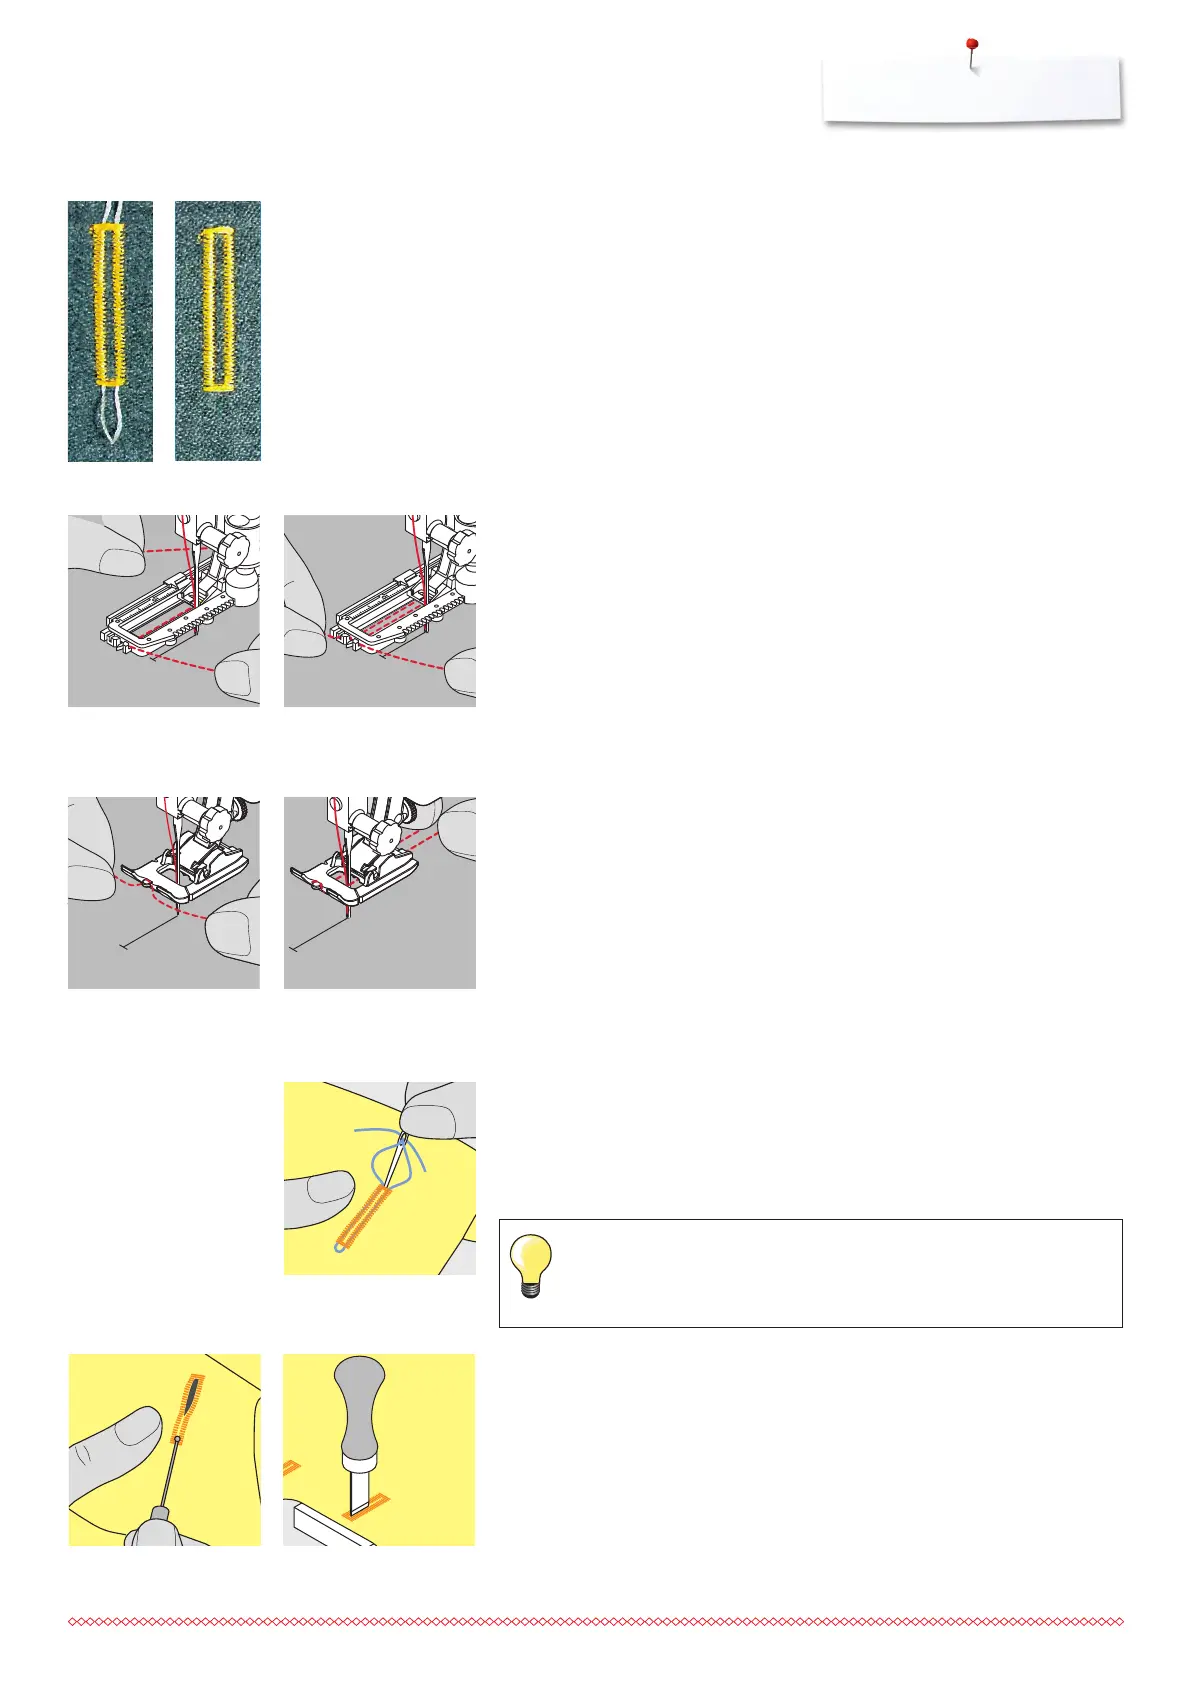
Hooking the cord in the buttonhole foot with slide no. 3A
⦁
insert the needle at the beginning of the buttonhole
⦁
raise the presser foot
⦁
guide the cord under the foot to the right
⦁
hook the cord over the pin at the back of the foot
⦁
guide the cord back to the front under the foot to the left
⦁
pull the cord ends into the slits
Sewing
⦁
sew the buttonhole in the usual manner, do not hold the cord
⦁
the buttonhole will form over the cord, covering it
Hooking the cord in the buttonhole sole no. 3
⦁
insert the needle at the beginning of the buttonhole
⦁
presser foot is raised
⦁
hook the cord over the center pin on the front of the foot
⦁
place both ends of the cord in their respective grooves on the sole of the
foot and pull them to the back
⦁
lower the presser foot
Cutting buttonholes open with the seam ripper
⦁
using the seam ripper, cut from the ends towards the middle
Buttonhole cutter and block (special accessory)
⦁
place the fabric on the wood
⦁
place the cutter in the centre of the buttonhole
⦁
press down on the cutter with your hand or a hammer
Securing the cord
⦁
pull the cord through the buttonhole until the loop disappears into the end of
it
⦁
pull the ends of the cord through to wrong side of the fabric, using a hand
stitching-needle
⦁
knot or secure with stitches
Sewing
⦁
sew the buttonhole in the usual manner, do not hold the cord
⦁
the buttonhole will form over the cord, covering it
It might be useful to secure the bartack with an extra pin
when working short buttonholes.