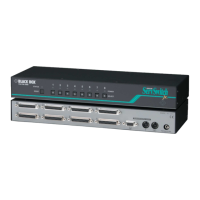
SERVSELECT IP™ INSTALLER/USER GUIDE
20
9. Click Mouse Align in the ServSelect IP remote session window(s) to
resynchronize the mouse.
To connect a SAM adaptor to each server:
1. Locate the SAM adaptors for your ServSelect IP unit.
2. Attach the appropriately color-coded cable ends to the keyboard, monitor and
mouse ports on the fi rst server you will be connecting to the unit.
3. Attach one end of the CAT 5 cabling that will run between your SAM and
ServSelect IP unit to the RJ45 connector on the SAM adaptor.
4. Connect the other end of the CAT 5 cable to the desired ARI port on the back of
your ServSelect IP unit.
5. Repeat steps 2-4 for all servers you wish to attach.
NOTE:
When connecting a Sun SAM adaptor, you must use a multi-sync monitor to accommodate Sun
computers that support both VGA and sync-on-green or composite sync.
To connect serial devices to the ServSelect IP appliance:
1. Locate a serial SAM.
2. Attach the serial SAM 9-pin serial connector to the serial port of the device to
be connected to your ServSelect IP appliance.
3. Attach one end of the CAT 5 cable to the RJ45 connector on the serial SAM.
Connect the other end of the CAT 5 cable to the desired ARI port on the back of
your ServSelect IP appliance.
NOTE:
The serial SAM is a DCE device and only supports VT100 terminal emulation.
4. Connect the power supply (PS123A or PS123E) to the power connector on your
serial SAM. The cable expander can be used to power up to four serial SAMs
from a single power supply.
5. Connect the serial SAM power supply to an appropriate AC wall outlet. Power
up your serial device.
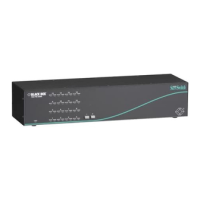
Adding a KV158A or KV2016A switch
You can add a KV158A ServSwitch Multi Z8 or KV2016A ServSelect II to the
ServSelect IP system. In a cascaded system, the KV158A will accommodate up to
eight servers per ARI port and the KV2016A will accommodate up to sixteen servers
per ARI port.