Installation
Install All-in-One Unit in 19“ rack (optional)
The unit is intended for tabletop use. However, the unit can also be mounted in a 19” rack. For
19" rack installation use:
– The 19” rack mounting brackets that are supplied with the product.
– The 6 screws and washers to replace the shorter screws that fix the cover to the chassis.
– Standard rack screws and cage nuts (not delivered with the product).
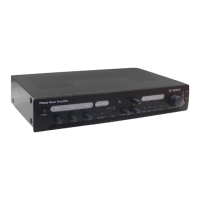
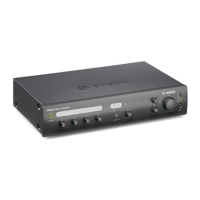
Figure 5.1: Install unit in a 19” rack
Notice!
If you install the unit in a 19” rack, make sure:
- the tabletop feet are removed from the bottom of the unit.
- warm air expelled from the side of the unit can flow away.
- the unit cannot exceed the maximum operating temperature (+45°C ambient).
- there is sufficient ventilation and enough room, about 10 cm / 4”, behind the unit for cables
and connections.
Install Call Station
1. The Call Station is used as a desktop device. Do not place this product where it is likely
to have liquid spilt on it.
2. When installing the Call Station, do not:
– exceed the cable manufactures’ “bend radius” specifications,
– install cabling in such a way that it becomes damaged or presents a hazard.
3. Make sure the RJ45 connectors have strong locking tabs, and cannot be inadvertently
pulled out once installed. Refer to Call Station connections, page 18.
Notice!
A maximum of six call stations can be configured for each All-in-One Unit.
The maximum cable distance from the All-in-One Unit to the last Call Station is 600 m.
5
5.1
5.2
12 en | Installation Plena All-in-One System
2014.09 | V1.2 | Installation and Operating Manual Bosch Security Systems B.V.
 Loading...