CAUTION:
TURN
OFF
THE
GAS
SUPPLY
AND
ISOLATE
THE
MAINS
SUPPLIES
BEFORE
STARTING
ANY
WORK
AND
OBSERVE
ALL
RELEVANT
SAFETY PRECAUTIONS.
..
-----
............
1.1
..
..
'\
1.3
'
\
\
\
I
I
I
I
I
I
I
I
----,
\
__
@(P7/
·---~----
1
I
I
I
I
'',,
;
I
I
'\.,...
............
;'"
I
I
I
~ORCESTER
Bosch
Group
\
I
'
'
'
'
'
'
'
'
'
\ ;
'
'•
..........
"'4.
•,
....
..-
;
\
\
\
I
I
I
I
I
I
I
I
I
I
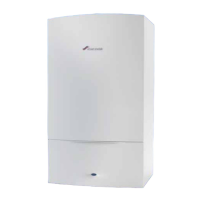
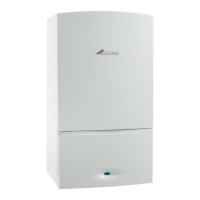
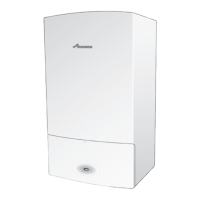
INSTALLATION & SERVICING INSTRUCTIONS
FOR
WORCESTER BOSCH GREENSTAR 30CD•/40CD• Conven\•onal
6 720 614 556a (2007/07)
REPLACEMENT
OF
PARTS
IMPORTANT: AFTER REPLACEMENT OF
ANY COMPONENTS
ALWAYS
CHECK FOR
GAS
SOUNDNESS
WHERE
RELEVANT
AND CARRY
OUT FUNCTIONAL CHECKS
AS
DESCRIBED
IN
COMMISSIONING.
ANY
0-RING
OR GASKET
THAT
APPEARS
DAMAGED MUST BE REPLACED.
1.
Removing
outer
case
1.
~
Remove
bottom
panel by pulling it
forward
and off.
1.1
~
Loosen
but
do
not
remove the 2
screws
(A) securing boiler casing at the
bottom
of
the appliance.
1.2
~
Pull
upwards
to
release the
clip
(B) on
top
of
the boiler.
1.3
~
Pull case
forward
and remove.
2.
Moving boiler control
to
service
position
2.1
~
Remove
screw
(X)securing control.
2.2~
Gently
pull forward.
3.
Primary sensor
~
Press retaining
clip
on plastic moulding
and pull
upwards
until clear
of
pocket
in
heat exchanger.
~
Separate sensor from connector,
coat
new
sensor with heat conductive paste and
replace.
4. Overheat thermostat
~
Remove
two
electrical
connectors
from
thermostat.
~
Unscrew
the sensor.
5.
Flue limit thermostat
~
Remove electrical connections.
~
Unscrew
thermostat from flue.
REPLACEMENT
OF
PARTS

 Loading...