INSTALLATION
9720 7-29-14-2
8. Route the electrical control handle to the operator's station. Take care to avoid pinching
of the electrical wire harness.
NOTICE: Keep all electrical cables away from prime mover exhaust system.
NOTE: If your skid steer is equipped with a multi-function control handle, connect the
electrical wire harness from the stump grinder to the auxiliary electrical connector on
the front of the skid steer.
9. Following all standard safety practices, start the skid steer and run all cylinders through
their full cycle to purge any air from the system. Check that all controls function accord-
ing to the operating control decal.
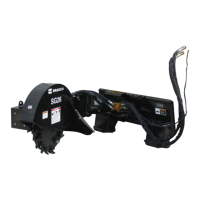
Your stump grinder is now installed and ready for operation.
DISCONNECT INSTRUCTIONS
1. With the stump grinder extended halfway out, lower the unit onto the grouser pads on
the mounting bracket and the brace stand. NOTE: Extending the unit will help prevent it
from tipping forward when disconnected.
2. Following Safety Shut Down Procedures; stop the engine and set the parking brake,
relieve any pressure in the hydraulic lines.
3. Disconnect the power and return hoses from the auxiliary hydraulics. (Disconnect case
drain coupler from the case drain if using the high ow stump grinder.)
4. Disconnect the electrical wire harness from the auxiliary electrical connector (if so
equipped).
5. Following all standard safety practices and the instructions for disconnecting an attach-
ment in your skid steer operator's manual, disconnect the stump grinder from your skid
steer.
6. Connect the hydraulic couplers on the attachment together to prevent contaminants
from entering the hydraulic system and secure all hoses and electrical cables off the
ground to help prevent damage.