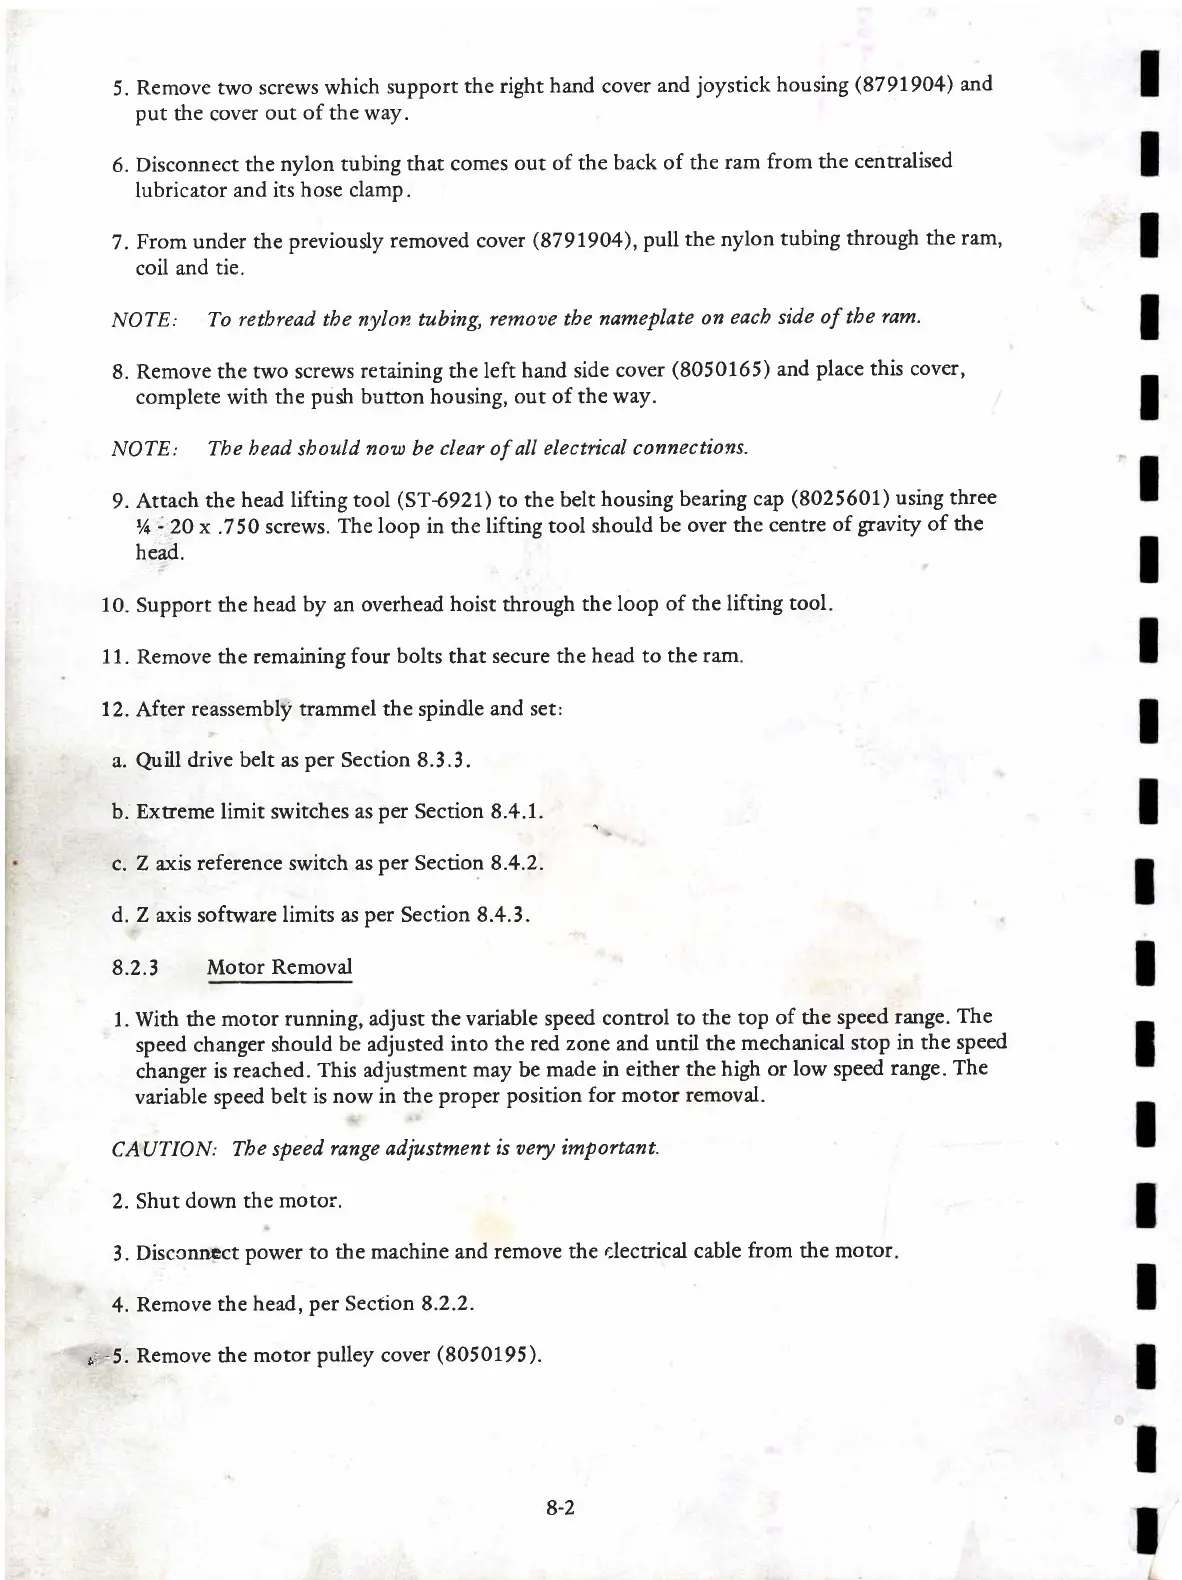
5.
Remove two screws which
support
the right
hand
cover
and
joystick
housing
(8797904)
and
put
the cover
out
of
the way.
6.
Disconnect
the
nylon tubing
that comes
out of the
back of the
ram
from the
centralised
lubricator
and its
hose clamp.
7.
From
under the
previously
removed cover
(8791904),
pull the nylon
tubing
through
the ram,
coil and
tie.
NOTE:
To
retbread tbe nylon tubing, remoae
tbe nameplate
on
eacb side
of the
ram.
8. Remove
the two screws
retaining the left
hand side
cover
(8050165)
and
place
this cover,
complete with
the
push
button housing,
out of the
way.
NOTE:
Tbe
bead
sbould
now
be
clear of all elec*ical connections.
9.
Attach
the
head lifting tool
(ST{921)
to the belt
housing bearing
cap
(8025601)
using three
Y+
-
20 x
.7 50
screws.
The loop in
the
lifting tool should
be over the
centre
of
gravity
of
the
head.
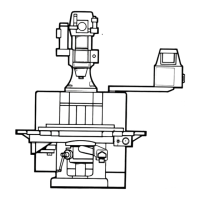
10.
Support the
head
by
an
overhead
hoist
through
the loop
of the lifting
tool
11.
Remove
the remaining
four bolts
that
secure the
head to the ram.
12.
After
reassembly trammel the spindle
and set'
a.
Quill
drive belt as
per
Section 8.3.3.
b. Extreme limit switches
as
per
Section 8.4.1.
c. Z axis
reference switch as
per
Section 8.4.2.
d. Z axis
software
limits as
per
Section 8.4.3.
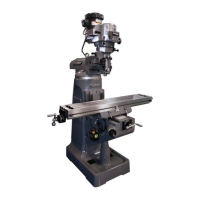
8.2.3
Motor
Removal
1.
With rlre
motor running,
adjust the variable speed
control to
the top of the
speed
range.
The
speed changer
should
be adjusted
into the red
zone
and
until the
mechanical stop
in the
speed
changer
is
reached.
This adjustment may be
made in
either the high
or low speed
range. The
variable speed
belt
is now in the
proper position for motor removal.
CAUTION:
The speed
range adjustrnent
is
oery
important.
2. Shut
down the
motor.
3.
Disccnnect
power to
the machine and remove
the elecuical
cable
from
the
motor
4.
Remove
the
head,
per
Section 8.2.2.
r.
-5.
Remove the
motor
pulley
cover
(8050195).
8-2