7
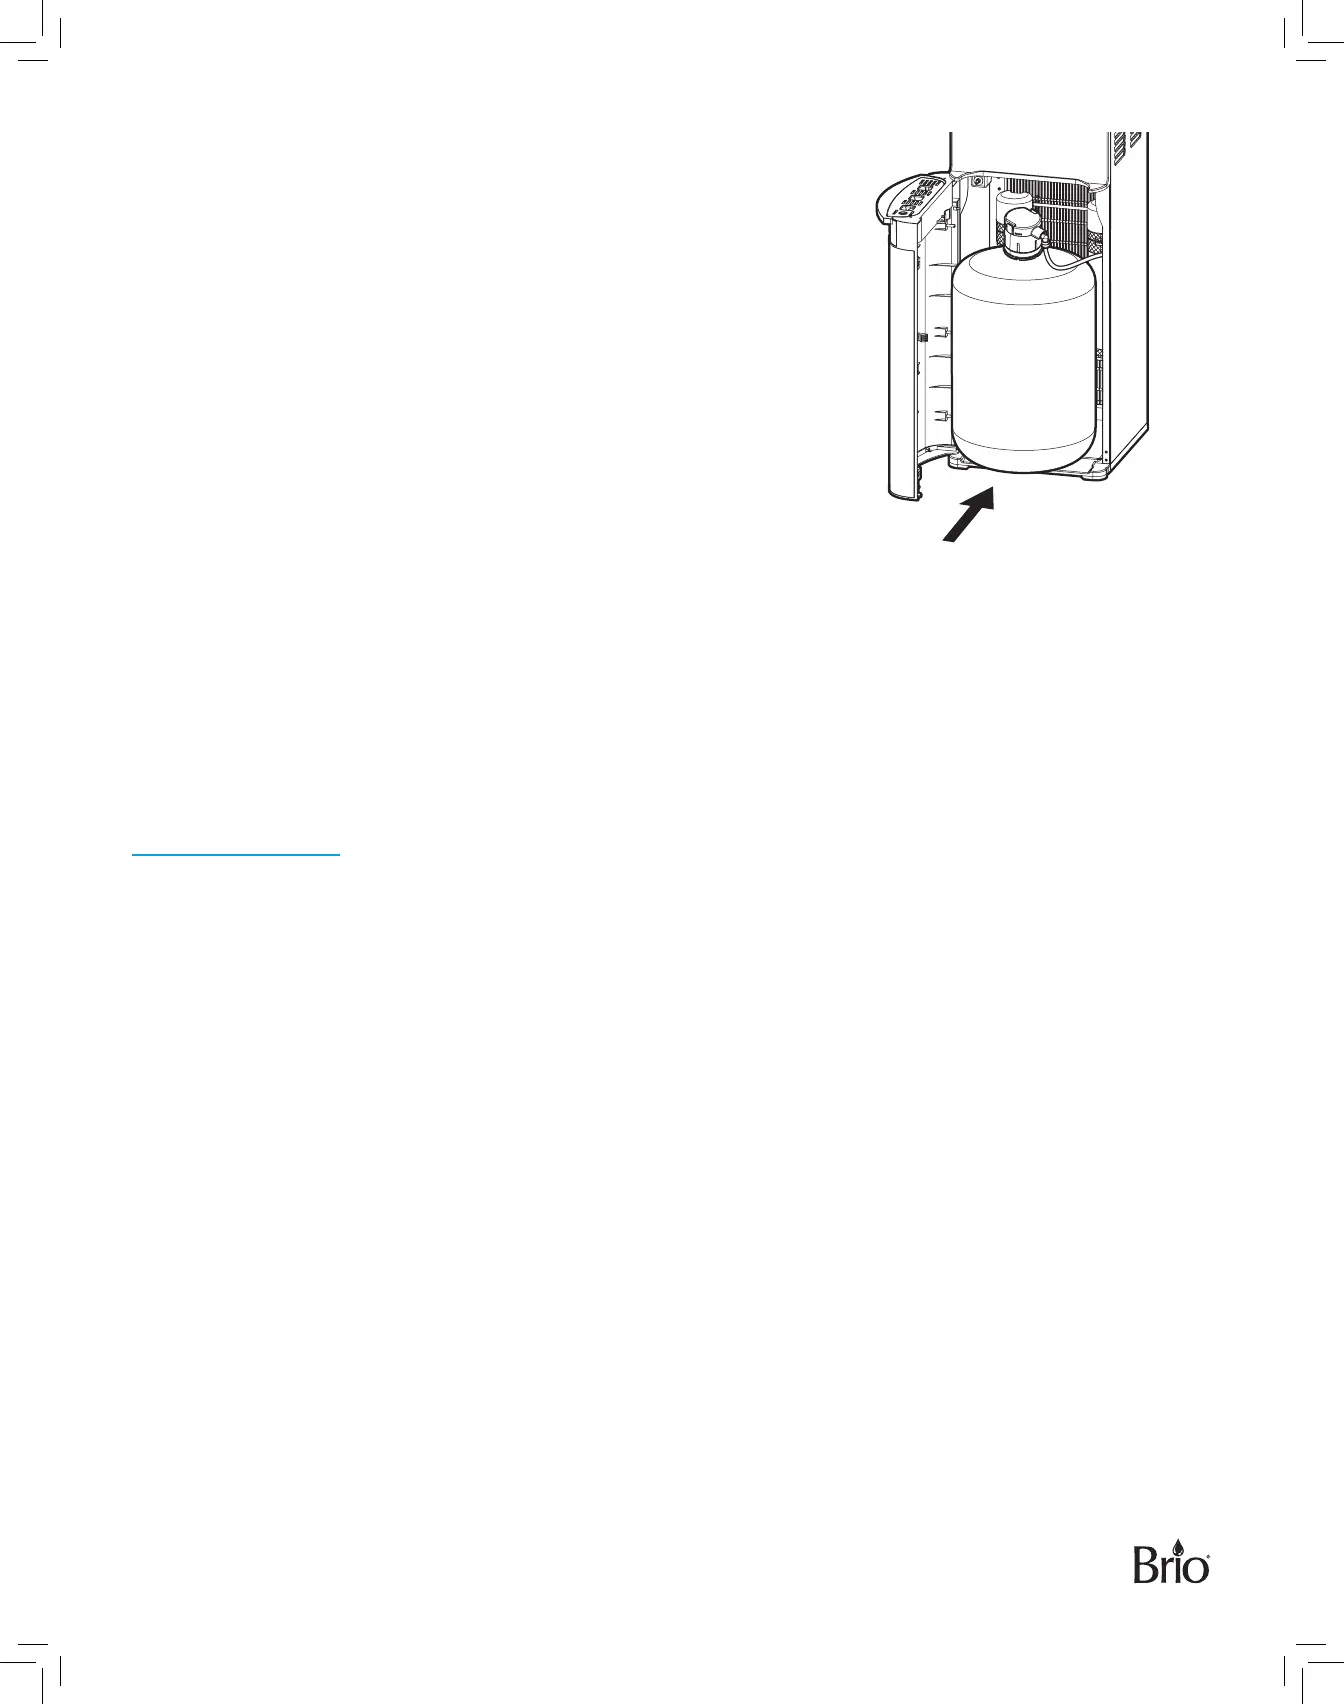
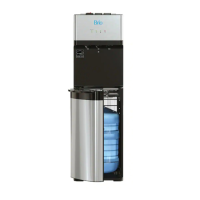
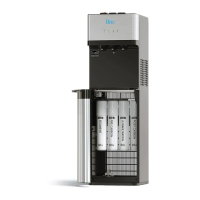
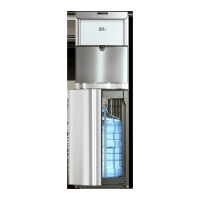
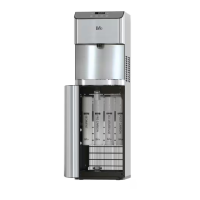
D� Slide the water bottle into the dispenser cabinet and close the
door.
E� Plug the unit into a wall outlet, turn the green cold-water switch
and the red hot-water switch to the On position. Wait 5 minutes
for the water tanks to fill with water before attempting to use the
dispenser.
NOTE: Water will not pump from the bottle until the door is
completely closed.
5� Flush the Filters
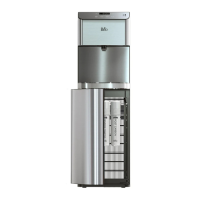
Before first use and after replacing the filters each time, open the drain outlet and attach the drain hose, running
the end into a bucket or receptacle. Flush the filters for 5-10 minutes or until the water runs clear. Discard the
water. Remove the drain hose and close the drain outlet.
Operation
IMPORTANT: This unit has been tested and sanitized prior to packing and shipping. During transit, dust and
odors can accumulate in the tank and lines. Dispense and dispose of at least 1 quart of water
prior to drinking any water.
Turn the Dispenser On/O
IMPORTANT: Before you plug the dispenser in and turn on the red hot-water and green cold-water
switches, ensure a bottle is installed.
1� Plug in the dispenser.
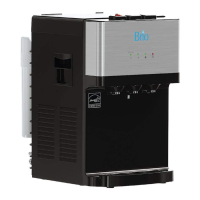
2� Press the hot, room temperature, and cold water buttons until water begins to dispense from the taps.
3� To power on the cooling system, flip the green cold-water switch on the back of the unit to the On position.
4� To power on the heating system, flip the red hot-water switch on the back of the unit to the On position.
Dispense Cold Water
NOTE: Please allow approximately 1 hour after turning the green cold-water switch to the On position for
the water to become fully chilled. The cooling light will turn o once the water is completely chilled.
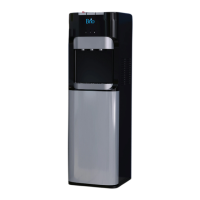
1� Place a drinking glass or container under the tap and press the cold water button on top of the dispenser
to dispense cold water.
2� Release when your container is full.