Fixed Rack Mount Kit Installation Procedure 7 of 12
53-1001274-02
Installation procedure
ATTENTION
The switch must be turned off and disconnected from the fabric during this procedure.
NOTE
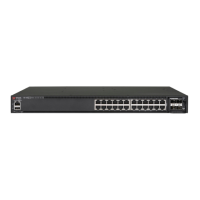
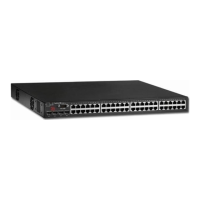
Although this document describes how to install a 1U, 1.5U, and 2U switch, the illustrations show a 1U switch as a
typical configuration.
Complete these tasks to install the switch in a cabinet:
• “Attaching front brackets”
• “Installing the switch in the cabinet”
• “Attaching rear brackets to front brackets”
• “Attaching rear brackets to cabinet rails”
Attaching front brackets
Complete the following steps to attach the front brackets to the switch.
1. Position the right front bracket (Item 1) with the flat side against the right side of the switch (Figure 2).
2. Insert two 8-32 x 5/16 in. screws (Item 5) into one of the pairs of vertically aligned holes in the bracket and then
into the pair of holes on the side of the switch. To install the switch in a recessed position in the cabinet, use the
bracket holes that are set back from the end of the bracket.
3. Insert each 8-32 x 5/16 in. screw (Item 5) through the holes in the bracket and into the corresponding hole in
the switch.
4. Tighten all 8-32 x 5/16 in. screws to a torque of 15 in.-lbs (17 cm-kgs).
5. Repeat step 1 through step 5 to attach the left front bracket (Item 2) to the left side of the switch.
 Loading...