Home > Print > Print Data Directly from a USB Flash Drive > Print Photos Directly from a USB Flash
Drive > Print Photos from a USB Flash Drive on the Brother Machine > Print Photos with Auto Cropping
Print Photos with Auto Cropping
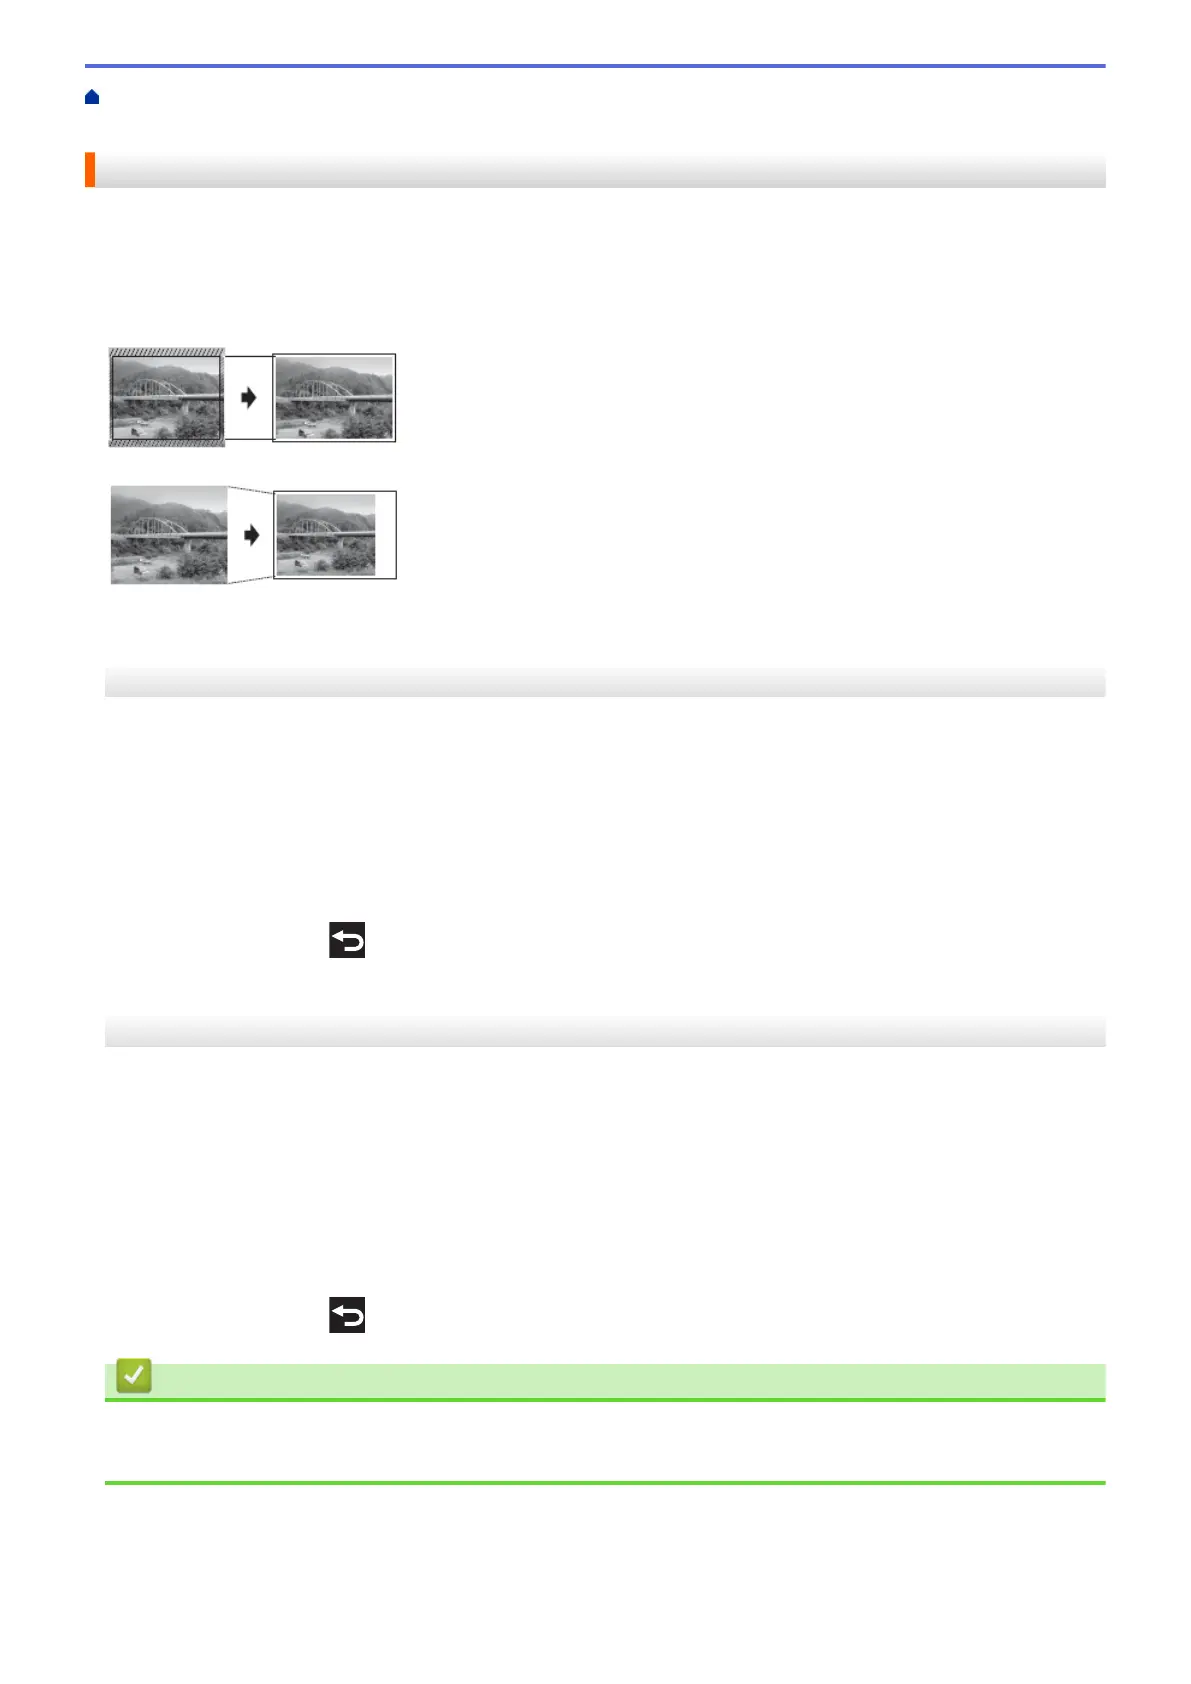
If your photo is too long or too wide to fit the space in your layout, part of the image will be cropped.
• The factory setting is On. To print the whole image, change this setting to Off.
• If you set the [Cropping] setting to Off, set the [Borderless] setting to Off, also.
Cropping: On
Cropping: Off
>> MFC-J5330DW
>> MFC-J5830DW/MFC-J5930DW
MFC-J5330DW
1. Put a USB flash drive in the USB slot.
2. Press [JPEG Print] > [Select Files].
3. Press d or c to display each photo. When the photo you want appears, press it, and then press [OK].
4. Press [OK].
5. Press [Print Settings] > [Cropping].
6. Press [On] (or [Off]).
7. When finished, press
or [OK].
8. Press [Start].
MFC-J5830DW/MFC-J5930DW
1. Put a USB flash drive in the USB slot.
2. Press [JPEG Print] > [Select Files].
3. Swipe left or right or press d or c to display each photo. When the photo you want appears, press it, and then
press [OK].
4. Press [OK].
5. Press [Print Settings] > [Cropping].
6. Press [On] (or [Off]).
7. When finished, press
or [OK]. Press [Start].
Related Information
• Print Photos from a USB Flash Drive on the Brother Machine
• Other Problems
126

 Loading...