Home > Security > Network Security Features > Use LDAP Authentication > Configure LDAP
Authentication Using Web Based Management
Configure LDAP Authentication Using Web Based Management
Related Models: MFC-J995DW
1. Start your web browser.
2. Type "https://machine's IP address" in your browser's address bar (where "machine's IP address" is the
machine's IP address).
For example:
https://192.168.1.2
3. If the machine prompts you for a password, type it, and then click
.
4. Click the Administrator tab.
5. Click the User Restriction Function menu in the left navigation bar.
6. Select LDAP Authentication.
7. Click Submit.
8. Click the LDAP Authentication menu in the left navigation bar.
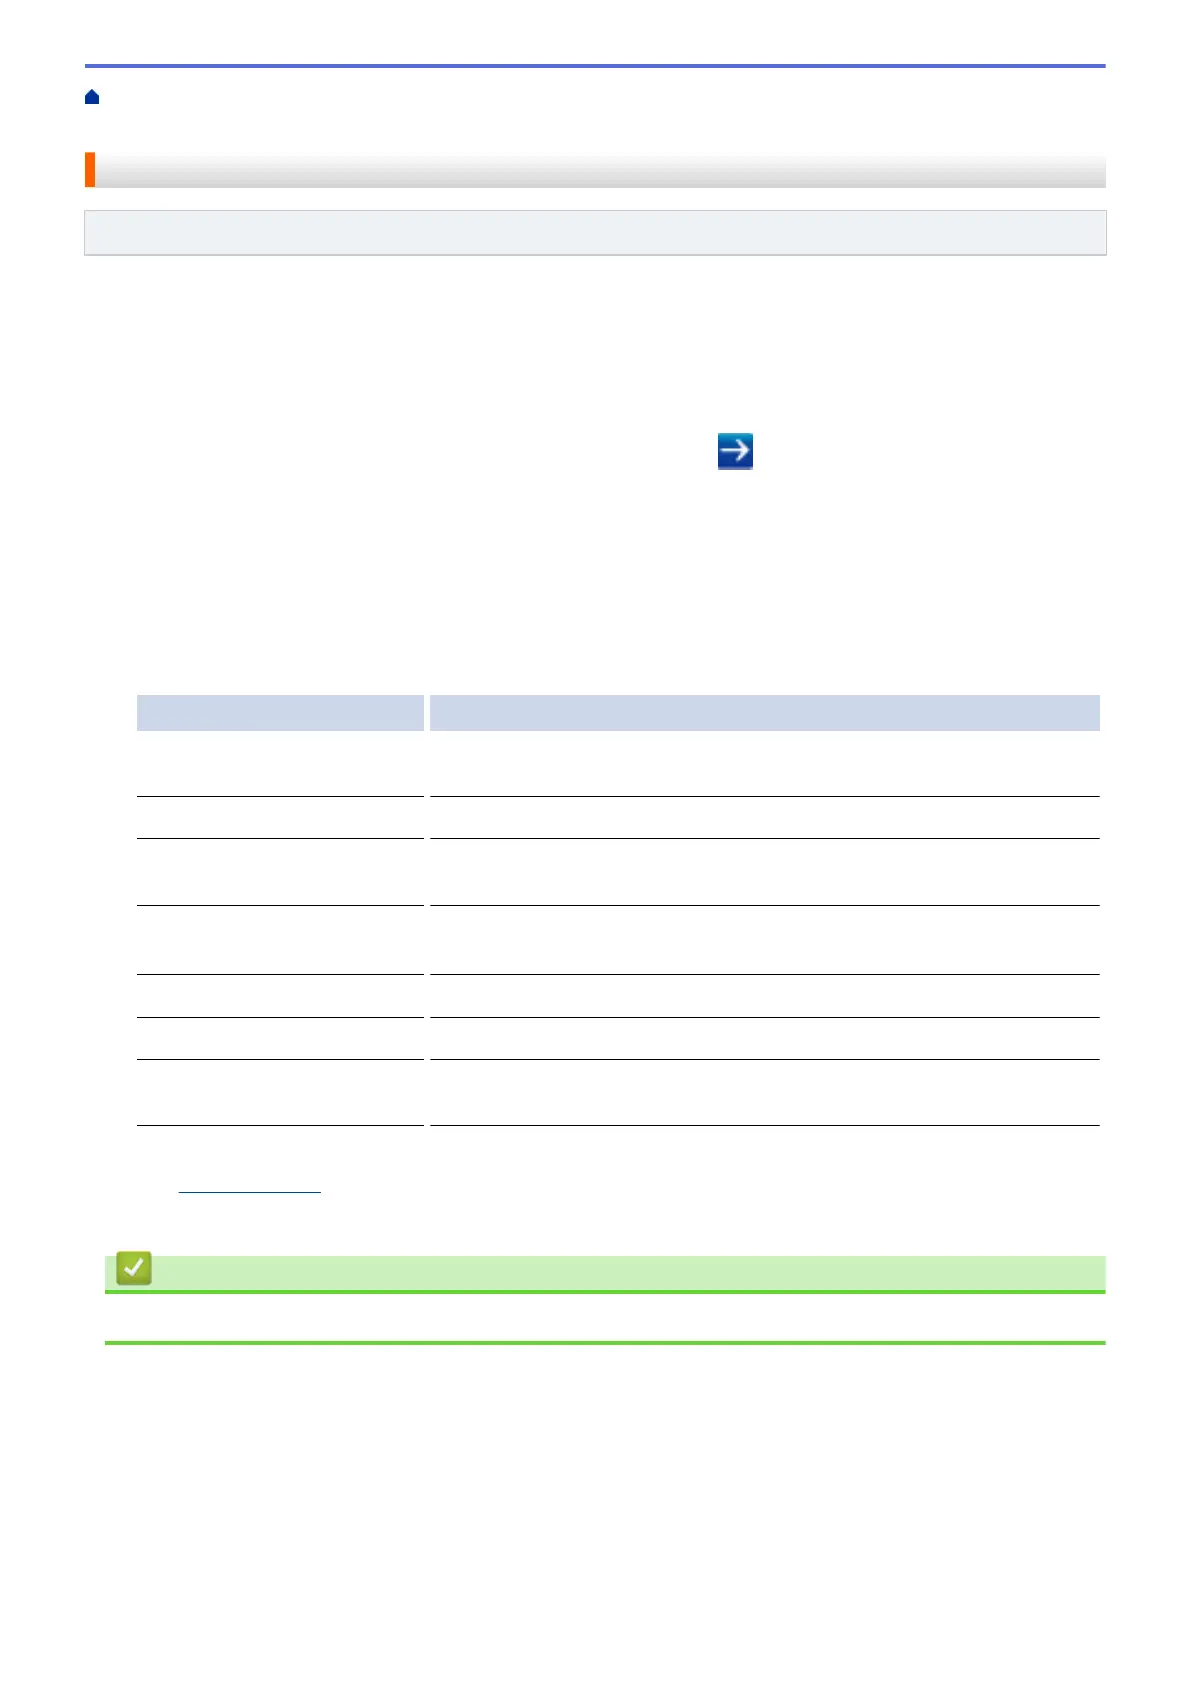
9. Configure the following settings:
Option Description
Storage Fax RX Data Select this option to store incoming fax data. You can print all incoming fax
data after you log on to the machine.
Remember User ID Select this option to save your User ID.
LDAP Server Address Type the IP address or the server name (for example: ldap.example.com)
of the LDAP server.
Get User's Home Directory
1
Select this option to obtain your home directory as the Scan to Network
destination.
LDAP Server Port Type the LDAP server port number.
LDAP Search Root Type the LDAP search root directory.
Attribute of Name (Search
Key)
Type the attribute you want to use as a search key.
1
If this option is not available, update your machine's firmware. Go to your model's Downloads page on the Brother Solutions Center
at
support.brother.com.
10. Click Submit.
Related Information
• Use LDAP Authentication
411
 Loading...
