6-26
Confidential
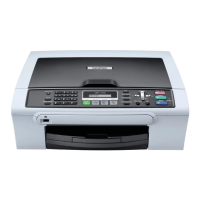
6.1.6 Disassembly of Control Panel ASSY
(1) Place the control panel ASSY upside down.
(2) Pull the three "x" latches outwards and remove the control panel PCB ASSY (consisting of
two PCBs).
NOTE: Do not pull the cables connecting the two PCBs or hold them when handling the
PCB ASSY.
(3) Remove the three rubber keypads.
(4) Remove the actuator rubber from the ink cartridge cover sensor actuator.
Assembling Note: When mounting the control panel PCB ASSY, first fit it below the four
tabs (see the illustration above) on the control panel base and then secure it with three "x"
latches.
Tab
(6_29)
(Front)
Control panel PCB ASSY
Control panel base
LCD flat cable
Rubber keypa
Tab
Tab
Latch "x"
Panel-main harness
Latch "x"
Rubber keypad
Rubber keypad
Tab
Latch "x"
Actuator rubber
Ink cartridge cover
sensor actuator
 Loading...