EasyManuals Logo

Bruker DektakXT Installation And Maintenance Manual

Bruker DektakXT
32 pages
To Next Page IconTo Next Page
To Previous Page IconTo Previous Page
Page #17 background imageLoading...
Page #17 background image
12
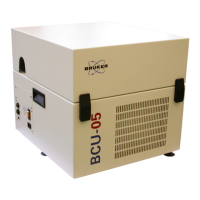
13 If you have a wafer sample fixture (chuck), you will need to mount that next. Although yours may not look
exactly like this one, it will still mount with three screws.
14 Using the appropriate hex head wrench, attach the sample fixture as shown.
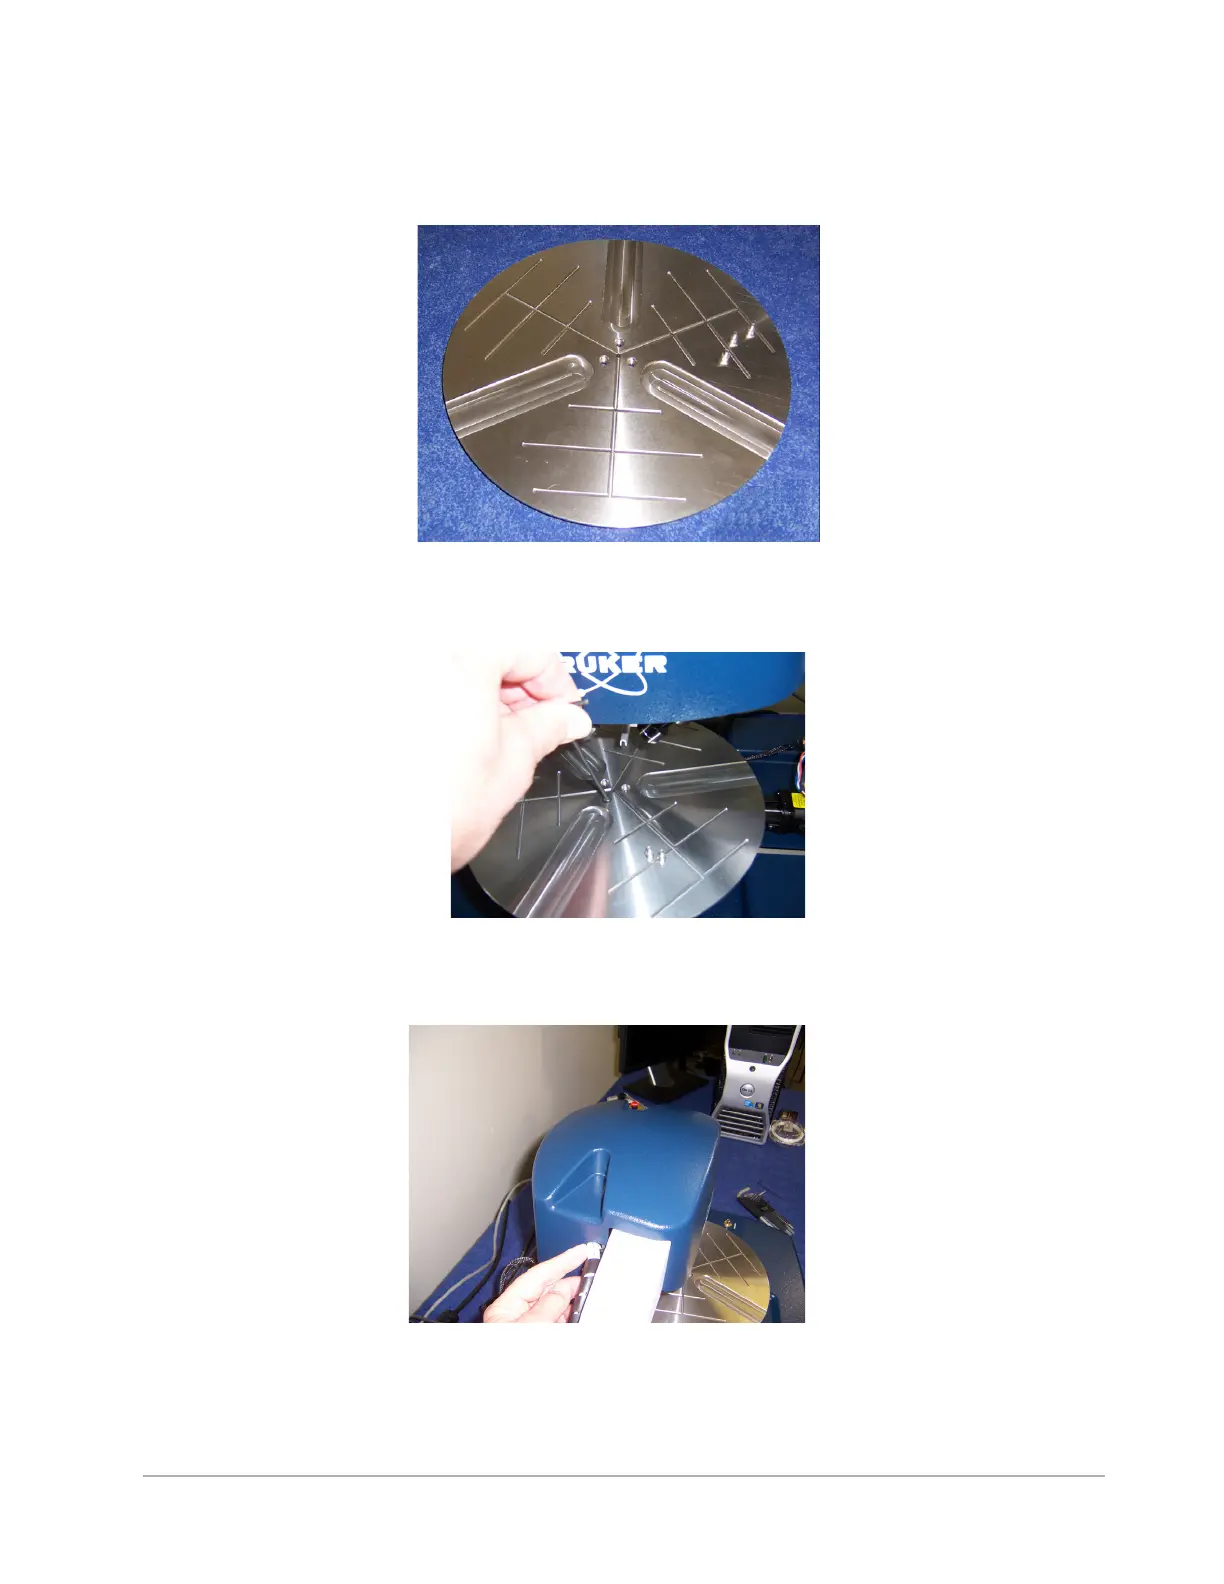
15 You will need to remove the head cover to gain access to the Z axis shipping bracket. Use care when
sliding the cover up, so as not to damage these cables.

Other manuals for Bruker DektakXT

Questions and Answers:

Question and Answer IconNeed help?

Do you have a question about the Bruker DektakXT and is the answer not in the manual?

Bruker DektakXT Specifications

General IconGeneral
BrandBruker
ModelDektakXT
CategoryLaboratory Equipment
LanguageEnglish

Related product manuals