Type 2000
Installation
english
15
Place a suitable open-end wrench on the wrench flat of the
body connection.
Unscrew actuator from the valve body.
6.4.3 Installing actuator on valve body
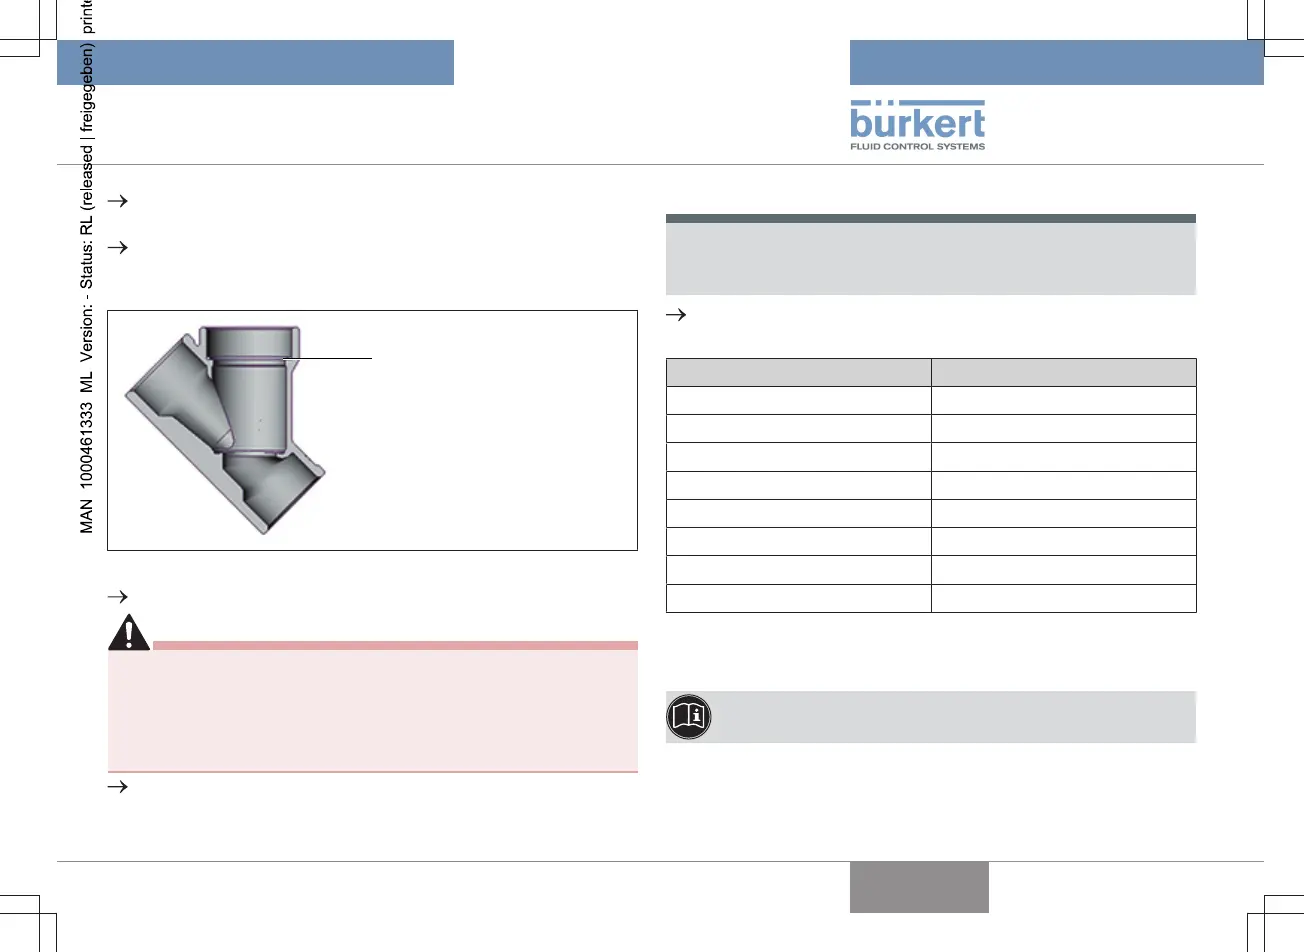
Fig.6: Seal
Check seal and replace if required.
DANGER!
Danger due to lubricant.
Lubricant may contaminate the medium. There is a risk of explo-
sion in oxygen applications.
▶ For specific applications use only approved lubricants (e.g. for
oxygen applications or analysis applications).
Before re-installation, grease the thread of the body connec-
tion (e.g. with Klüberpaste UH1 96-402 from Klüber).
ATTENTION!
Damage to the valve seat seal or seat contour.
▶ When installing the actuator, the valve must be in the open
position.
Screw actuator into the valve body. Observe tightening
torques of the following table.
Seat size Tightening torque [Nm]
15 45 ±3
20 50 ±3
25 60 ±3
32 65 ±3
40 65 ±3
50 70 ±3
65 70 ±3
80 120 ±5
Tab.7: Tightening torques valve body and body connection
6.5 Installing control unit
Description see chapter "Installation" in the operating in-
structions for the corresponding control unit.
 Loading...