ASSIGN ZONE/GROUP
This function allows you to assign devices to be members of detector zones or sounder groups. This
would normally be done using the panel’s PC programming tools but is provided at the panel to get it
working in a basic manner before it is properly configured at a later date.
Enter AL3 (4444) > Commissioning Functions > Assign Zone/Group.
When selected, fit the NVM link, press the scroll
5,6 buttons and Accept4 button to select the loop
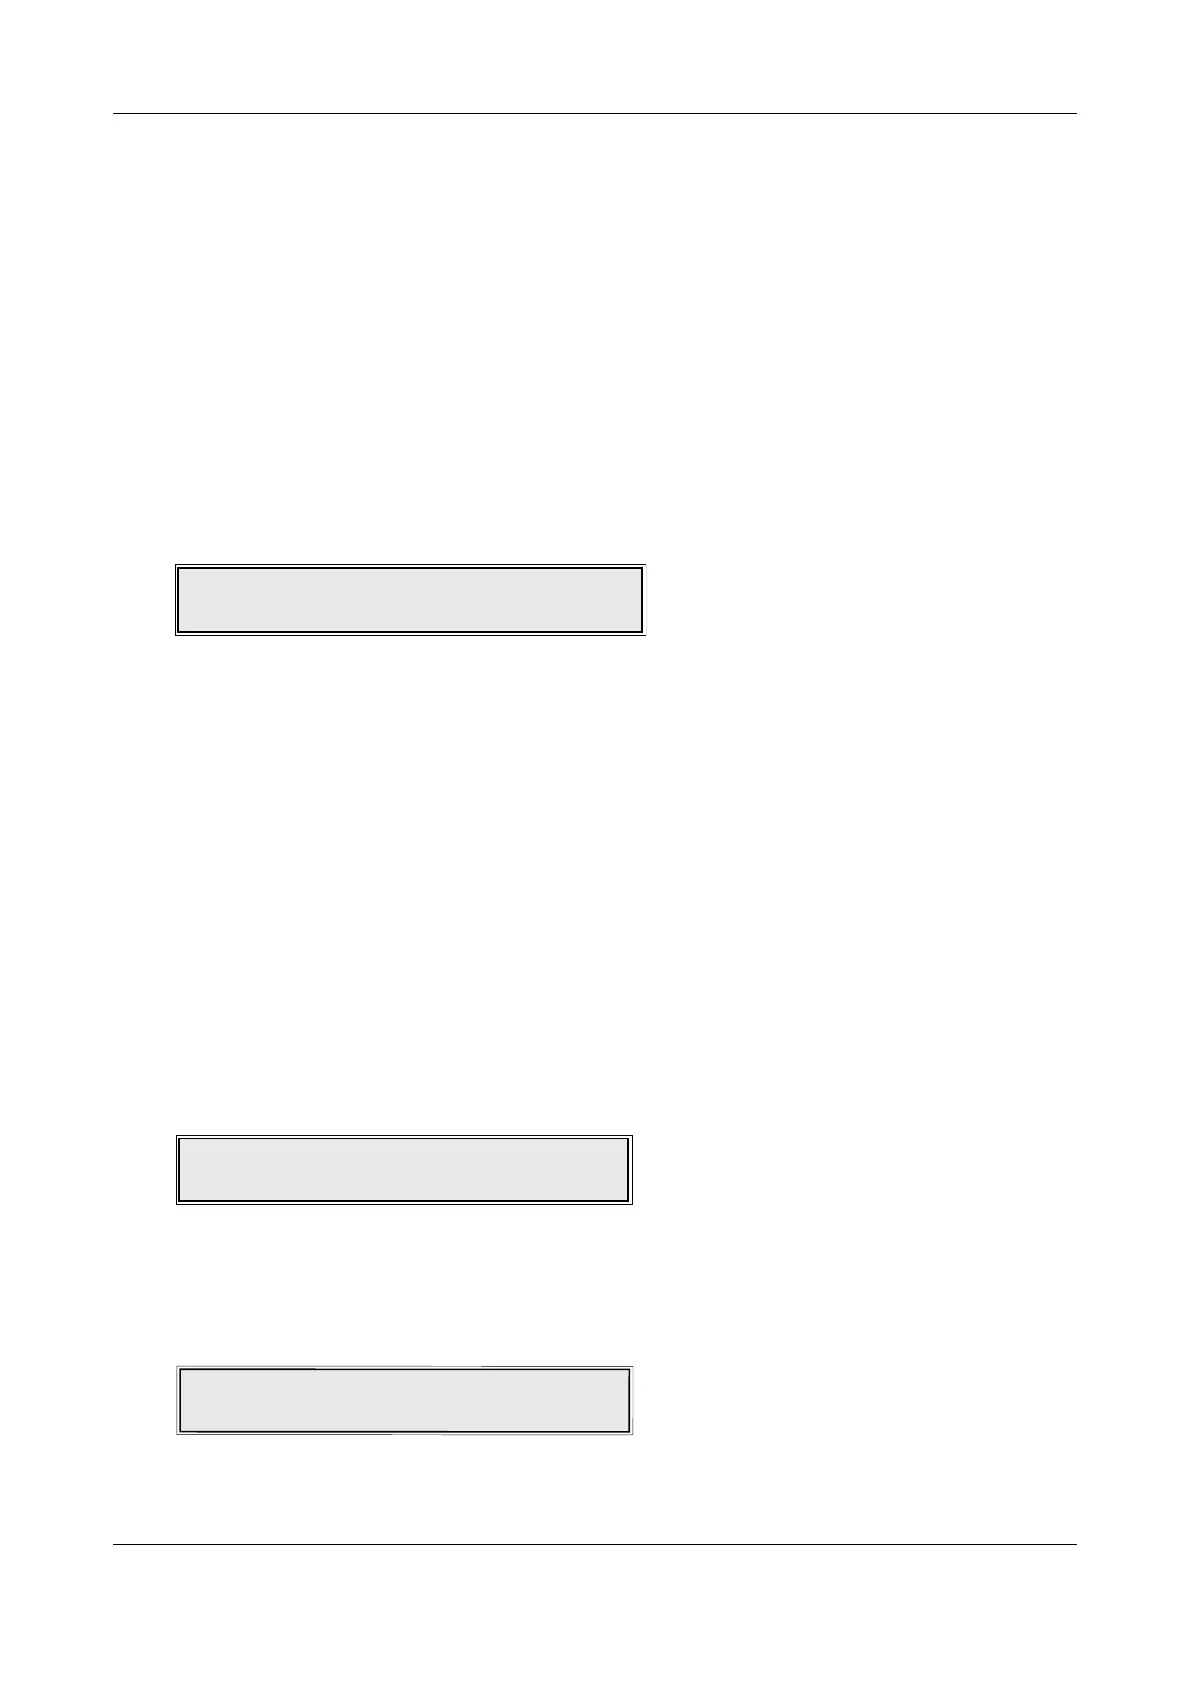
and device address. You will then be presented with the zone/group assignment window, for example:
Press the
5& 6 buttons to scroll to the desired zone or group and press the Accept4button.
The assignment will be made and you will be prompted to select another loop/device to assign using
the same procedure. To exit press Escape
3 button x 4 and remove the NVM link when prompted.
Note: Although I/O units can be assigned to be members of zones using this menu, this only applies to
their input function. The panel’s PC programming tools MUST be used to assign them to output sets.
Zone : Loop: 1 Device: 3
Belongs to Zone:- 1
CAST XFP 16 ZONE ANALOGUE ADDRESSABLE FIRE ALARM PANEL
ENGINEERING MANUAL • Approved Document No. DFU5010000 Rev 4 • Page 31 of 48
SET DAY/NIGHT TIMES
This function allows the user to alter the time the panel enters day (building occupied) and night
(building unoccupied) mode. IT IS RECOMMEND YOU DO NOT USE THIS FUNCTION UNLESS YOU ARE
VERY KNOWLEDGEABLE ABOUT THE OPERATION OF THE FIRE ALARM SYSTEM.
Changes that may occur when the panel is in day/night mode include detector sensitivities, cause and
effects and sounder volumes. These changes MUST be done using the panel’s PC programming tools.
Enter AL3 (4444) > Commissioning Functions > Set Day/Night Times.
When the SET/DAY NIGHT TIMES prompt appears, press the Accept
4button and the following window
(or similar) will appear:
Press the scroll 5and6 buttons and Accept 4button to set the time in hours and minutes that you
want the panel to enter day mode (the panel has a 24 hour clock).
When the desired time is displayed, press the Accept
4button to access the night mode entry field.
A window similar to the one below will appear:
Press the scroll
56buttons and Accept 4button to set the time in hours and minutes that you want
the panel to enter night mode. When the desired time is displayed, press the Accept
4button to select.
Day (Occupied) mode begins: 6: 0
Day (Occupied) mode begins: 6: 0
Night (Un-Occupied) mode begins: 18: 0
The following letters displayed are dependent on the type of device at that address location:
C = Manual Call Point M = I/O Unit Z = I/O Zone Monitor
O = Optical Detector S = Sounder ! = Double Addressed
H = Heat Detector D = Multi-Detector ? = Unknown
To view the remaining devices on the loop, press the
5and 6buttons to scroll. To exit press the
Escape
3 button.
 Loading...